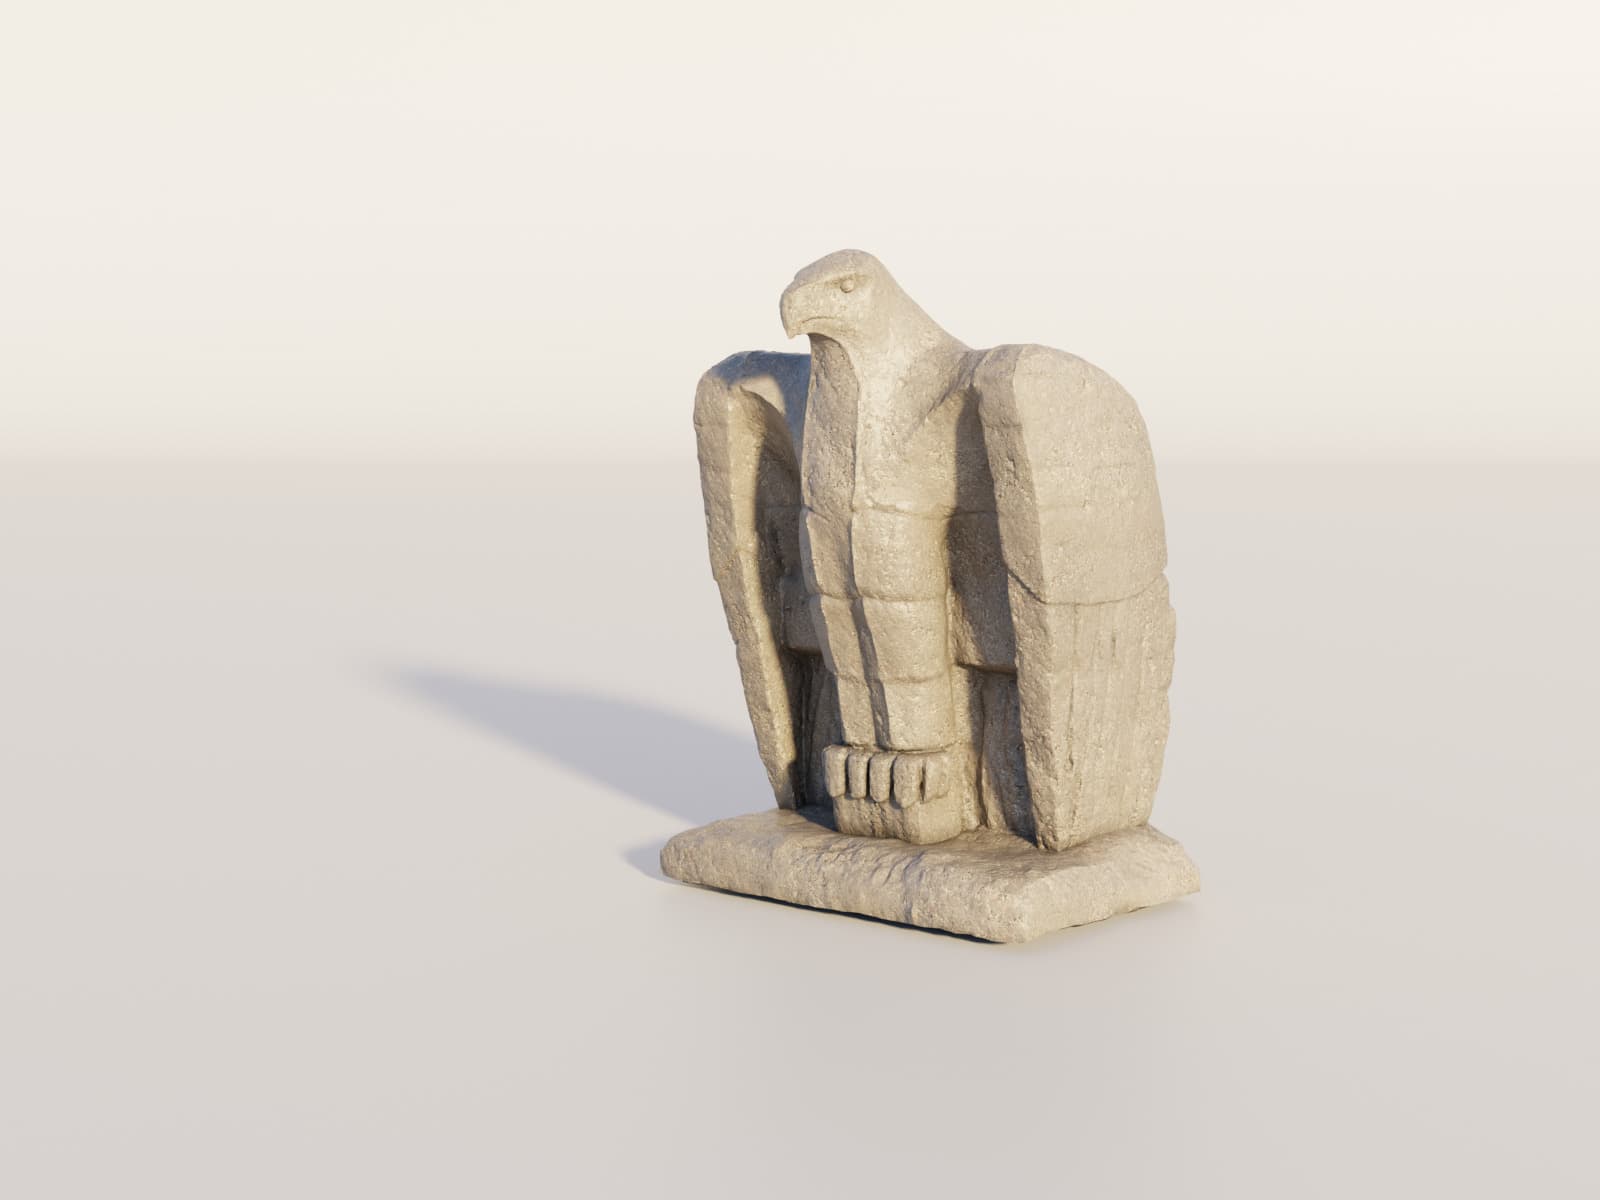
Eagle of Vienna
Year: 2025


My first endevour in sculpting with Blender.
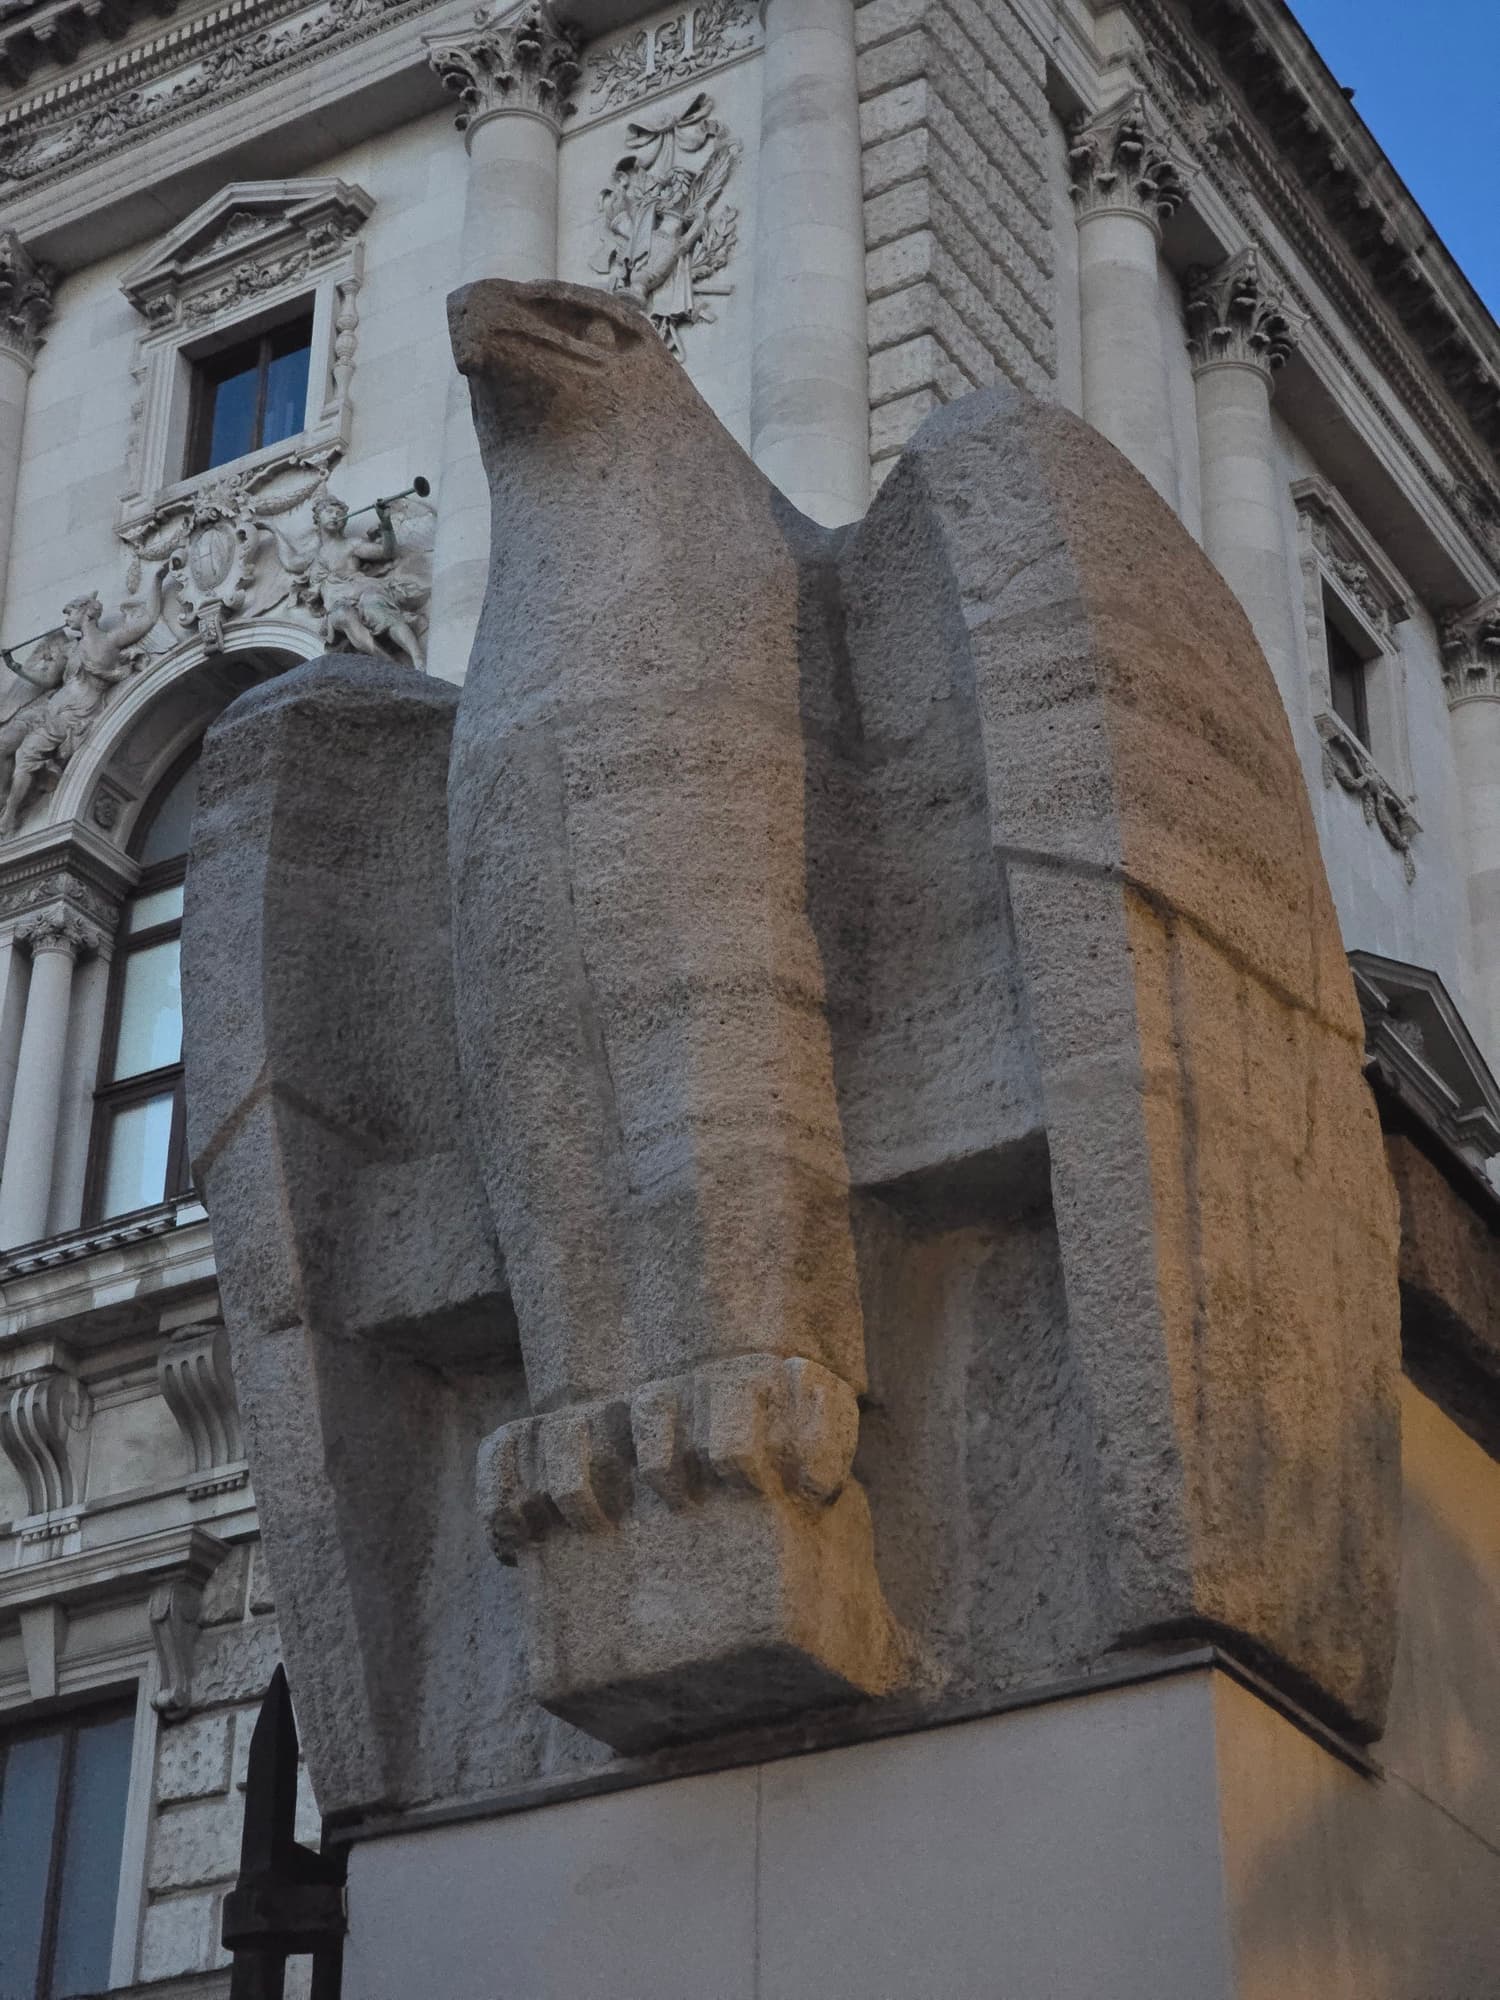
I visited Vienna this summer, and there was that absolutely lovely sculpture of an eagle I've ecountered walking by the Hofburg.
A proper way to "copy" a sculpture would be to scan it, but it's not like you can just launch a drone over the building in the middle of the city and take enough pictures to run photogrammetry. So, I've made a few shots of the statue, and that was the only way to "take it" with me.
Another way would be to make a 3D model of the statue from scratch, using images as references, but that would take too much time, and the result would be below expectations, especially since I am not a professional 3D artist by any means.
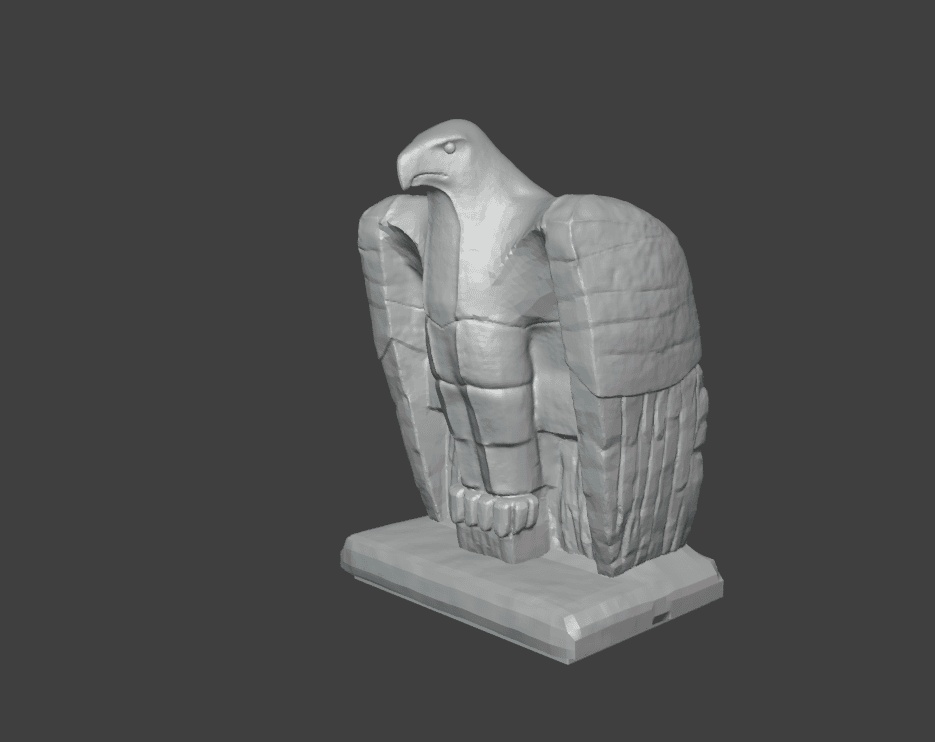
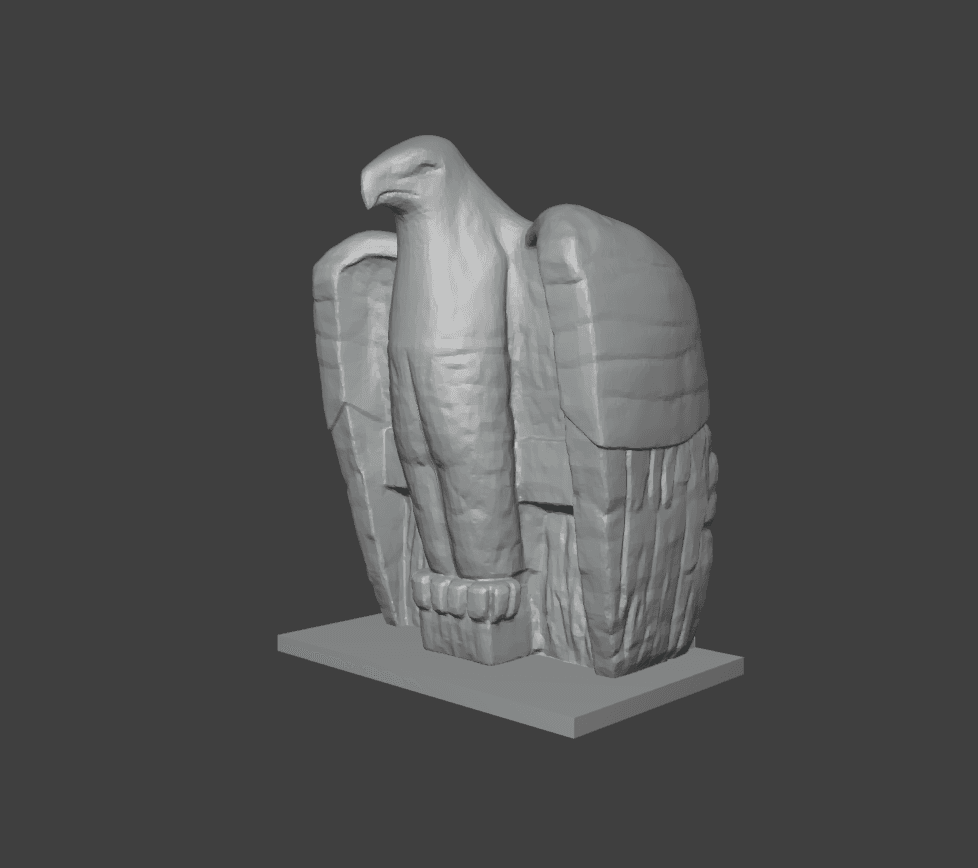
So a month after I've decided to feed the photo I took to Krea in the "image to 3D" mode, and hope for the best. Usually, the results come out pretty bizzare with the photos of decorative elements, as the AI model can't figure what it's looking at. But this time it worked out surprisingly well, and I got quite a decent mesh.
The head of the statue hasn't what I hoped for, so I had to change the shape of the skull, redo the eyes and make the eyebrow lines heavier and more "angry" looking. I reshaped the shoulders too, to make them look more anatomically correct, and added more pronounced geometrical edges. The torso received a stylized feather pattern which was missing on the original, but definitely suited the model better.
The feathers of the wings were a bit of a mess, and left them mostly untouched. To let the model stand after printing, I had to add a small base.
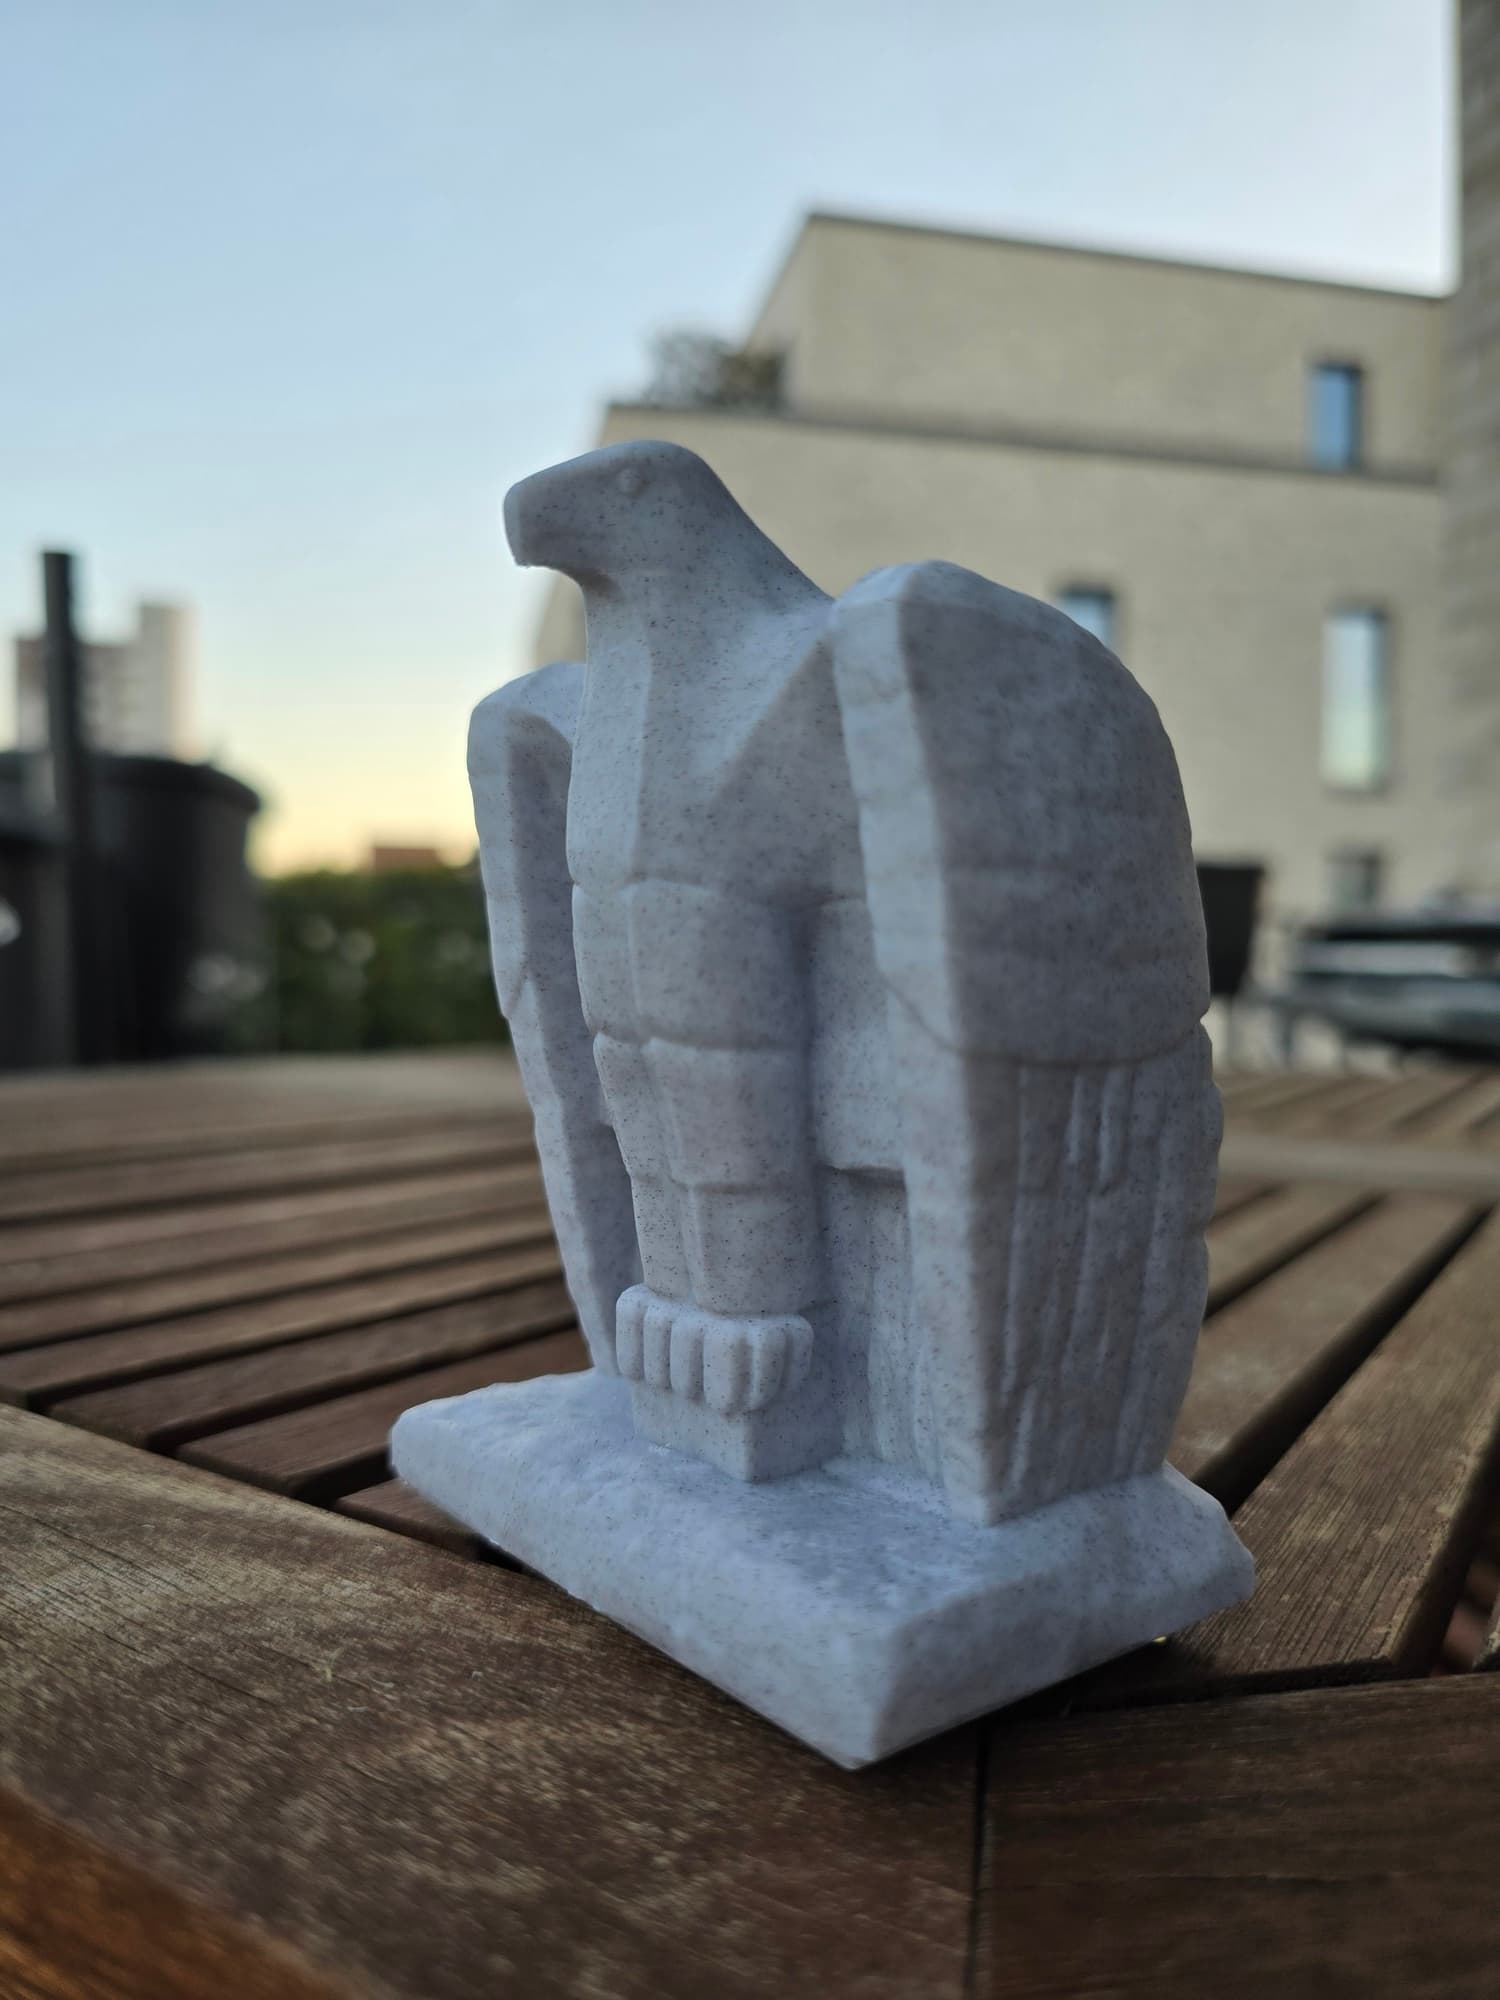
To render, I unwrapped the model using projections, covered it with the Rock 01 material from Polyheaven (CC0 license), with some ambient occlusion to add depth and dirt.
To print with Marble PLA, I enabled the Arachne wall generator and Ironing of the top surfaces. The outcome was above all expectations, the print looked really amazing.
The pipeline in this case was: take a photo (preferably when the lighting is soft) ➡️ send to Krea & get a "rough" mesh ➡️ remesh in Blender, fix the issues and add details ➡️ export to STL & print ➡️ unwrap and render.
Learned this time
- Blender's Remesh modifier
- Brushing with the musgrave texture to make the surface more detailed
- A quick recap on ambient occlusion
- The way of turning a photo into a printable 3D model