Cracked tiles
Year: 2022

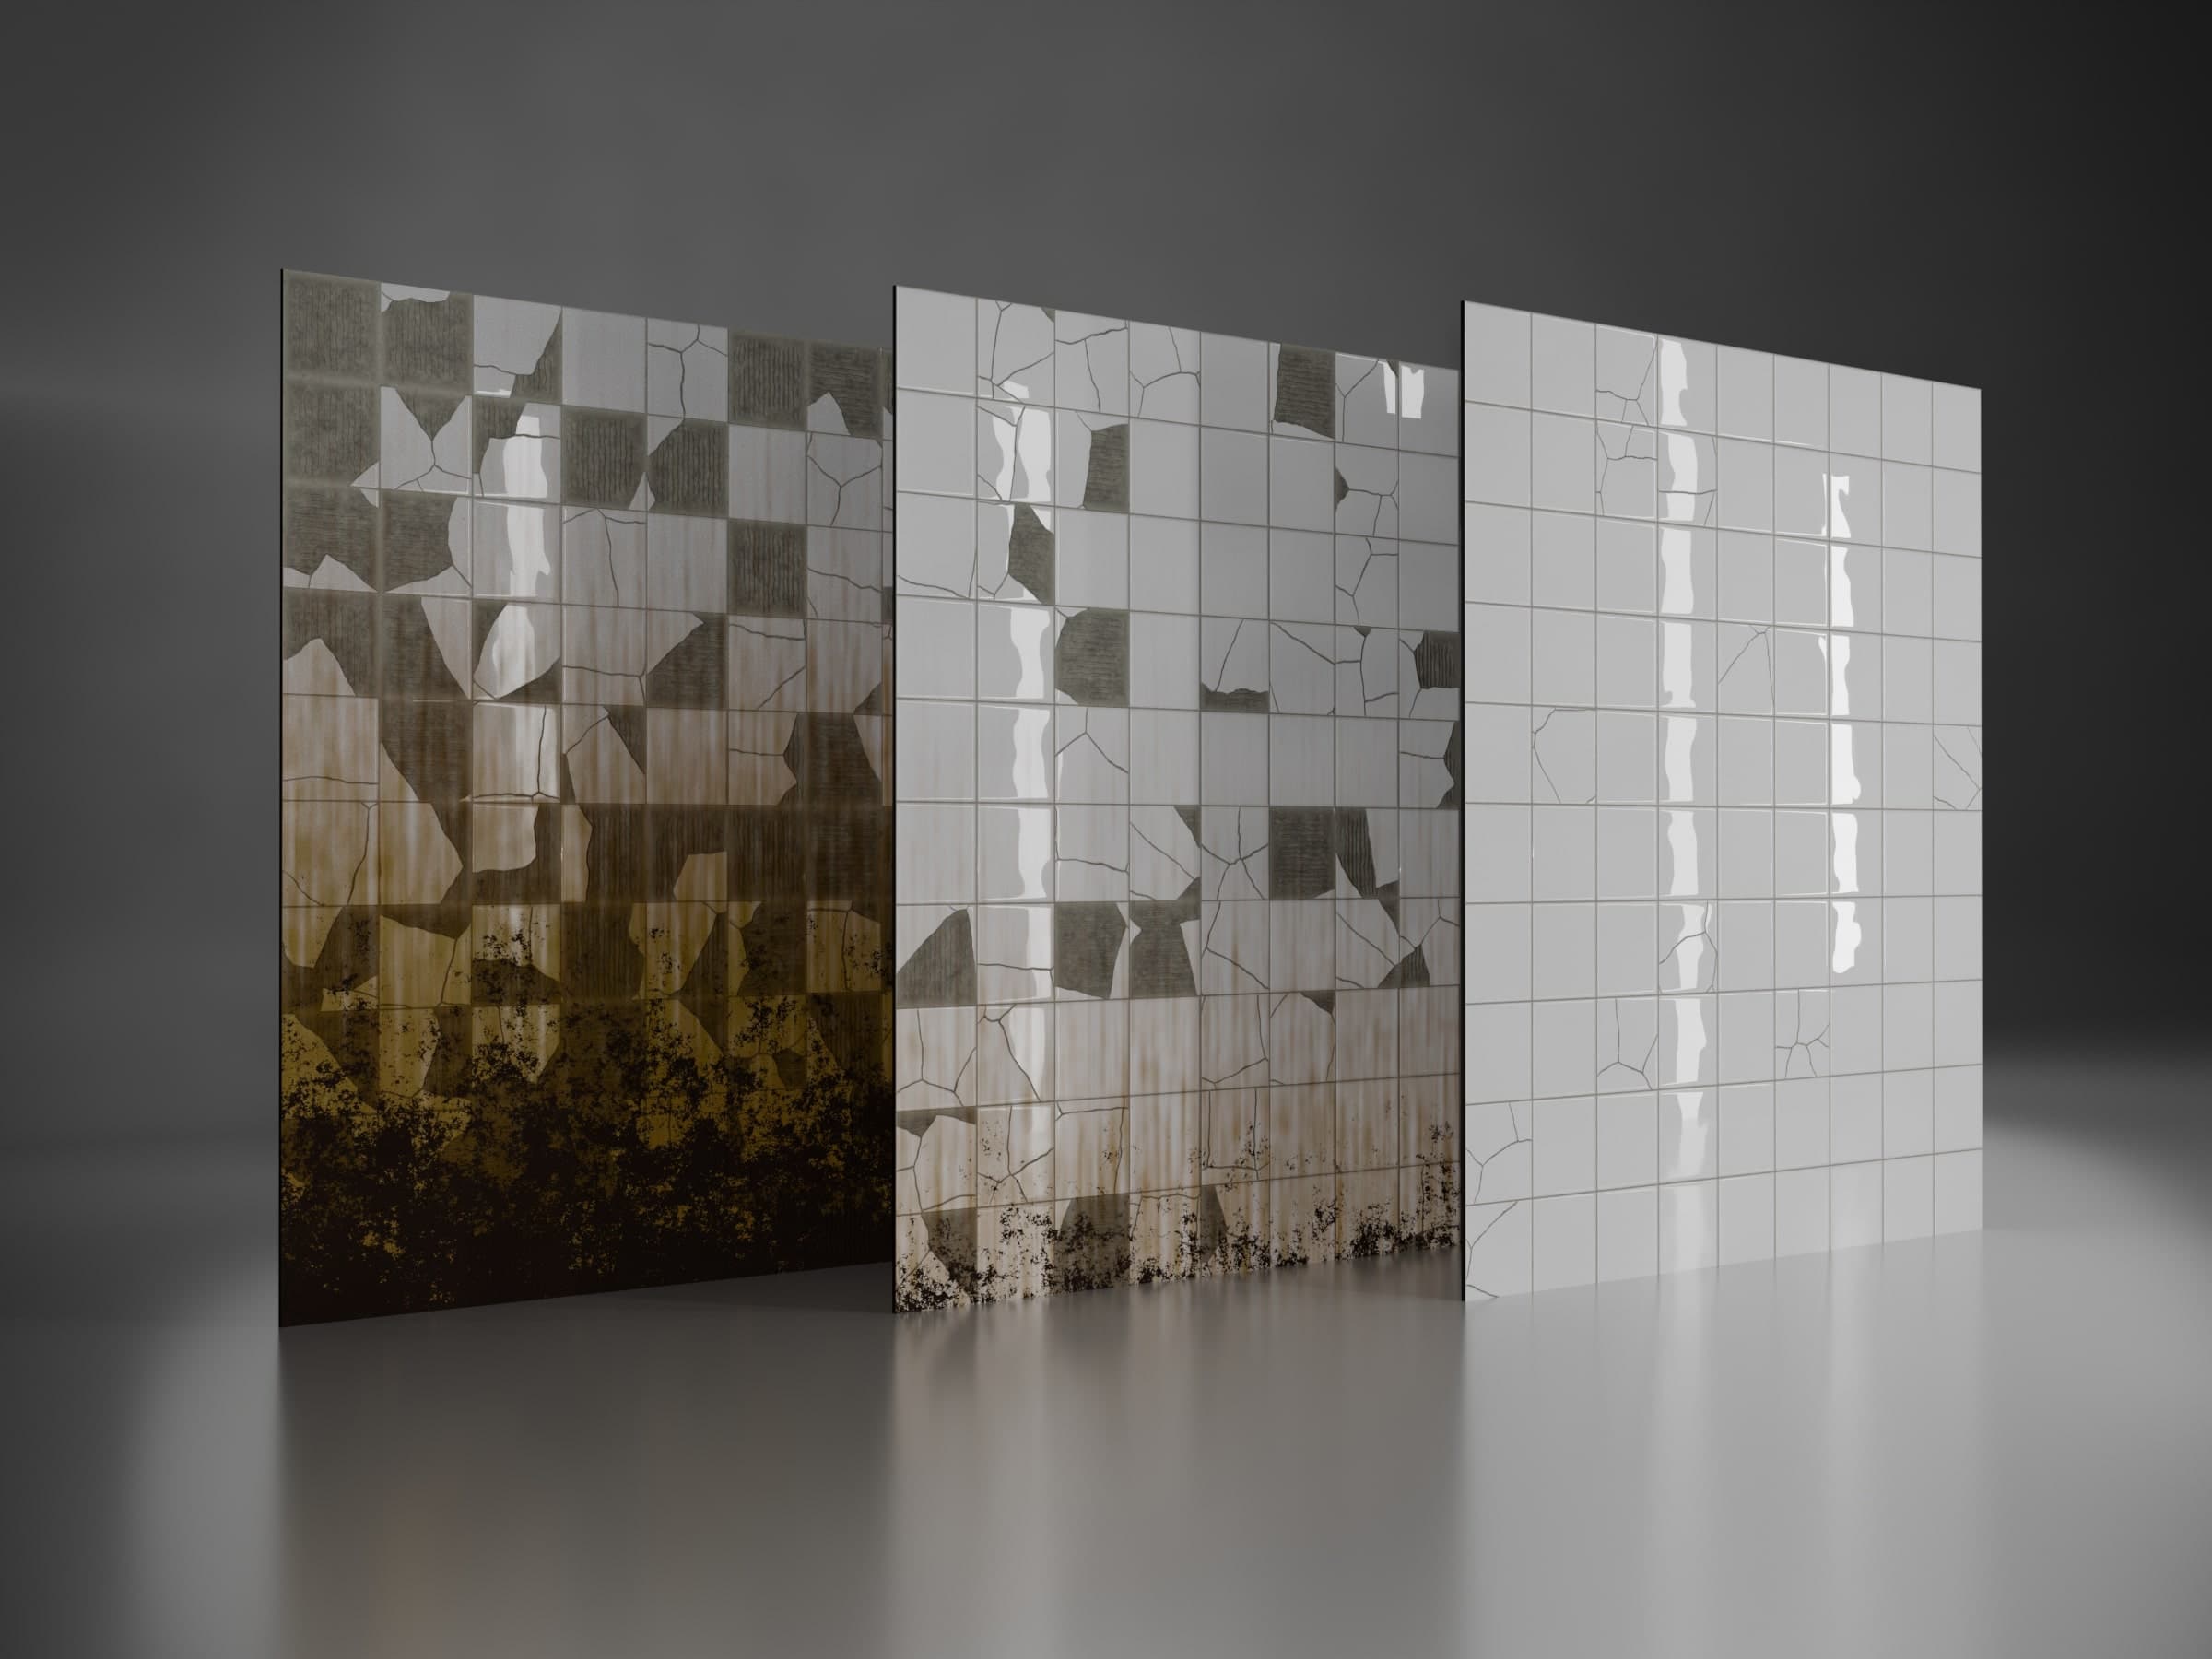
So I've completed the previous project with the house, but the shading still looked terrible, as you can judge. Well, it was a start, but I definitely needed some further development.
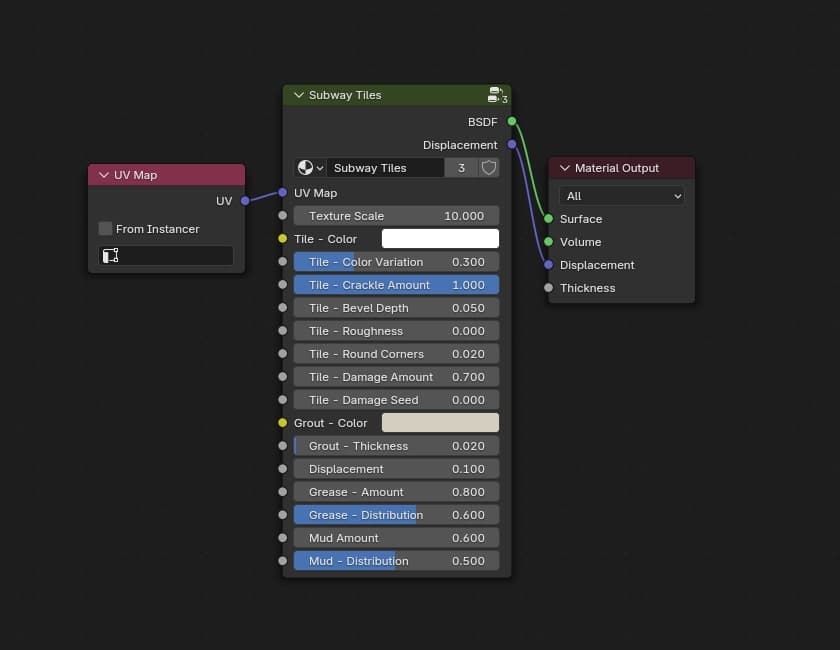
So, I've purchased a course by CG Masters and made this fully-procedural Blender material that renders ceramic subway tiles. It supports a variety of options, such as
- size of tiles,
- amount of craquelure,
- intensity of large cracks,
- intensity and spread of grease and mud.
In the official guide to Blender's shading node system it says "the nodes are easy and intuitively clear to use". In my opinion, that's an utterly misleading statement, if only because for a newbie each node apart looks like a piece of an enchanting jigsaw, and it's not clear at all, how to put several of them together to get something meaningful, something, that has physical representation in the real world.
Procedural materials can significantly increase the CPU utilization, and therefore render time. That's why I personally don't recommend basing an entire scene solely on procedural materials.
It will also for sure require substantial amount of time to learn how to use every node, and how to create combinations that produce any meaningful result. That's why, if you aren't planning to become a guru in procedural materials specifically, and just want a good scene, you have two other options:
- purchase a pack of procedural materials made by someone else, or
- use a mix of a high-res seamless texture and procedural elements to hide tiling, as it's explained here.
Nevertheless, would you like to know how a thing like that could be created? Check the course out!
Learned this time
- Node Groups is a way to make materials re-usable
- Procedural materials are not easy to do
- To highlight object's intricate surface and prevent it from appearing flat, put several light sourced in front of it, to create neat reflections