My recipe for making Meteor project deployment in Centos 7 environment
Hey there, my dear readers! Today I am going to tell you a story about how I prepare the production environment for a Meteor application in a very detailed manner. Anyway, we all should know how it is usually done by hands, when no Docker or any other special software involved, shouldn`t we? The main question we are going to answer here is: “Okay fine, how to make it work in the end?”
At this moment we have our well-mastered Meteor app at the local dev machine and the brand new, fresh VDS we just purchased, with Centos 7 onboard, which we are going to utilize.
“Why Centos 7?” — you might ask. No reason. I use Debian on my desktop and happy with that, but when it is about networking and stuff like that, RedHat-based distribution is my choice.
Right. So, grab some beer, coffee, tea, whatever and let`s start.
The first thing we are going to need is the external IP address — the static IP address of our server. How to find out: go to the control panel of the server (whatever it is — it depends on your hoster) and look around — the address should be there, it goes along with the server. Write it down to your favorite notepad app, you are going to need it. In my case, it is 173.20.88.42
Under your usual normal user (which is not root I hope) on your dev machine, we generate the RSA key pair (if you have done it before, just skip this action):
ssh-keygen -t rsa -b 4096;
After passing a little quiz by ssh-keygen, we can find the new file in our home directory: ~/.ssh/id_rsa.pub. Now we need to deploy the public key to our server. There are two ways possible:
- Deploy the key via the control panel of your hoster, if available. This way is preferable because it guarantees your key will be transferred safely via the
HTTPSconnection and no root password is exposed during the transfer (THEY are watching!). How to do it exactly — depends on the hoster. - In case of the hoster does not provide this feature (baaaad boooy), we can do it by hands, but you are going to need the root ssh password. Where to find: in the hoster control panel — it should be there, 100% sure, as this is, like, the initial credentials which always present when you buy a
VDS.
Assume we have picked the second option, then we upload the public key to the server with scp:
scp ~/.ssh/id_rsa.pub root@173.20.88.42:~;
where 173.20.88.42 is the static IP address of the server (notepad, remember?). You will be asked for the root password of the server then. Do not screw up with this! Send only .pub key, because the other key is private. Never ever show your private key to anybody. Done? Good. Now we log-in the server under root:
ssh root@173.20.88.42
Type the password again. Then, after you logged in, we set the key as an authorized one and exit the server:
cat ~/id_rsa.pub >> ~/.ssh/authorized_keys;exit;
Done, try to log-in again:
ssh root@173.20.88.42;
From this moment on, you wont be asked for the password anymore: this is the magic ofRSA` in action.
We are not going to work under root, we need a special dedicated user to run our project under. I suggest making one user per project (in case if you run several projects on the same server). It brings order to chaos and makes us feel more secure. But first, (not coffee) we update everything:
yum update;
I usually name the user in the same way I name the project. Let it be
useradd myapp;
We also set up the password (you will need it when doing su myapp) and disable log-in with password:
passwd myapp;passwd -l myapp;
We make this user able to run commands with sudo
usermod -aG wheel myapp;
Yes, in Сentos wheel is the sudo group by default.
Now we give our user the same public SSH key we gave to root. No worries, without the private key our public one is just a piece of paper.
cd /home/myapp/;mkdir ./.ssh; chmod 711 ./.ssh;cat ~/id_rsa.pub >> ./.ssh/authorized_keys;chmod 600 ./.ssh/authorized_keys;chown -R myapp:myapp ./.ssh;rm ~/id_rsa.pub;
Since this moment, we can log-in under our myapp with SSH without specifying the password too.
In addition, you might want to add some splendid aliases and tune your shell a bit. Just put this listing inside /home/myapp/.bashrc and they will take effect on the next login:
alias rm='rm -ri'alias cp='cp -ri'alias mv='mv -i'# Source global definitionsif [ -f /etc/bashrc ]; then. /etc/bashrcfialias wf="tail -f -n 0"alias mkdir="mkdir -p"alias findfile="find ./ -type f -name"alias df="df -h"alias ls="ls --color=auto"alias ll="ls -alFh"alias grepr="grep -Rn"alias cp="cp -r"export PS1='[\t]:\u@\h:\W\$ 'export PAGER=less
You can add more aliases, different and beautiful, if want.
It is time to make our SSH even more secure. Before we start, I would kindly ask you to launch two (better three) SSH root sessions in the separate terminals. We are going to tune SSH settings, and if you screw up with this, you will no longer able to regain the access to our server, so you will end up texting your hoster support. A quick reminder:
ssh root@173.20.88.42;
Firstly, we disable the firewall, in case we have any (if the server is not the cheapest one, the firewall could be there and could be active):
systemctl disable firewalld;systemctl stop firewalld;systemctl mask firewalld;
We ensure there are no rules left in iptables (that is the name of the Linux firewall):
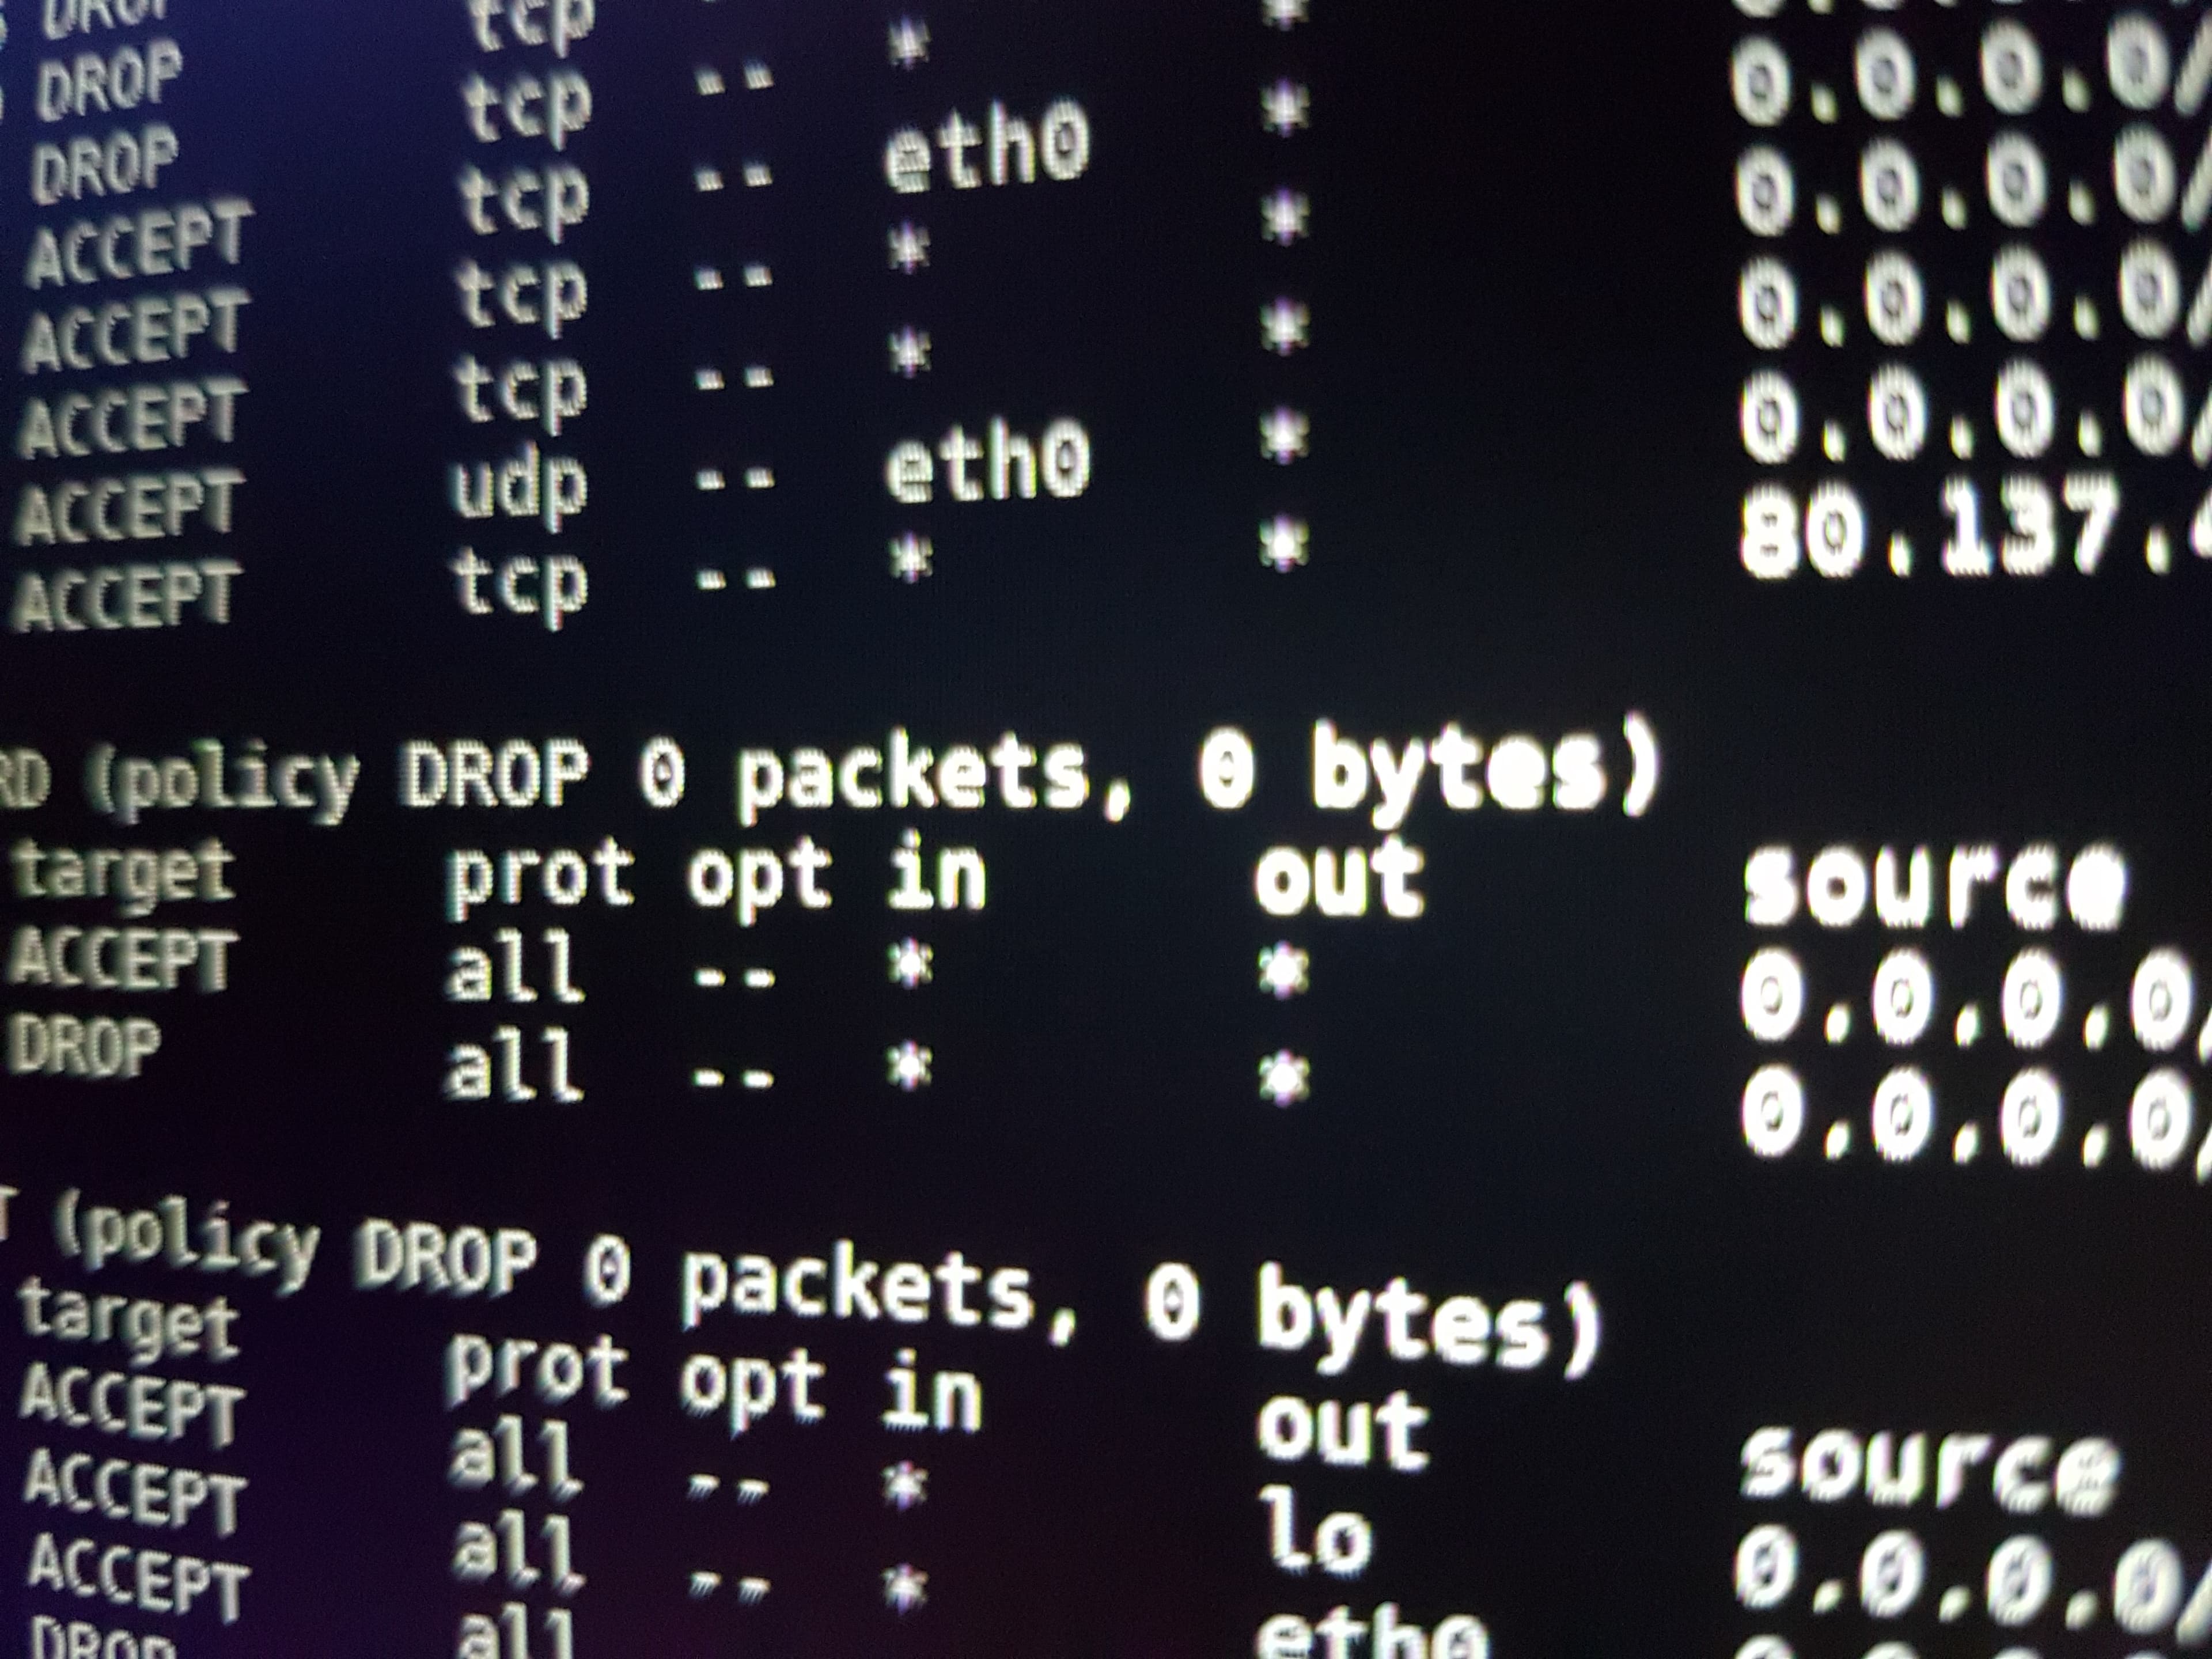
iptables -L -v -n
You should see picture like this:
Chain INPUT (policy ACCEPT 0 packets, 0 bytes)pkts bytes target prot opt in out source destinationChain FORWARD (policy ACCEPT 0 packets, 0 bytes)pkts bytes target prot opt in out source destinationChain OUTPUT (policy ACCEPT 0 packets, 0 bytes)pkts bytes target prot opt in out source destination
Thats it, you are now as vulnerable as a goat inside the lions cage. Except, you got nothing to steal from you. Yet.
Meanwhile, we could set the hostname, just to be able to find out quickly on which host we are at the moment:
hostnamectl set-hostname myappshost
I hope you know any console-based text editor because now we are going to use one. It will be vi. If you know nothing about vi, go study it on Wikipedia, it is time to grow up.
_ ...Several hours later... _
Open the SSHD (D — stands for “daemon”) config file like this:
vi /etc/ssh/sshd_config;
Edit Port option to move SSH daemon from the standard 22 port. Unless you want to face some bruteforcers, but the bandwidth is money, you know. In my case, I have picked 44227, but you can choose one between 1025 and 65535. Specifying something out of this range could (and for sure will) make your server inaccessible over SSH, so be extra careful.
Port 44227
Next, allow only the second version of the protocol, as it is more secure:
Protocol 2
Disable plain password authorization. Since that you will only be able to get authorized with your private SSH key, so look after it well, better even copy it to some USB stick.
PasswordAuthentication no
And finally, disable root SSH login at all: with a password or with a key, does not matter. Dont worry, you still will be able to startrootsession viasu root`.
PermitRootLogin no
Done editing the file: exit the editor and reload the sshd:
service sshd restart;
And now exit the session:
exit;
Now try to login with our myapp user:
ssh myapp@173.20.88.42 -p 44227;
Worked? It should have. But in case you cant login, go to the terminal with our “backup” root session and re-check the config file.
As a bonus, you may add some handy aliases to .bashrc file on your dev machine:
alias gomyapp="ssh myapp@173.20.88.42 -p 44227"alias scpmyapp-from="function _scpmyapp(){ scp -P 44227 myapp@173.20.88.42:$1 $2; };_scpmyapp"alias scpmyapp-to="function _scpmyappTo(){ scp -P 44227 $1 myapp@173.20.88.42:$2; };_scpmyappTo"
This is for “fast” login and for file transfers over scp.
Remember we have switched off the firewall? Right. It is time to turn it on back. There is a frontend to iptables, called firewalld. We are not going to use it. Instead, we will look under the hood an see how iptables actually works.
Next thing we are going to need is server WAN interface and its IP address — the network interface which server uses to connect to the outer world and its IP address. How to find out:
ip addr;
The output would be like this:
1: lo: <LOOPBACK,UP,LOWER_UP> mtu 65536 qdisc noqueue state UNKNOWN qlen 1xxxx whatever xxxxinet 127.0.0.1/8 scope host lovalid_lft forever preferred_lft foreverxxxx whatever xxxx2: eth0: <BROADCAST,MULTICAST,UP,LOWER_UP> mtu 1500 qdisc pfifo_fast state UP qlen 1000xxxx whatever xxxxinet 173.20.88.42 peer 10.0.0.1/32 brd 173.20.88.42 scope global eth0xxxx whatever xxxx
On a simple VDS you will see only two records. This first is your loopback interface which is always present, and the second one is for sure our WAN interface. If you have more than two interfaces in the list, please, consider asking your hoster support about which one to use. In my case, it is eth0, with the IP address 173.20.88.42. Please also keep in mind, that WAN IP and external IP are not always the same!
So, let`s check again the situation with firewall by typing
iptables -L -v -n;
It still should display the empty list of rules, where the “accept” policy is turned on by default. Now, we are going actually to add some rules. Here is the listing, read the explanation inside:
#!/bin/bashexport IPT="iptables"# This is your WAN interface nameexport WAN=eth0# Clear all chains$IPT -F$IPT -F -t mangle$IPT -X$IPT -t mangle -X# Set the policy by default to DROP. That means everything that does not match the criteria in this file and manually allowed, will be eventually dropped$IPT -P INPUT DROP$IPT -P OUTPUT DROP$IPT -P FORWARD DROP# Allow any traffic through the loopback interface$IPT -A INPUT -i lo -j ACCEPT$IPT -A OUTPUT -o lo -j ACCEPT# Allow ping - a special kind of packages which allows you to do "ping myapp.com"$IPT -A INPUT -p icmp --icmp-type echo-reply -j ACCEPT$IPT -A INPUT -p icmp --icmp-type destination-unreachable -j ACCEPT$IPT -A INPUT -p icmp --icmp-type time-exceeded -j ACCEPT$IPT -A INPUT -p icmp --icmp-type echo-request -j ACCEPT# Allow any outgoing traffic$IPT -A OUTPUT -o $WAN -j ACCEPT# Allow already established connections$IPT -A INPUT -p all -m state --state ESTABLISHED,RELATED -j ACCEPT$IPT -A OUTPUT -p all -m state --state ESTABLISHED,RELATED -j ACCEPT$IPT -A FORWARD -p all -m state --state ESTABLISHED,RELATED -j ACCEPT# There is some basic anti-DDOS magic below# Protect against unknown tcp packet flood$IPT -A INPUT -m state --state INVALID -j DROP$IPT -A FORWARD -m state --state INVALID -j DROP# Protect against zero-size tcp$IPT -A INPUT -p tcp --tcp-flags ALL NONE -j DROP# Protect against syn-flood$IPT -A INPUT -p tcp ! --syn -m state --state NEW -j DROP$IPT -A OUTPUT -p tcp ! --syn -m state --state NEW -j DROP# Protect against HTTP(S) flood$IPT -A INPUT -p tcp --dport 80 -i $WAN -m state --state NEW -m recent --set$IPT -A INPUT -p tcp --dport 80 -i $WAN -m state --state NEW -m recent --update --seconds 60 --hitcount 15 -j DROP$IPT -A INPUT -p tcp --dport 443 -i $WAN -m state --state NEW -m recent --set$IPT -A INPUT -p tcp --dport 443 -i $WAN -m state --state NEW -m recent --update --seconds 60 --hitcount 15 -j DROP# Also, you can block the specific addresses in case you are annoyed with it. I am going to leave this line commented out for now#$IPT -A INPUT -s 84.122.21.197 -j REJECT# Allow SSH traffic. Notice the port number, it should match the one we picked before!$IPT -A INPUT -i $WAN -p tcp --dport 44227 -j ACCEPT# Allow HTTP\HTTPS traffic$IPT -A INPUT -p tcp -m tcp --dport 80 -j ACCEPT$IPT -A INPUT -p tcp -m tcp --dport 443 -j ACCEPT# Allow DNS traffic$IPT -A INPUT -i $WAN -p udp --dport 53 -j ACCEPT# You can optionally enable logging, just for debug purposes. Dont forget to comment it back,# logs files will be happy to consume your hdd#$IPT -N block_in#$IPT -N block_out#$IPT -N block_fw#$IPT -A INPUT -j block_in#$IPT -A OUTPUT -j block_out#$IPT -A FORWARD -j block_fw#$IPT -A block_in -j LOG --log-level info --log-prefix "--IN--BLOCK"#$IPT -A block_in -j DROP#$IPT -A block_out -j LOG --log-level info --log-prefix "--OUT--BLOCK"#$IPT -A block_out -j DROP#$IPT -A block_fw -j LOG --log-level info --log-prefix "--FW--BLOCK"#$IPT -A block_fw -j DROP
Place this listing in the file called /root/iptables.sh (by using vi or scp), make it executable:
chmod 700 /root/iptables.sh;
And, eventually, execute the file:
/root/iptables.sh;
Are you still with me? Do you have your SSH connection safe and sound? If not, you screwed up with the file. No worries, just go to the control panel and restart the server. After server restarts, all rules should become empty again. Then you fix the file and re-try.
You can check if all the rules are there, by running one more time:
iptables -L -v -n;
As soon as you are happy, we need to make these rules permanent. Do:
yum install iptables-services;
This tool will allow us to controll iptables in a service manner. Then write the current rule table into the config file:
/sbin/iptables-save > /etc/sysconfig/iptables;
And finally, start the iptables service:
systemctl enable iptables.service;systemctl start iptables.service;
This will make sure your firewall is up and running, with everything applied as requested.
At this point, we exit root session and log-in under our myapp user. It is time.
exit;
ssh myapp@173.20.88.42 -p 44227;
There are options… We can install nodejs + npm globally, so, for the entire server we will have the same nodejs version. In general, this is not quite a brilliant solution, as soon as you want to run several nodejs applications. Another option could be to install nodejs locally for each user (one user — one application, remember?) We will consider both ways.
First, we need to pick the right version of our nodejs. It is very tempting to deploy the latest, fancy, bleeding-edge version available. But this is not going to work in the real life. In the real life, we face a lot of outdated, yet useful packages and frameworks, which are mandatory in the everyday life, but refuse to work on newer versions of nodejs. As an example, the recommended version of nodejs for Meteor 1.5 is… 4.8.6 or around that version. Having in mind the current stable version is 9. Life is hard.
Also, we can install nodejs in several different ways: install with yum, install some pre-built executable and even build it from source. We are going to use the second option. We go to https://nodejs.org and pick the right binary for our architecture.
Now, to install globally:
cd ~;wget https://nodejs.org/download/release/v4.8.6/node-v4.8.6-linux-x64.tar.gz;sudo tar --strip-components 1 -xzvf node-v* -C /usr/local;
Or, to install nodejs locally for myapp user:
cd ~;mkdir .node;cd .node;wget https://nodejs.org/dist/v4.8.6/node-v4.8.6-linux-x64.tar.xz;tar xf node-v4.8.6-linux-x64.tar.xz;rm node-v4.8.6-linux-x64.tar.xz;mv node-v4.8.6-linux-x64 4.8.6;ln -s 4.8.6 current;echo "export PATH=\"~/.node/current/bin:$PATH\"" >> ~/.bashrc;
Now to check the executable, re-login and test:
exit;ssh myapp@173.20.88.42 -p 44227;node --version;npm --version;
Worked? Good. We are half-way there.
Now it is time to set-up our MongoDB server. Nowadays, everywhere we hear the modern “microservices” and “PAAS” terms, so, for MongoDB, there are also options. We could use any MongoDB PAAS, which offers really fancy infrastructure, backups, scaling, sharding, monitoring and profiling out-of-the-box, but, unfortunately, not for free. For an established project this option is preferable, but at the beginning, you are probably not even close to 10% sure the project you have built will gain some profit. So I hope you are as greedy as I am because now we are going to install MongoDB locally.
As a good start, I offer you to look at the documentation on the official website: https://docs.mongodb.com/manual/tutorial/install-mongodb-on-red-hat/ It is short, easy and sound.
As soon as you are ready, start the server:
sudo systemctl start mongod.service;sudo systemctl enable mongod.service;
But not so fast, always mind the security, mister. First of all, lets set up the database password. Start the mongo shell, let`s create some user credentials.
mongo --port 27017;
First, create the administrator:
use admin;db.createUser({user: "administrator",pwd: "adminpassword123",roles: [ { role: "userAdminAnyDatabase", db: "admin" } ]});
Then, create a regular user to manage our project database. Let's name the database after the project — myapp:
use myapp;db.createUser({user: "myapp",pwd: "applicationpasswordXYZ",roles: [ { role: "readWrite", db: "myapp" } ]});
Of course, use your own, randomly-generated and long passwords here.
Now exit shell:
exit;
Now edit mongod config file here: /etc/mongod.conf
sudo vi /etc/mongod.conf;
Modify the block of settings in the following way to enable security:
securityauthorization: enabled
Reload the mongod service:
sudo systemctl restart mongod.service;
By the way, the database connection string in your application will look like this:
mongodb://myapp:applicationpasswordXYZ@localhost:27017/myapp
The last thing we for sure will do —we open the database to the outer world. It could be useful when you need to make a quick look at the production database with your desktop client, but we need to make some precautions.
There are two ways of acheive this:
- Expose the database to the WAN directly, or…
- Make a SSH tunnel.
We are going to discuss both.
We are going to need to know the IP address of your computer. Sounds a bit scary, doesn't it? How to find out (in case you don't know): google the phrase “my ip address” and enter the first website, for example, http://www.myipaddress.com/show-my-ip-address/. Let's assume your address is 213.71.25.78
Next, add the following rules to the iptables:
iptables -A INPUT -s 213.71.25.78 -p tcp --destination-port 27017 -m state --state NEW,ESTABLISHED -j ACCEPT;iptables -A OUTPUT -d 213.71.25.78 -p tcp --source-port 27017 -m state --state ESTABLISHED -j ACCEPT;
Reload iptables when done. Make sure the rules took effect.
After that, let's edit mongod config file here: /etc/mongod.conf
$ sudo vi /etc/mongod.conf;
Modify the block of settings in the following way:
net:bind_ip = 127.0.0.1,173.20.88.42
Where 173.20.88.42 is, as you remember, your WAN IP address. What is going on here? The bind_ip option contains the list of IP addresses our mongod binds at. Currently, both loopback and wan interfaces are allowed.
Reload the mongod service:
sudo systemctl restart mongod.service;
Please note though, your IP address is not static. It will alter every time you move from one wifi spot to another, when you restart your router, laptop and so on. So actually you may consider this only as a temporal measure. The more advanced option could be is to establish a SSH tunnel to your server.
Never ever leave your mongodb exposed to the outer world and unprotected with a password! One day some other guy will for sure get that IP address you allowed, and then… probably nothing will happen until your project is enough popular. But you got the idea, right?
The disadvantages of the previous method are obvious: it has weak security level, you need to update the firewall configuration to update the IP address frequently and so on. So, let me show you how we can make use of SSH in order to make a safe connection to our database. I assume now you got rid of all the changes made during the discussion of the first option, and reloaded the server. Now, let`s execute the following command:
ssh myapp@173.20.88.42 -p 44227 -Nf -L 27018:localhost:27017;
What does it do?
First, it connects to our server by SSH with our private key. Then it makes a tunnel to our mongod server running on the remote localhost at 27017 port, establishes a local server (on the dev machine) and keeps running in the background. Now we can connect to our database as if it is running on our local machine, by typing:
mongo --port 27018 myapp;
Note, that now the port is not 27017, but 27018. Everything you send to this server, automatically goes to the tunnel and then to the mongod server running on the production, safely and secure! Magic.
I also offer you to make use of some cool GUI tool to manage your databases, instead of typing mongodb commands in the terminal. Such software usually supports a lot of handy features, including SSH tunneling in particular.
Let me provide you with a brief instruction about how to buy a domain name for your application, and set it up. Four simple steps:
- Go to your favorite domain name registrar and buy the domain you liked. In our case, I assume, the domain will be
myapp.com. - Now you need to “place” this domain on a
DNSserver, which will be responsible for the domain in future. It is called “to delegate the domain”. Usually, it can be done through registrar's interface on their website. - You need to set up a so-called A record, which allows to map your domain name to the
IP addressof our server. In our case, to173.20.88.42. - Wait till your update is spread across the whole
DNSsystem. It can take up to 72 hours, but it never took more than a day in my case.
As always, there could be complications. By default, the domain will be delegated to the registrar's server. But some services do not provide the ability to set up A record for the domain for free. Instead of paying money to them, you could try and delegate the domain to the DNS server of your hoster, and probably there you can do it with no extra charges (you already paid them for VDS, what else do they need, huh?).
If you feel confident and brave enough, you can even set up your own DNS server, make it responsible for a zone of your domain and delegate the domain. But, as you understand, it will require extra work and involves higher responsibility…
Let's install Nginx. That one is easy.
sudo yum install epel-release;sudo yum install nginx;sudo systemctl start nginx.service;sudo systemctl enable nginx.service;
Now we are going to customize it`s config file a bit. Actually, we will replace it completely.
vi /etc/nginx/nginx.conf;
Here is the contents of the config file:
user nginx;worker_processes auto;pid /run/nginx.pid;events {worker_connections 1024;}http {log_format main '$remote_addr - $remote_user [$time_local] "$request" ''$status $body_bytes_sent "$http_referer" ''"$http_user_agent" "$http_x_forwarded_for"';access_log /var/log/nginx/access.log main;error_log /var/log/nginx/error.log warn;sendfile on;tcp_nopush on;tcp_nodelay on;keepalive_timeout 65;types_hash_max_size 2048;client_max_body_size 5M;include /etc/nginx/mime.types;default_type application/octet-stream;server_tokens off; # for security-by-obscurity: stop displaying nginx version# this section is needed to proxy web-socket connectionsmap $http_upgrade $connection_upgrade {default upgrade;'' close;}include /etc/nginx/sites-enabled/*;}
We will manage virtual hosts in the Apache way: we create a separate file for each new application, having it inside /etc/nginx/sites-available/, then creating the symbolic link to /etc/nginx/sites-enabled/. Cool, huh? Let`s do it.
sudo mkdir /etc/nginx/sites-available;sudo mkdir /etc/nginx/sites-enabled;
Now we create the file inside /etc/nginx/sites-available/ called myapp.conf:
sudo vi /etc/nginx/sites-available/myapp.conf;
With the following content:
server {listen 80;server_name myapp.com my-app.com my-whatever-else-app.com;####################################### HTTP -> HTTPS# redirect all domains to the canonical one: myapp.comrewrite ^ https://myapp.com$request_uri? permanent;}server {listen 443 ssl;server_name myapp.com;####################################### SSL config# self-signed:ssl_certificate /etc/ssl/certs/nginx-selfsigned.crt;ssl_certificate_key /etc/ssl/private/nginx-selfsigned.key;# real:# ssl_certificate /etc/letsencrypt/live/myapp.com/fullchain.pem;# ssl_certificate_key /etc/letsencrypt/live/myapp.com/privkey.pem;# performance enhancement for SSLssl_stapling on;ssl_session_cache shared:SSL:10m;ssl_session_timeout 5m;# safety enhancement to SSL: make sure we actually use a safe cipherssl_prefer_server_ciphers on;ssl_protocols TLSv1 TLSv1.1 TLSv1.2;ssl_ciphers 'ECDHE-RSA-AES128-GCM-SHA256:ECDHE-ECDSA-AES128-GCM-SHA256:ECDHE-RSA-AES256-GCM-SHA384:ECDHE-ECDSA-AES256-GCM-SHA384:kEDH+AESGCM:ECDHE-RSA-AES128-SHA256:ECDHE-ECDSA-AES128-SHA256:ECDHE-RSA-AES128-SHA:ECDHE-ECDSA-AES128-SHA:ECDHE-RSA-AES256-SHA384:ECDHE-ECDSA-AES256-SHA384:ECDHE-RSA-AES256-SHA:ECDHE-ECDSA-AES256-SHA:DHE-RSA-AES128-SHA256:DHE-RSA-AES128-SHA:DHE-RSA-AES256-SHA256:DHE-DSS-AES256-SHA:AES128-GCM-SHA256:AES256-GCM-SHA384:ECDHE-RSA-RC4-SHA:ECDHE-ECDSA-RC4-SHA:RC4-SHA:HIGH:!aNULL:!eNULL:!EXPORT:!DES:!3DES:!MD5:!PSK';# config to enable HSTS# to avoid ssl strippingadd_header Strict-Transport-Security "max-age=31536000;";####################################### Verifications# letsencrypt certbotlocation /.well-known {alias /home/nginx/ssl/myapp/.well-known;}location /google999999999999999.html {rewrite ^/(.*) $1;return 200 "google-site-verification: $uri";}####################################### Proxy passtry_files $uri $uri/ =404;location / {proxy_pass http://localhost:11001;proxy_http_version 1.1;proxy_set_header Upgrade $http_upgrade; #for websocketsproxy_set_header Connection $connection_upgrade;proxy_set_header X-Forwarded-For $remote_addr;proxy_set_header Host $host;}}
What is important here for us? As you can see, we declared actually two servers. The first one accepts connections with the insecure HTTP to the domain itself or to its ugly dwarf twins and redirects everything to the canonical https://myapp.com domain. The second server describes so-called reversed-proxy pass which basically dumps all the incoming traffic to our Meteor application, which, in order, hangs on the loopback interface, being inaccessible externally. This approach is called “to use Nginx as a frontend”.
In this case, Nginx also takes care about TLS, so you don't need to set up any certificates on the level of Meteor application itself. Also, note the port number in http://localhost:11001 — you are going to make use of it later.
So, at this moment we create a self-signed TLS certificate. No worries, it is just for testing.
sudo mkdir /etc/ssl/private/;sudo openssl req -x509 -nodes -days 365 -newkey rsa:2048 -keyout /etc/ssl/private/nginx-selfsigned.key -out /etc/ssl/certs/nginx-selfsigned.crt;
Then we activate our virtual host:
cd /etc/nginx/sites-enabled/;sudo ln -s ../sites-available/myapp.conf ./;
And reload Nginx:
sudo nginx -s reload;
Hopefully, you will not see any errors.
Checking! In your favorite browser, type http://myapp.com If you got redirected to https://myapp.com, you see Nginx Bad Gateway 502 error and the browser started to complain about the invalid certificate — you are on the right way. Great. Now we get a valid certificate.
Instead of buying an expensive commercial certificate, we are going to satisfy our needs with the free one, put in use the famous letsencrypt.com service. So, first, install the software:
sudo yum install certbot;sudo yum install cronie;
Then we create folders which will help us to pass the challenge and save the princess. “What challenge, dude? What princess?” — I see your question. Well, you need to prove that you own the domain you are going to protect with a certificate, that is why certbot places a special file, which should be correctly served by Nginx so it becomes accessible from outside.
sudo mkdir -p /home/nginx/ssl/myapp/.well-known;sudo chown -R nginx:nginx /home/nginx/;
Now try to obtan the certificate:
certbot certonly --webroot -w /home/nginx/ssl/myapp/ -d myapp.com --dry-run;
If it says the dry run was successful, repeat the same command without the dry-run option. Hopefully, you will find your certificate at /etc/letsencrypt/live/myapp.com/. In case of any problems, don't force the certbot to execute the command multiple times: if you fail 20 attempts in a row, you will end up banned for 1 hour.
The last thing: go to the Nginx virtual host config file
sudo vi /etc/nginx/sites-available/myapp.conf;
Remove lines for the self-signed certificate, and un-comment lines for the real one. Reload Nginx:
sudo nginx -s reload;
Go to https://myapp.com. Hopefully, you can see the browser now treats your certificate as valid, green and happy.
You think we are done? Not so fa-ast! The certificate issued by Letsencrypt stays valid only for 3 months (or so), that is why we need to make it auto-renewable. Remember we installed cronie before? Right. Start the root session (you are going to need your root password here):
su root;
Now edit root's crontab:
crontab -e;
And place the following there:
00 05 * * * /usr/bin/certbot renew03 05 * * * /usr/bin/systemctl reload nginx
This will run the renewal request every day at 5 am and, 3 minutes later, reload Nginx.
Now it is done.
Guys, we are almost there! Now it is time to find out, how we are going to deploy the application itself!
First step: on the server we install pm2 — the advanced process manager for launching nodejs applications. It provides a lot of features, you are going to like it.
sudo npm install pm2 -g;
Now go to your local machine, and install there pm2-meteor — a version of pm2 made specially for Meteor.
npm i pm2-meteor -g;
Open the folder with your app, for example:
cd /home/developer/work/myapp/;
We are going to create the deployment settings folder there:
mkdir -p ./.deployment/production/;cd .deployment/production/;echo "{}" > settings.json;
Just like npm or gulp or other similar software, pm2-meteor uses special .json file to keep the configuration. We either generate this file with
pm2-meteor init;
Or we can write it manually. Here is the example:
{"appName": "myapp","appLocation": {"local": "../../"},"meteorSettingsLocation": "./settings.json","meteorSettingsInRepo": false,"prebuildScript": "","meteorBuildFlags": "--architecture os.linux.x86_64","env": {"ROOT_URL": "https://myapp.com","PORT": "11001","MONGO_URL": "mongodb://myapp:applicationpasswordXYZ@localhost:27017/myapp"},"server": {"host": "173.20.88.42","port": "44227","username": "myapp","deploymentDir": "/home/myapp","loadProfile": "","nvm": {"bin": "","use": ""},"exec_mode": "cluster_mode","instances": "2","pem": "/home/developer/.ssh/id_rsa"}}
Let's discuss important parts here:
env.ROOT_URL— this is our domain with https attached.env.PORT— the applicationTCPport to bind at. Remember the config file of our nginx proxy-pass? Yes, the same number here.env.MONGO_URL— the connection string to our localMongoDBserverserver.host—WAN IP addressof ourVDSserver.port—SSHportsever.username— the application userserver.deploymentDir— our project root folder on the serverserver.pem— the path to your private (not public)SSHkey on your local machine (this one is used to make a connection when deploying)
In addition, if your server has several cores (a good server should have more than one), we can set server.exec_mode to “cluster_mode” and specify the number of cores with server.instances. It will allow us to run several instances of the application an balance between them.
Now the deployment is simple like never. At the same folder just type
pm2-meteor deploy;
At the end of the process, go to the server and type
pm2 imonit;
You will see your instances up and running. Finally access your application at https://myapp.com. It`s alive… ALIVE!!!
You can view the console output of your application by typing
pm2 log --lines 10;
Last step, guys! We need to make sure our application starts automatically after the server gets restarted. Forget about forever and stuff like that, with pm2 it is very easy to achieve:
pm2 startup;pm2 save;
PM2 is smart enough to detect we are using Centos and that SystemD is available. SystemD is a special mechanism that helps to control applications. After this is done, open the file:
sudo vi /etc/systemd/system/pm2-myapp.service;
And remove the following line:
Type=forking
It should not be there, this is a bug in PM2 service file generator.
Guys, an important remark, while you are still here. If due to some reason you decided not to use PM2 for the deployment process, and instead decided to deploy by hands (still possible yet more complicated): do not forget to set NODE_ENV to “production”. By not doing so, when typing ‘npm install’ you will add a lot of packages which are meant to be used only in the development environment. For example, babel, mocha, gulp and other packages could be installed. Moreover, in the ‘development’ mode some packages can have severe security and performance issues, so be careful.
The easiest way to set the variable is to execute the following command, being logged in under myapp user:
echo "export NODE_ENV=\"production\"" >> ~/.bashrc;
and then relogin\restart the server. In case of using PM2, it will set up NODE_ENV automatically inside the SystemD service file.
Well, that is basically all. Pheeew… That was a long one. We have gone from the top to the bottom, reviewed the entire process. Now you know how to make use of the Meteor application you wrote. Further improvements could involve, for instance:
- Make use of
Docker - Implement continuous integration with
TravisorJenkins - Set-up the production of daily backups
- Configure integration with services like
Prerender, to make your app crawlable
Thanks for reading, guys, have fun!
