
Making an IoT smart home device scanner using Flutter
In the previous article I made an Arduino-based weather indicator, a dream of my childhood. Since it exposes REST API, it is time to build some front-end.
Initially I was thinking about making some desktop application with already familiar React and Go using Wails, but then I thought that maybe in the future I might want to make something that my kid could use too, some kind of application suitable for running on a mobile or a tablet.
My second option was a PWA. While PWAs nowadays are amazing and powerful, and embody a whole ecosystem in itself, it still lacked a key feature I needed - to perform an ICMP scan of a Wi-Fi network.
Then I thought about Kotlin. I have some teeny-weeny experience with Kotlin, but I honestly I didn't want to develop myself in that direction and dedicate a week or so to a refresher.
Eventually, since I knew React pretty damn well, I chose Flutter instead. The Dart language Flutter is based on bears a lot of similarities to TypeScript, and the Flutter itself was designed after React, so the choice was a promising investment.
Unlike ReactNative, Flutter compiles into native code for every supported platform.
Flutter has amazing documentation, but some steps were not entirely covered. So, here is just a quick summary of the installation process:
- Install Dart
- Install Flutter
- Add path to
.bash_profile:export PATH=$HOME/bin/flutter/bin:$PATH
- Add path to
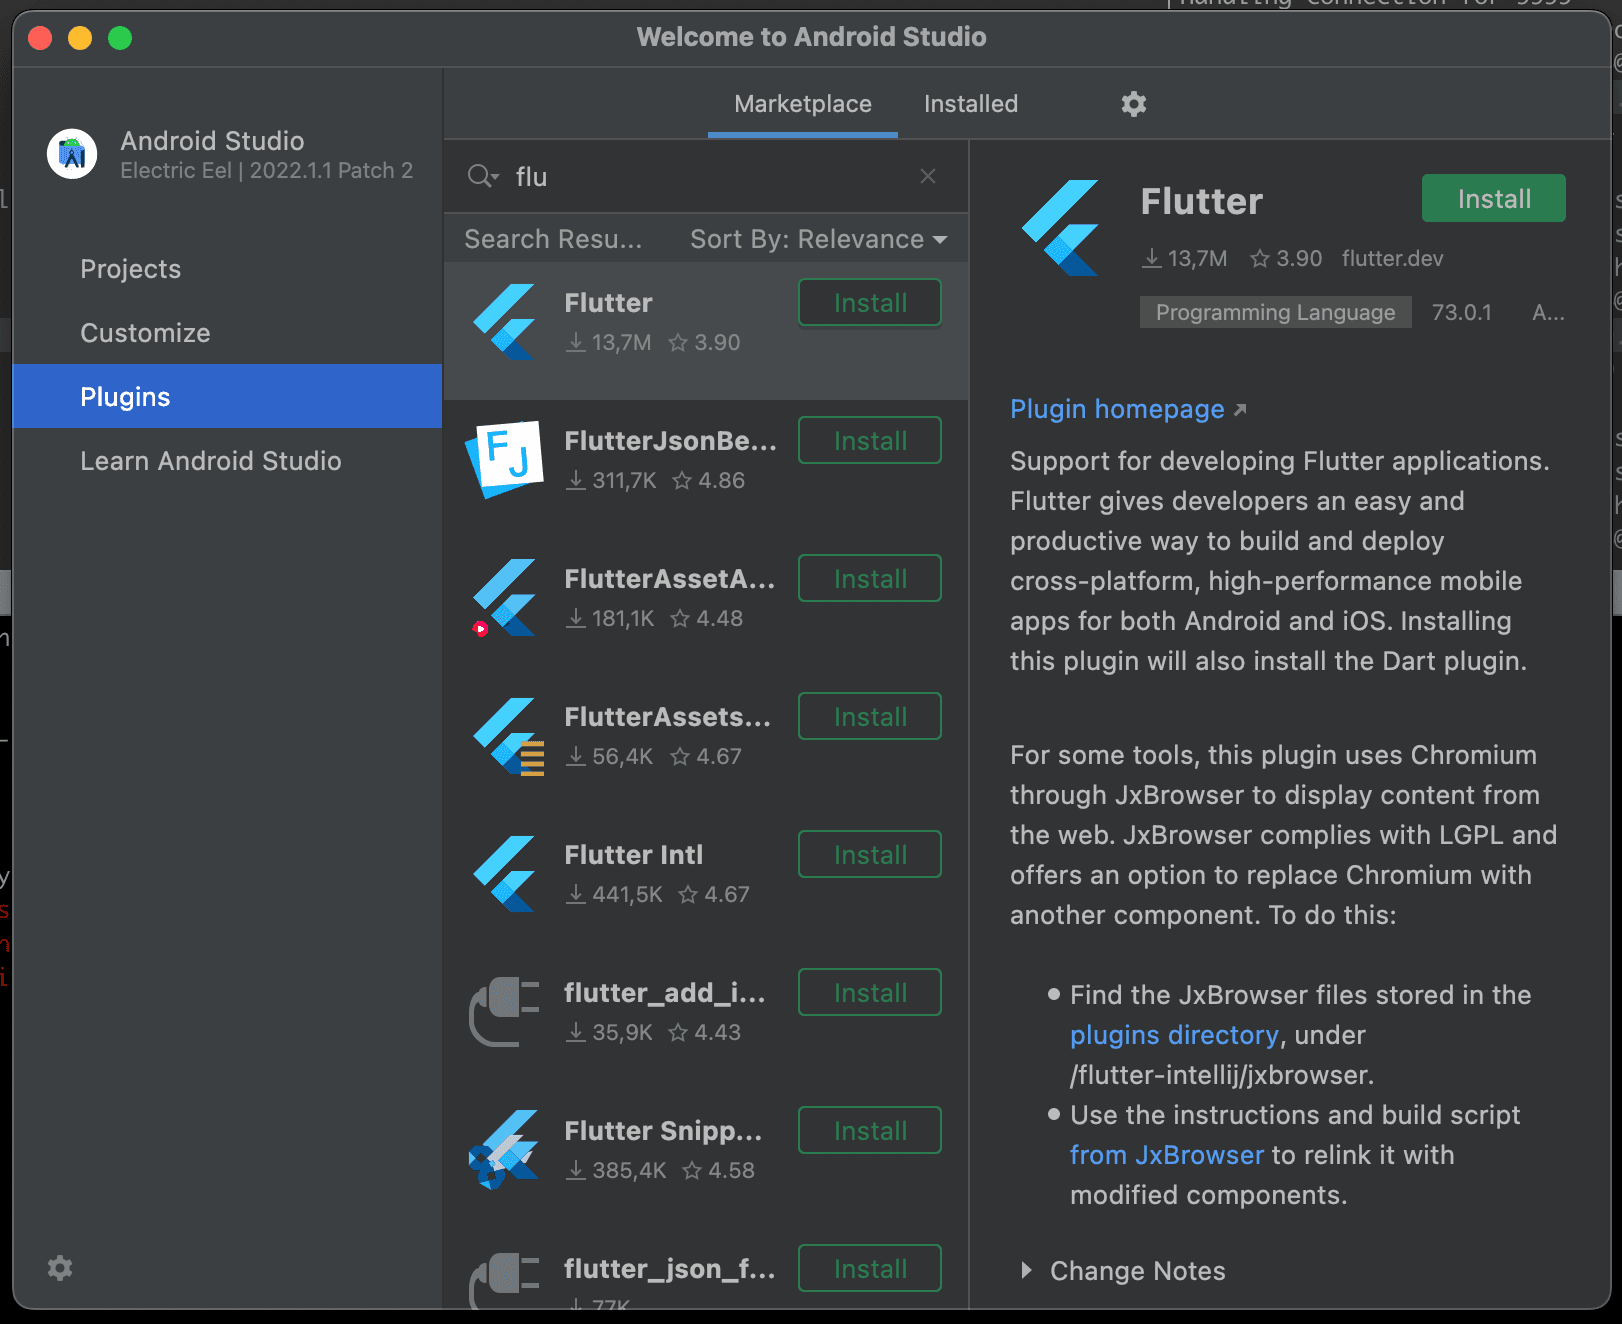
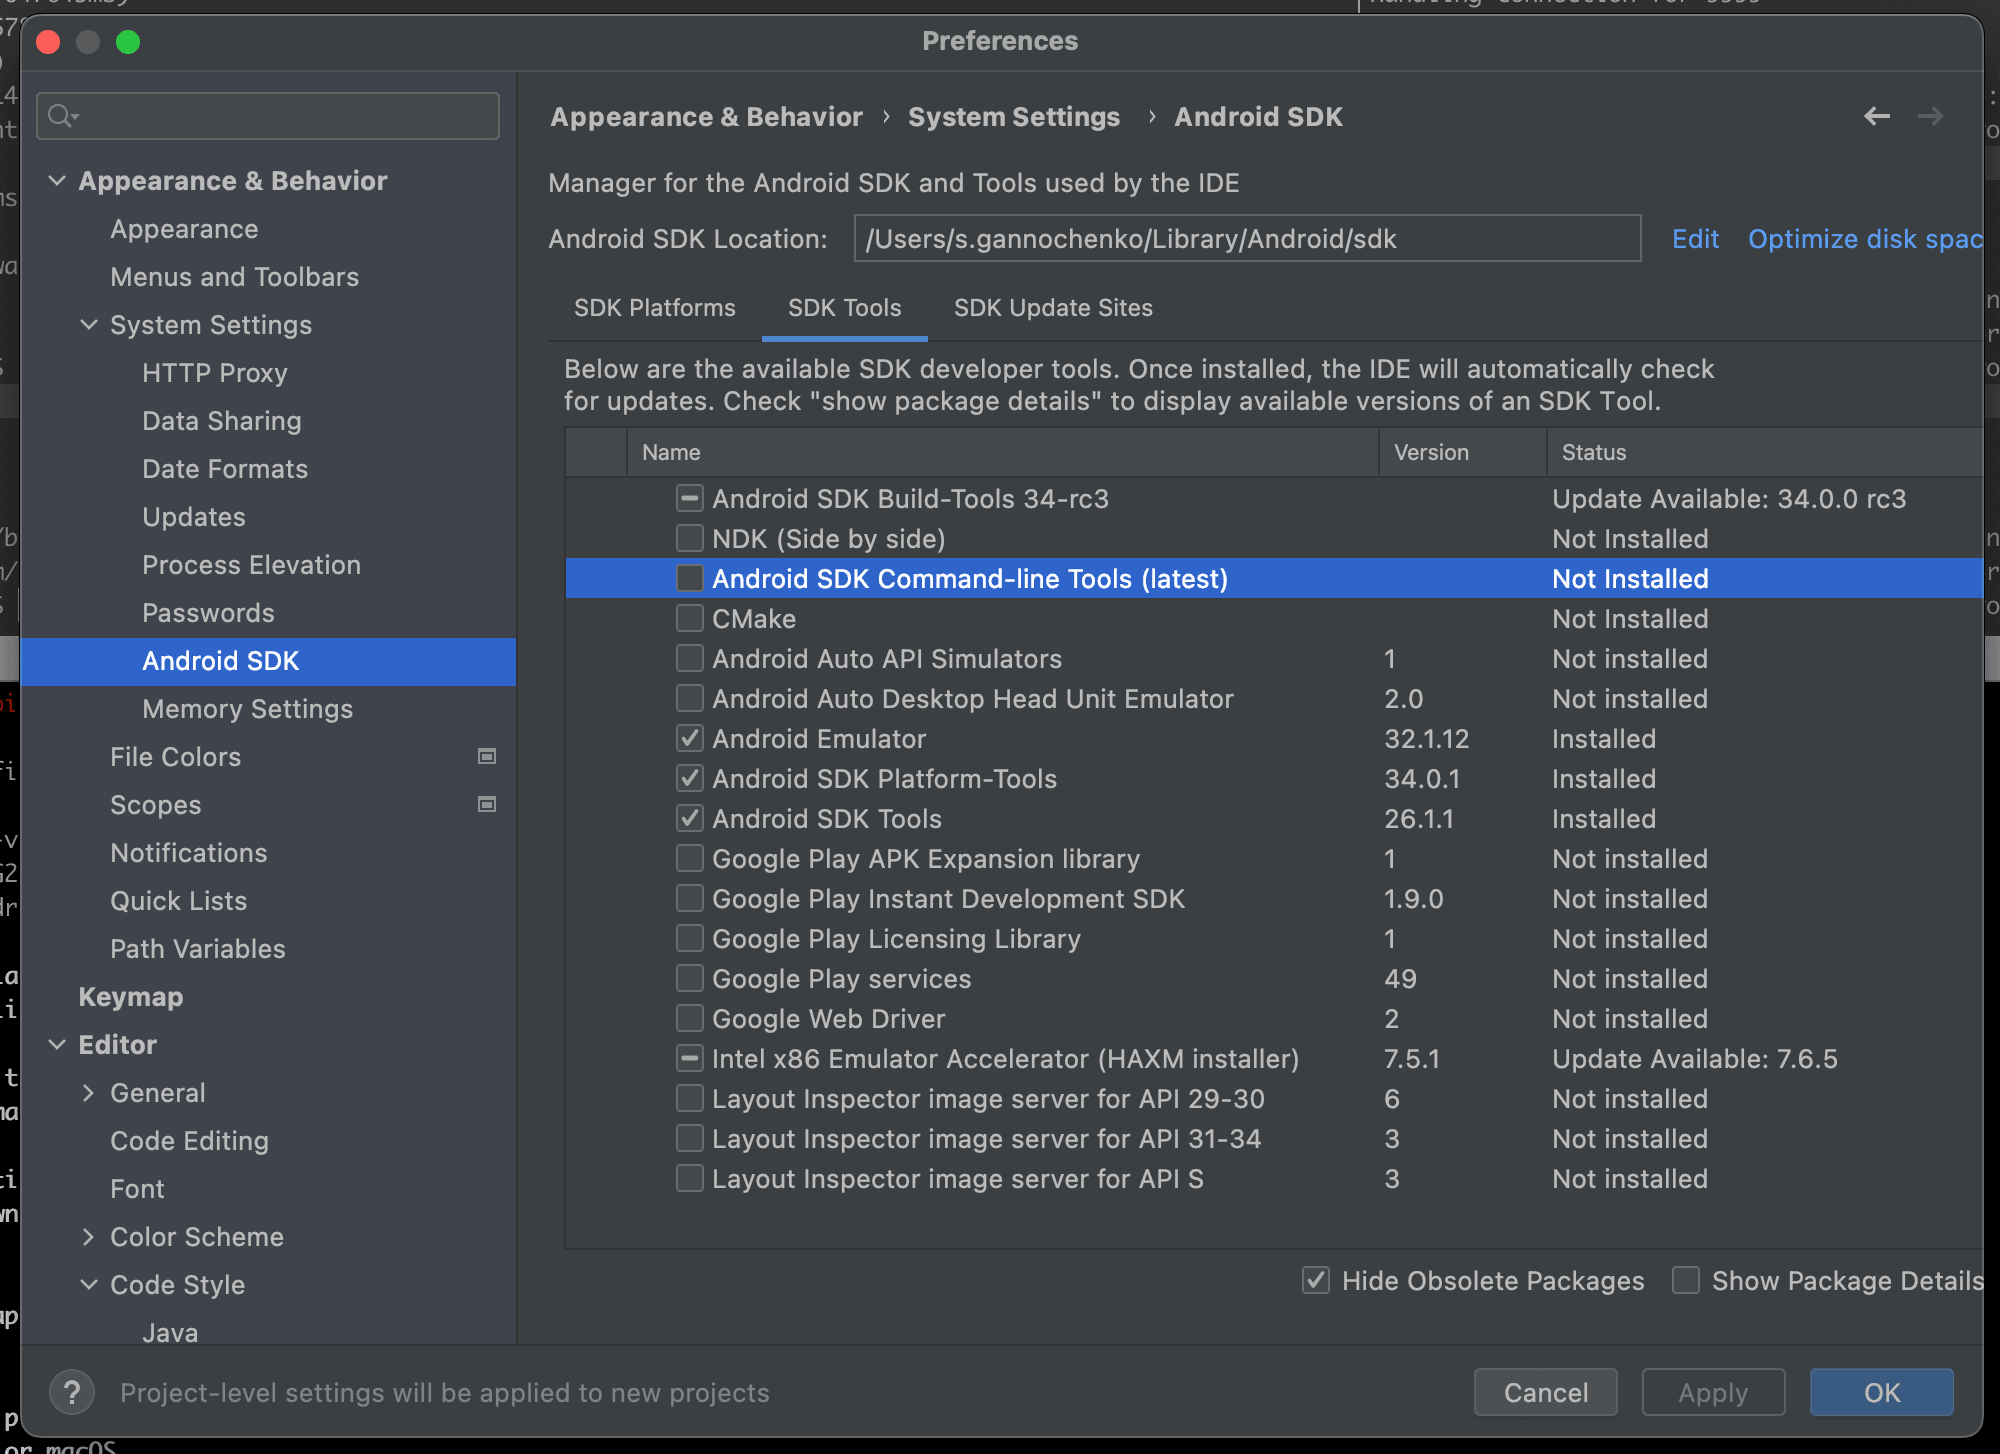
- Install Android Studio, add the Flutter plugin, then add the Android CLI tools
- Run
flutter doctorto see what else is missing. Ignore everything xcode-related in case if you don't plan to build for iOS/MacOS (like myself).

A data structure that holds the information about a device is declared as the DeviceInfo class.
import 'dart:convert';import 'dart:io';import 'package:http/http.dart' as http;typedef DeviceInfoMap = Map<String, String>;typedef DeviceInfoResult = Map<String, String>;class DeviceInfo {static DeviceInfo fromMap(DeviceInfoMap value) {return DeviceInfo(ip: value['ip']!, kind: value['kind']!, hostName: value['hostName']!, name: value['name']!);}DeviceInfo({required this.ip,required this.kind,required this.hostName,required this.name,});final String ip;final String kind;final String hostName;final String name;DeviceInfoMap toMap() {return DeviceInfoMap.from({'ip': ip, 'kind': kind, 'hostName': hostName, 'name': name});}}class DeviceInfoLoader {Future<DeviceInfo> getInfoByIP(String ip) async {var info = await _getInfo(ip);if (info['kind'] == "") {throw Exception("Not a device we are looking for");}var hostName = await _getHostName(ip);return DeviceInfo(ip: ip, kind: info['kind']!, hostName: hostName, name: info['name']!);}Future<DeviceInfoResult> _getInfo(String ip) async {DeviceInfoResult result = {};try {final response = await http.get(Uri.parse("http://$ip:80/info")).timeout(const Duration(seconds: 5));if (response.statusCode == 200) {Map<String, dynamic> jsonMap = jsonDecode(response.body);result['kind'] = jsonMap['kind'];result['name'] = jsonMap['name'];}} catch(error) {print(error);}return result;}Future<String> _getHostName(String ip) async {try {final address = await InternetAddress.lookup(ip);if (address.isNotEmpty && address.first.host != "") {return address.first.host;}} catch(error) {}return "";}}
There was also the device loader, a service that takes device's IP address and tries to call the GET /info endpoint. If the call was successful, it checks what kind of device this is.
I should have probably moved that class out into a separate file.
The heart of the application is a scanner of the Wi-Fi network, based on the lan_scanner package. It does not support iOS (why am I not surprised?), but for this particular project only Android was required. I could afford performing such sort of scan, because it's a C-class network, that can serve only up to 254 devices.
import 'dart:async';import 'package:network_info_plus/network_info_plus.dart';import 'package:lan_scanner/lan_scanner.dart';import '../services/device_info.dart';typedef OnProgressCallback = void Function(double);class Scanner {final OnProgressCallback onProgress;final DeviceInfoLoader _loader = DeviceInfoLoader();Scanner({required this.onProgress,});Future<Stream<DeviceInfo>> scanWiFi() async {var wifiIP = await NetworkInfo().getWifiIP();if (wifiIP == null) {throw const FormatException("Could not get WiFi IP. Is WiFi connection on?");}var subnetIP = ipToCSubnet(wifiIP);final scanner = LanScanner();var scanStream = scanner.icmpScan(subnetIP, progressCallback: (progress) {onProgress(progress);});print("Subnet IP = "+subnetIP);return scanStream.transform(StreamTransformer.fromHandlers(handleData: (HostModel host, EventSink<DeviceInfo> sink) async {var info = await _loader.getInfoByIP(host.ip);if (info.kind != "") {sink.add(info);} else {print("Device ${host.ip} was not recognised");}},handleError: (error, stackTrace, sink) => sink.addError(error),handleDone: (sink) => sink.close(),));}}
Just don't forget to add permissions to Android manifest:
...<uses-permission android:name="android.permission.INTERNET" /><uses-permission android:name="android.permission.ACCESS_NETWORK_STATE" />...
I don't scan the network every time the application is launched. As soon as I get the results, I store it into a file and later re-use for rendering the list of available devices. A user can any time re-do scanning by pressing a button.
import 'dart:io';import 'dart:convert';import 'package:path_provider/path_provider.dart';import 'package:path/path.dart' as path;const filePathRelative = "./devices.json";typedef Devices = List<Map<String, String>>;typedef StoredDevices = Map<String, Devices>;class DeviceListStorage {Future<Devices> load() async {final filePath = await _getFilePath(filePathRelative);final file = File(filePath);String content = await file.readAsString();Map<String, dynamic> json = jsonDecode(content);if (json.containsKey('devices')) {var devices = json['devices'];Devices result = [];devices.forEach((device) {result.add(Map<String, String>.from({'ip': device['ip'],'kind': device['kind'],'hostName': device['hostName'],'name': device['name'],}));});return result;}return [];}Future<void> store(Devices devices) async {final filePath = await _getFilePath(filePathRelative);final file = File(filePath);StoredDevices content = {'devices': devices};final jsonString = jsonEncode(content);await file.writeAsString(jsonString);}Future<String> _getFilePath(String filePath) async {final directory = await getApplicationDocumentsDirectory();return path.join(directory.path, filePath);}}
The entry point to a Flutter application is the main() function. Here I used go_router as an alternative to a default one. It supports page transitions and a lot of cool stuff, so I thought better stick to it in the first place.
import 'package:flutter/material.dart';import 'package:go_router/go_router.dart';import './views/home.dart';import './views/device.dart';void main() {runApp(MaterialApp.router(routerConfig: router));}final router = GoRouter(routes: [GoRoute(path: '/',builder: (_, __) => const HomePage(),routes: [GoRoute(path: 'device/:ip',builder: (context, state) {return DevicePage(ip: state.params["ip"]!,);},),],),],);
So a typical Flutter view with a state consists of two class definitions: the widget and the state. The state class has setState() method that works in the same manner as in React, and reminds me of how MobX does it.
The build() method is an analog of render() from React.
There is also a constructor and life cycle methods such as initState() and dispose(), similar to React's componentDidMount() and componentWillUnmount().
import 'dart:async';import 'package:flutter/material.dart';import 'package:go_router/go_router.dart';import '../services/device_info.dart';import '../services/device_list_storage.dart';import '../util.dart';import '../services/scanner.dart';class HomePage extends StatefulWidget {const HomePage({super.key});final String title = "Available devices";@overrideState<HomePage> createState() => HomePageState();}class HomePageState extends State<HomePage> {bool _scanning = false;double _progress = 0;StreamSubscription<DeviceInfo>? _subscription;List<DeviceInfo> _devices = [];DeviceListStorage deviceListStorage = DeviceListStorage();late Scanner _scanner;@overrideHomePageState(): super() {_scanner = Scanner(onProgress: (double value) {setState(() {_progress = value;});});}@overridevoid initState() {super.initState();_loadDevices();}@overridevoid dispose() {// todo: stop the process, if runningsuper.dispose();}Future<void> _loadDevices() async {var result = await deviceListStorage.load();List<DeviceInfo> storedDevices = result.map((element) => DeviceInfo.fromMap(element)).toList();setState(() {_devices = storedDevices;});}void _startScan() async {if (_subscription != null) {return;}try {var stream = await _scanner.scanWiFi();_subscription = stream.listen((deviceInfo) {setState(() {_devices.add(deviceInfo);});}, onDone: () {_resetScan();if (_devices.isEmpty) {showNotification("No devices detected");} else {deviceListStorage.store(_devices.map((device) => device.toMap()).toList());}});setState(() {_scanning = true;_progress = 0;_devices = [];});} catch (e) {if (e is FormatException) {showError(e.message);}}}void _stopScan() async {_subscription?.cancel();_resetScan();}void _onActionButtonClick () {if (_isScanning()) {_stopScan();} else {_startScan();}}void _resetScan() {_subscription = null;setState(() {_scanning = false;_progress = 0;});}bool _isScanning() {return _subscription != null;}Future<void> _refreshList() async {if (!_isScanning()) {_startScan();await Future.delayed(const Duration(seconds: 3));}}Icon _getActionButtonIcon() {if (!_scanning) {return const Icon(Icons.refresh);} else {return const Icon(Icons.stop);}}void _onDeviceClick(BuildContext context, DeviceInfo device) {GoRouter.of(context).go('/device/${device.ip}');}@overrideWidget build(BuildContext context) {return Scaffold(appBar: AppBar(title: Text(widget.title),),body: Stack(children: [LinearProgressIndicator(value: _progress),RefreshIndicator(onRefresh: _refreshList,child:ListView.builder(itemCount: _devices.length,itemBuilder: (BuildContext context, int index) {return Card(child: ListTile(title: Text(_devices[index].name),subtitle: Text('IP: ${_devices[index].ip}, hostname: ${_devices[index].hostName}'),onTap: () => _onDeviceClick(context, _devices[index]),),);},),)],),floatingActionButton: FloatingActionButton(onPressed: _onActionButtonClick,child: _getActionButtonIcon(),),);}}
I show notifications using the fluttertoast package, so I made a small wrapper around it and put to the util file:
import 'package:fluttertoast/fluttertoast.dart';import 'package:flutter/material.dart';String convertSnakeToHuman(String input) {return input.toLowerCase().replaceAll(RegExp(r'_+'), ' ');}void showError(String message) {Fluttertoast.showToast(msg: message,toastLength: Toast.LENGTH_SHORT,gravity: ToastGravity.CENTER,timeInSecForIosWeb: 1,backgroundColor: Colors.red,textColor: Colors.white,fontSize: 16.0);}void showNotification(String message) {Fluttertoast.showToast(msg: message,toastLength: Toast.LENGTH_SHORT,gravity: ToastGravity.CENTER,timeInSecForIosWeb: 1,backgroundColor: Colors.black,textColor: Colors.white,fontSize: 16.0);}
The second view that shows the specific device UI is structured in a similar way.
import 'package:flutter/material.dart';import '../services/device_info.dart';import '../util.dart';import '../widgets/devices/weather_indicator.dart';import '../widgets/drawer.dart';Map<String, Widget Function(DeviceInfo device)> widgetMap = {"WEATHER_INDICATOR": (DeviceInfo device) => WeatherIndicator(device: device),};class DevicePage extends StatefulWidget {const DevicePage({super.key,required this.ip,});final String ip;final String title = "Device";@overrideState<DevicePage> createState() => DevicePageState();}class DevicePageState extends State<DevicePage> {DeviceInfo? _device;final DeviceInfoLoader _deviceLoader = DeviceInfoLoader();@overridevoid initState() {super.initState();_loadDevice();}Future<void> _loadDevice() async {var ip = widget.ip;try {var info = await _deviceLoader.getInfoByIP(ip);setState(() {_device = info;});} catch(e) {if (e is FormatException) {showError(e.message);}}}Widget _getDeviceWidget() {final dev = _device;if (dev != null) {var kind = dev.kind;if (widgetMap.containsKey(kind)) {return widgetMap[kind]!(dev);}}return const SizedBox.shrink();}@overrideWidget build(BuildContext context) {var loading = _device == null;var name = _device == null ? "" : _device!.name;return Scaffold(appBar: AppBar(title: Text('${widget.title}: $name'),),drawer: const DrawerWidget(),body: Stack(children: [loading ?const Center(child: Text("Loading...")) :_getDeviceWidget(),],),);}}
The service just reads the current indications.
import 'dart:convert';import 'package:http/http.dart' as http;class WeatherIndicatorService {Future<int> getReadings(String ip) async {try {final response = await http.get(Uri.parse("http://$ip:80/readings")).timeout(const Duration(seconds: 5));if (response.statusCode == 200) {Map<String, dynamic> jsonMap = jsonDecode(response.body);return jsonMap['readings'];} else {return 0;}} catch(error) {print(error);}return 0;}}
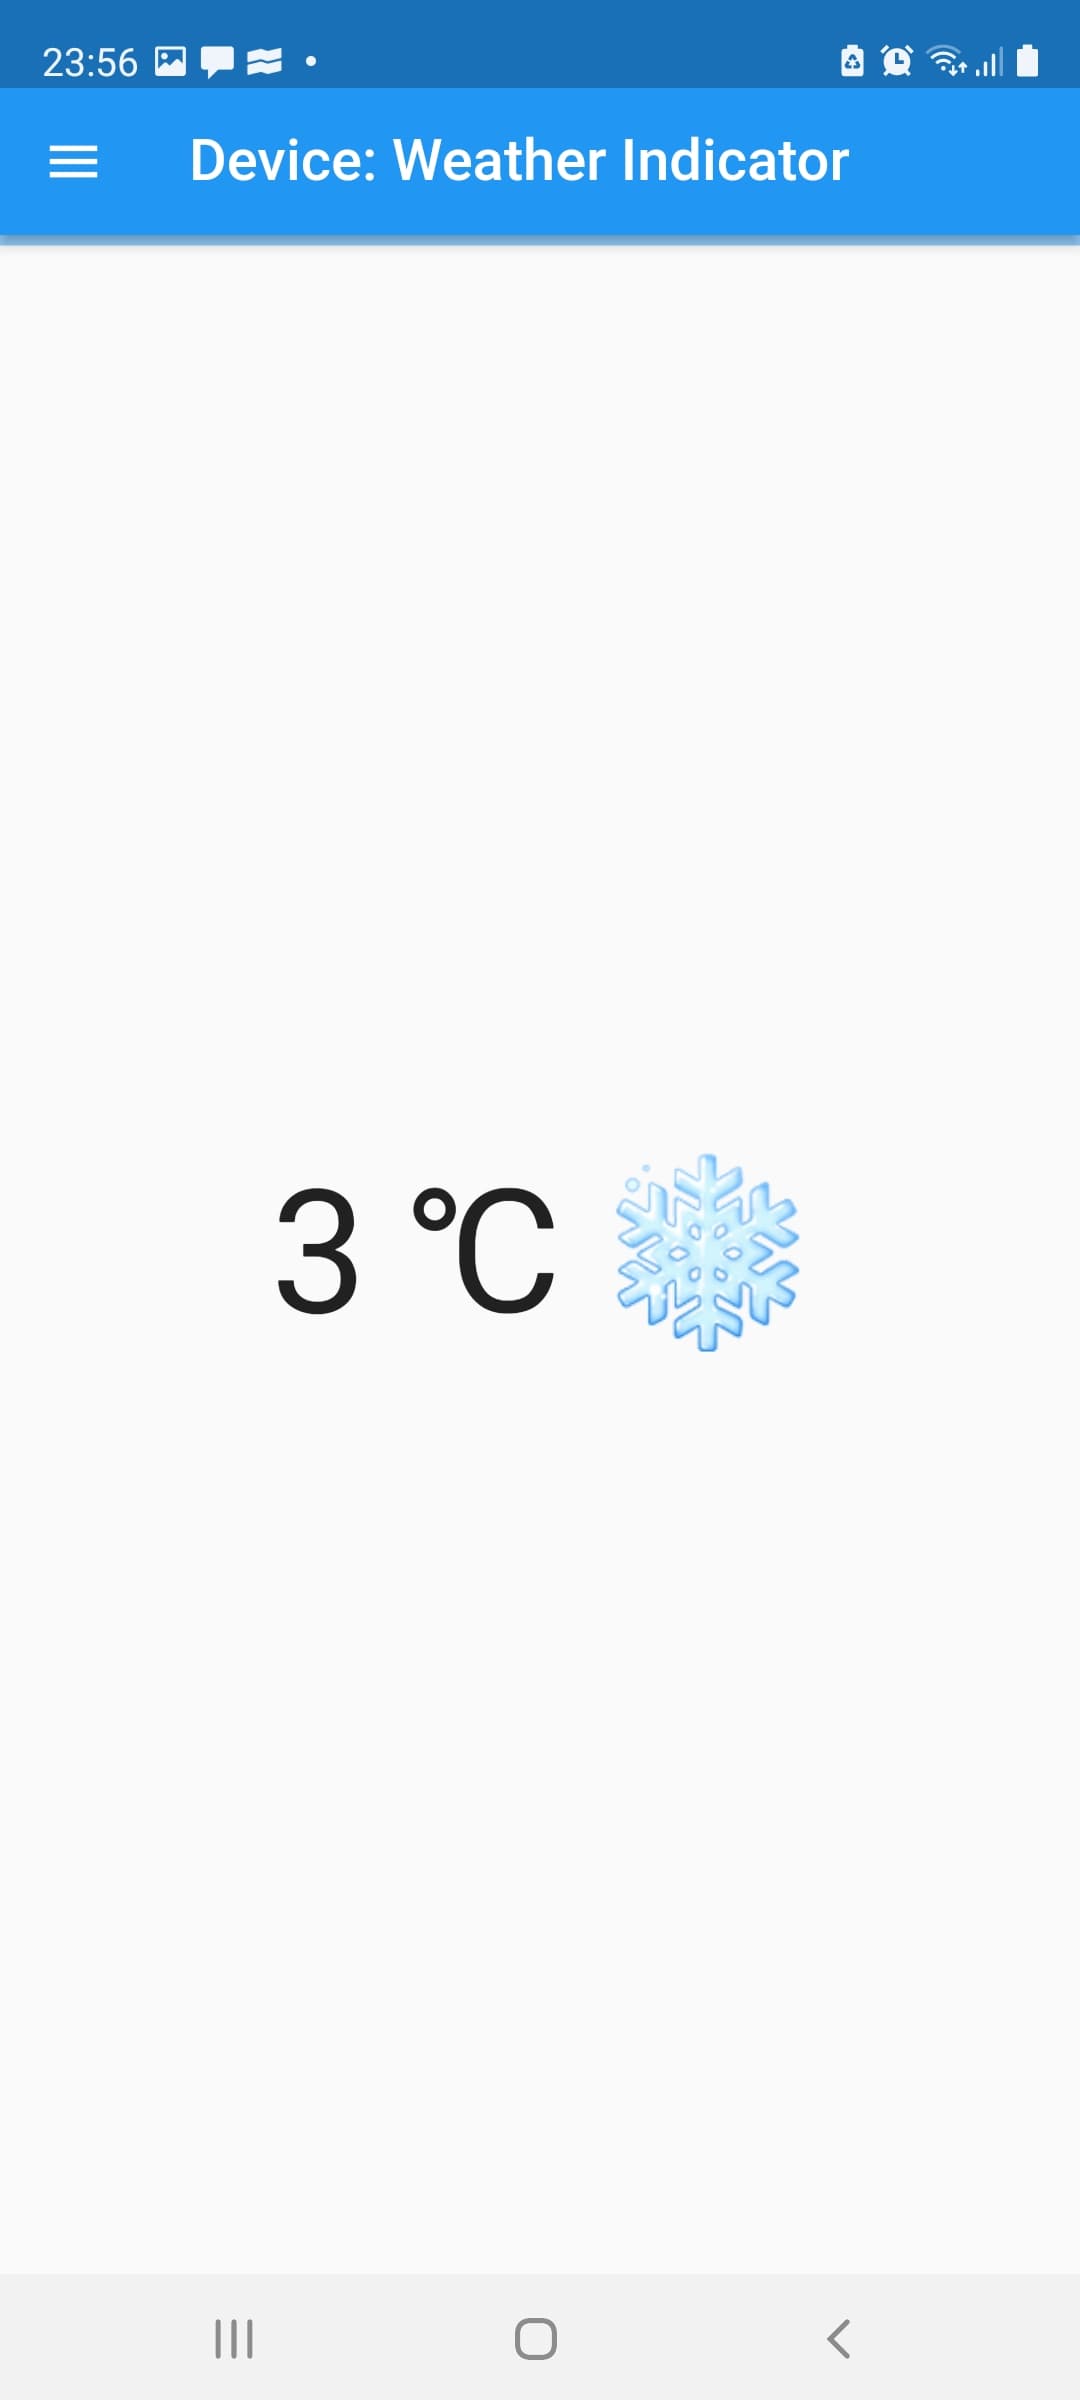
... and the widget displays the result, polling the device every 5 seconds:
import 'dart:async';import 'package:flutter/material.dart';import '../../services/device_info.dart';import '../../services/devices/weather_indicator.dart';const int undefinedTemperature = 1000;class WeatherIndicator extends StatefulWidget {final DeviceInfo device;const WeatherIndicator({super.key, required this.device});@overrideState<WeatherIndicator> createState() => WeatherIndicatorState();}class WeatherIndicatorState extends State<WeatherIndicator> {int _indication = undefinedTemperature;late Timer _timer;final Duration _pollingInterval = const Duration(milliseconds: 5000);final WeatherIndicatorService _service = WeatherIndicatorService();@overridevoid initState() {super.initState();_pollDevice();}@overridevoid dispose() {super.dispose();_cancelDevicePoll();}Future<void> _pollDevice() async {var ip = widget.device.ip;_timer = Timer(_pollingInterval, () {_service.getReadings(ip).then((int readings) {setState(() {_indication = readings;});_pollDevice();});});}void _cancelDevicePoll() {_timer.cancel();}@overrideWidget build(BuildContext context) {if (_indication == undefinedTemperature) {return const Center(child: Text('Loading...'));}var icon = _indication <= 10 ? "❄️" : "☀️";return Center(child: Text("$_indication ℃ $icon️",style: const TextStyle(fontSize: 60, // specify the font size here),));}}
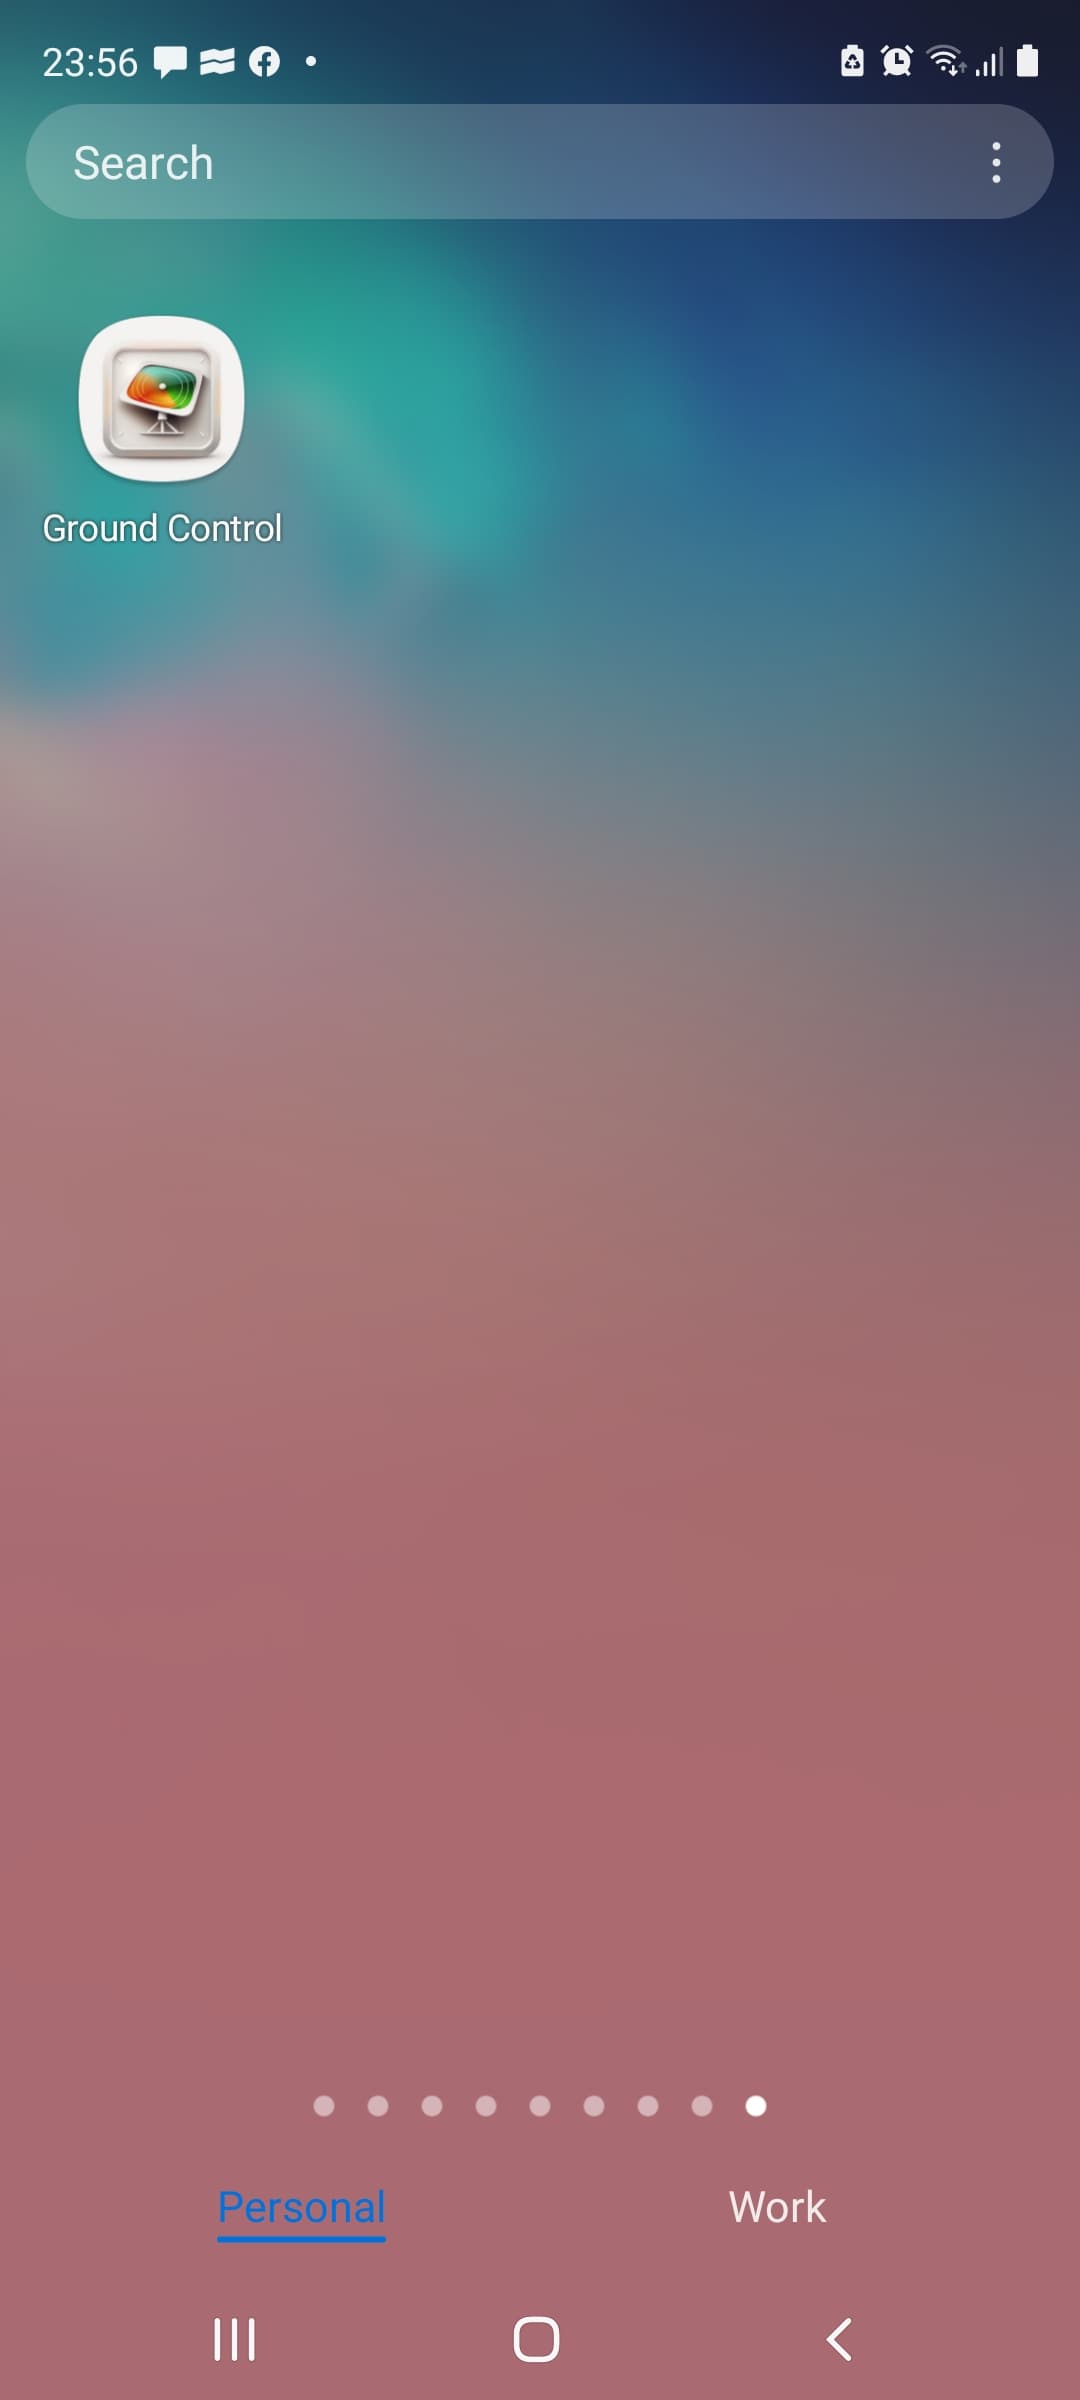
I have decided to call the app "Ground Control" (like in that song). Turned out, it was not that easy to set the name, it was not just some kind of variable I had to define somewhere. There was a whole package created for changing the app launcher name.
This is how I did it:
flutter pub global activate renameflutter pub global run rename --appname "Ground Control"
To create an icon itself I used Midjourney. This was my prompt:
Squared with round edges mobile app logo design, flat vector app icon of an open box, minimalistic, white background.
To put the icon in place there was also a package.
I plugged my device in with a cord, and got the app uploaded just by typing:
flutter build apkflutter install
Eventually, this is what the application looked like in the launcher and after launching :)
Yeh, this is essentially how most of the IoT smart house apps work: they scan the network, find "their" devices and provide an interface for them.
There is no limit for perfection. That was just a basic application built with MaterialUI (which is nowadays considered to be old-fashioned and dated). Flutter can do so much more, it has a lot of packages and supports making completely custom interfaces. Here is a good overview of the basic Material components, and here is a lab by the vendor teaching how to make a Flutter application warm and cozy.
Even though I don't think I am gonna become a mobile developer any time soon, but it is always good to know that among ReactNative and native development there is also such an amazing piece of technology like Flutter.
