How modern DevOps is done. Part 1: containers and repositories
I am a fullstack developer, and yet my knowledge of DevOps is still kinda fragmented. So I've decided to kickstart a series of articles where I'll do research on how the deployment is done today, starting from having a bare web application running just locally, and ending up having it in the cloud, turned into a real cloud-native application.
I remember the good old days when DevOps was about setting up PM2 and observing the output in the console, sitting and having a beer. Well, these days are long gone, and now I am gonna spend real money on having everything containerised and renting an actual production-grade K8s cluster.
Why containers and not serverless? Well, in my opinion, serverless is an absolute go for startups where expenses matter. For the enterprises with stable income stability and availability play the first fiddle, so the only reasonable option for them is running everything in a containerised environment.
I am also choosing the Google Cloud provider, because I believe GCP became an industry standard a long time ago, it provides same functionality as AWS, yet being simpler in many ways, and also objectively cheaper.
I start with a basic Go application and then build on-top of that. Here it is.
package mainimport ("net/http""github.com/gin-gonic/gin")func main() {r := gin.Default()r.GET("/", func(c *gin.Context) {c.JSON(http.StatusOK, gin.H{"hello": "there",})})r.GET("/ping", func(c *gin.Context) {c.JSON(http.StatusOK, gin.H{"message": "pong",})})r.Run()}
The aforementioned application is built using the Gin-Gonic framework, and serves two paths: GET / and GET /ping. That will be enough for now.
Among all solutions for containerization Docker bears absolute popularity, so I will be using it. To create a Docker image, a Dockerfile should be created.
Here, I used a so-called multi-stage Dockerfile. It is recommended to split docker files into stages for building and actual running, due to the efforts of making the production image more lightweight and easy to read.
FROM golang:1.18-alpine as builderWORKDIR /rootARG GITHUB_USERNAMEARG GITHUB_TOKENRUN apk add --no-cache --update gitRUN echo "machine github.com login ${GITHUB_USERNAME} password ${GITHUB_TOKEN}" > ~/.netrcRUN echo "machine api.github.com login ${GITHUB_USERNAME} password ${GITHUB_TOKEN}" >> ~/.netrcENV GO111MODULE "on"WORKDIR /buildCOPY go.mod go.sum ./RUN go mod downloadCOPY . /buildRUN GOOS=linux CGO_ENABLED=0 GOARCH=amd64 go build -o app ./cmd/main.goFROM alpine:3.15.0 as baseCOPY --from=builder /build/app /appEXPOSE 8080ENTRYPOINT ["/app"]
I'll add two new commands to the Makefile to build and run the image. The image tag version is going to be "latest" for now.
build_image:@docker build -t devops-app:latest .run_image:@docker run -p 8080:8080 devops-app:latest
After running the build command, to make sure that the image is really there, type:
docker images | grep devops-app
Docker has its own image repository called Dockerhub. They allow uploading one public image free of charge. However, as I am planning to host the app in the Google Cloud, it makes sense to push the image to GAR instead. So, the GAR acronym stands for "Google Artifact Registry". GCP had the Container Registry before, which is now declared as deprecated.
GAR has a free tier of 500 mb a month. My image is gonna weight about 20 mb, so I with a bit of luck I am not going to incur any expenses for storing my image there.
So I made a new project in the Google Cloud Console, called devops-live. In practice, a company creates two projects: one for the live env, and the other - for staging and dev.
This tool is essential, it bears the same purpose as the aws CLI tool. Most importantly, it provides a way to authenticate and perform operations with the project.
Here is how the tool can be installed.
Authenticate with OAuth2 by running the login command, and select the project. Note that you need to use the ID of the project, not the name.
In my case, the project ID is: "go-app-390716".
gcloud auth logingcloud config set project go-app-390716
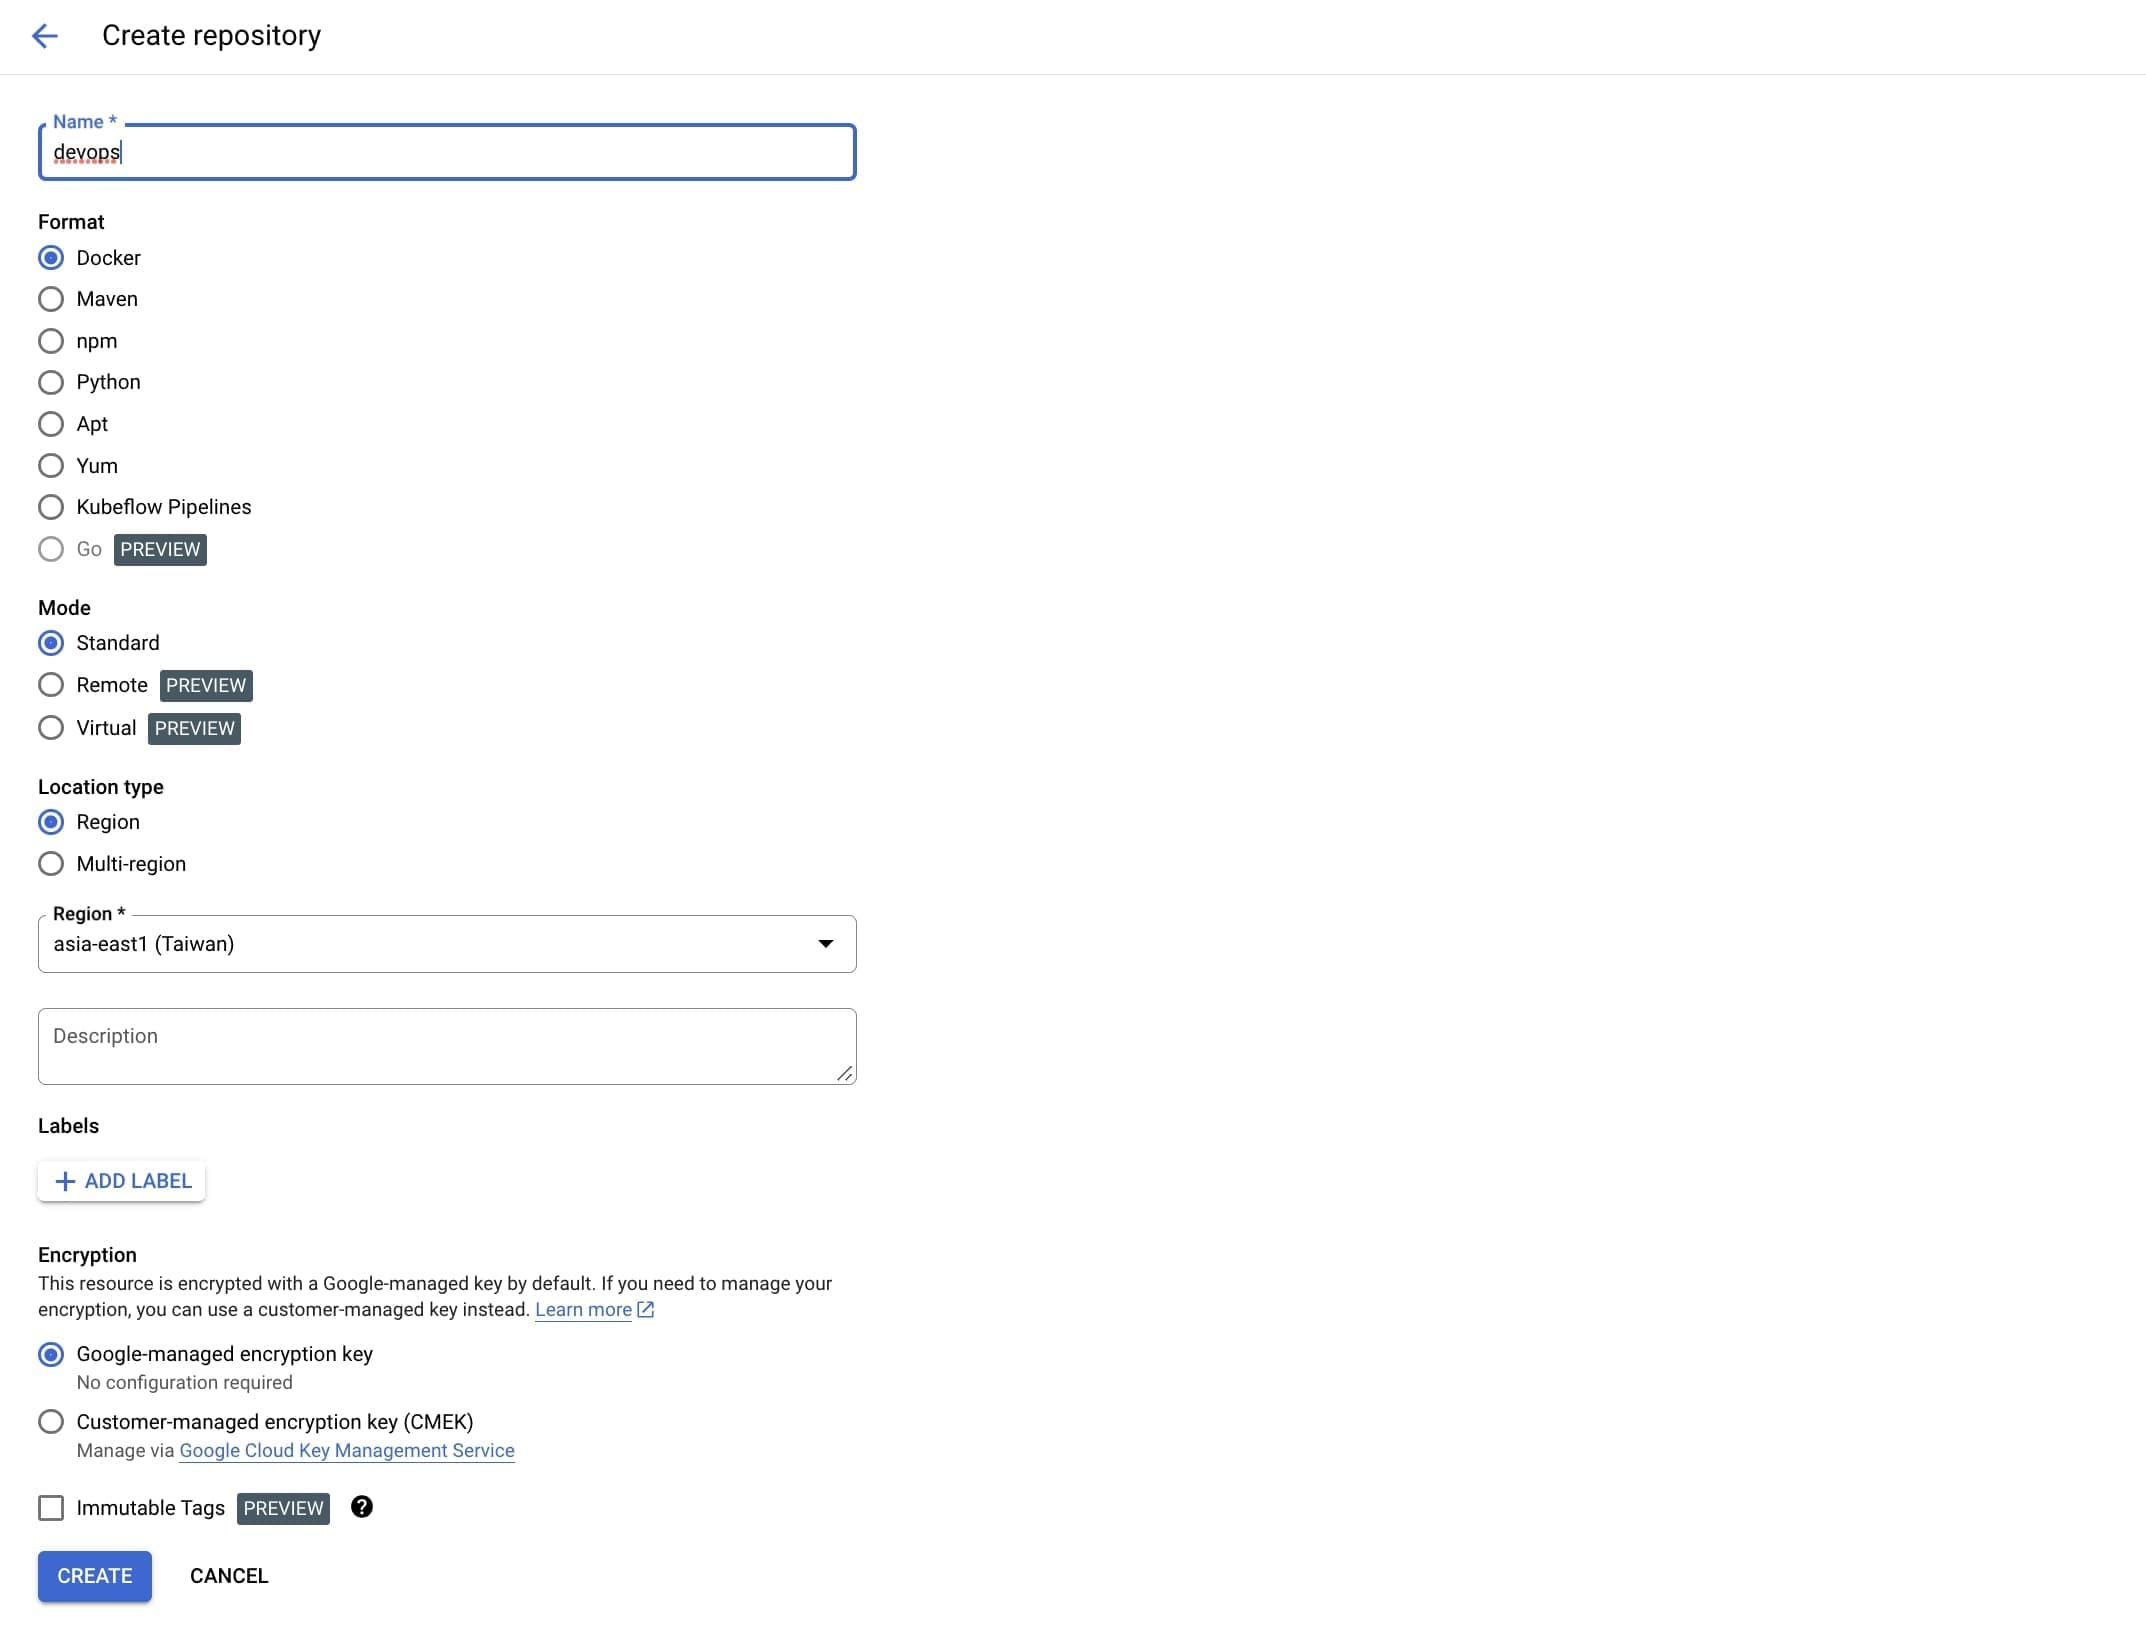
So I am going to need a registry of type "Docker". For the time being, I will create it manually, via the web console. In the next article I will make use of Terraform for creating resources.
👮 Never ever create resources manually, always use Terraform for this purpose.

So the name of the repository in my case is "devops", and the location I chose to be "asia-east1".
The CLI tool must be configured as an authentication tool for Docker. The following command will add the repo to the "credHelpers" section of ~/.docker/config.json.
gcloud auth configure-docker asia-east1-docker.pkg.dev
Before pushing the image, I build it:
make build_image
Then I need to look for the image ID, using the following command:
docker images
Assuming that the ID of the image is "f93d9aa86a39", I tag it using the following command:
docker tag f93d9aa86a39 asia-east1-docker.pkg.dev/go-app-390716/devops/devops-app:latest
Where "devops-app" is the future name of the image in the repository, and the tag (version) is "latest".
The output of the docker images command should look like this:
REPOSITORY TAG IMAGE ID CREATED SIZEasia-east1-docker.pkg.dev/go-app-390716/devops/devops-app latest f93d9aa86a39 About an hour ago 16.3MB
Okay, time to push the image:
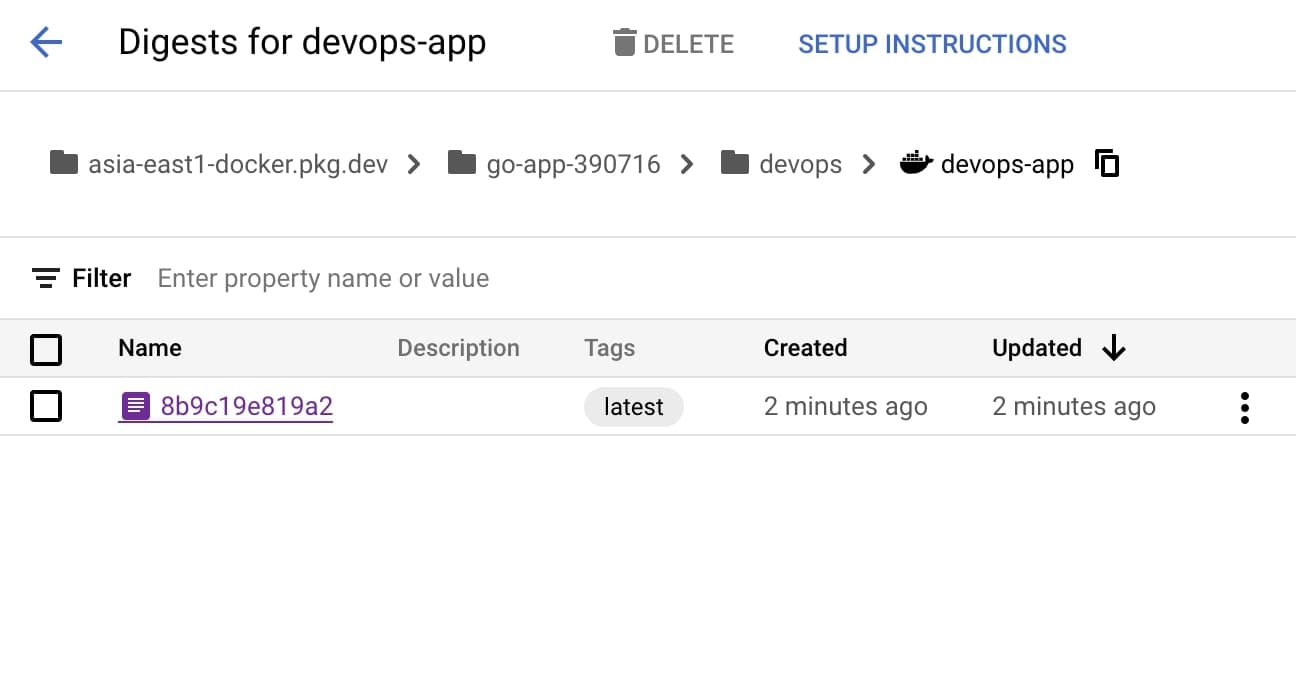
docker push asia-east1-docker.pkg.dev/go-app-390716/devops/devops-app
Aaaand... Bang! Here it is:

To pull the latest tag (version) of that image back, use this command:
docker pull asia-east1-docker.pkg.dev/go-app-390716/devops/devops-app:latest
Something did not work out as expected? Follow this article for more details.
And that's all for today.
We have uncovered the way to dockerize an application, and also how to push and pull that image to/from a repository.
In the upcoming series of articles I will uncover and explore the next steps on a journey of having the application deployed and properly observed.
The code for this part is here. Enjoy!