
Diving into 3D Printing: Mistakes, Insights, and Small Victories
For quite a while owning a 3d printer was my dream. I started monitoring the technology when it first emerged (around year 2000 or so), and back in the days there were lots of options to assembly a custom printer. Only later commercial printers started to appear, and I wanted to have one, but I never had the courage to make a commitment. But eventually I started saving money, and little by little I've decided the time has come.
Originally I planned to maybe start a business with 3d printing, but after watching a video or two, I've quickly realized: in order to become profitable, I need a whole printing farm with dozens of printers. I didn't have neither the space nor the money to invest that big, so I quickly abandoned the idea.
Nevertheless I purchased a printer for myself, and one blogger on Youtube I recently watched adviced to start documenting my learning and progress. I thought it was a good idea, so I've decided to do the same.
After watching people printing cosplay props, I've decided to go with something of moderate size, but more on the hobbyist level. Initially I wanted to purchase Creality K1 Max, but the price was slightly above my budget.
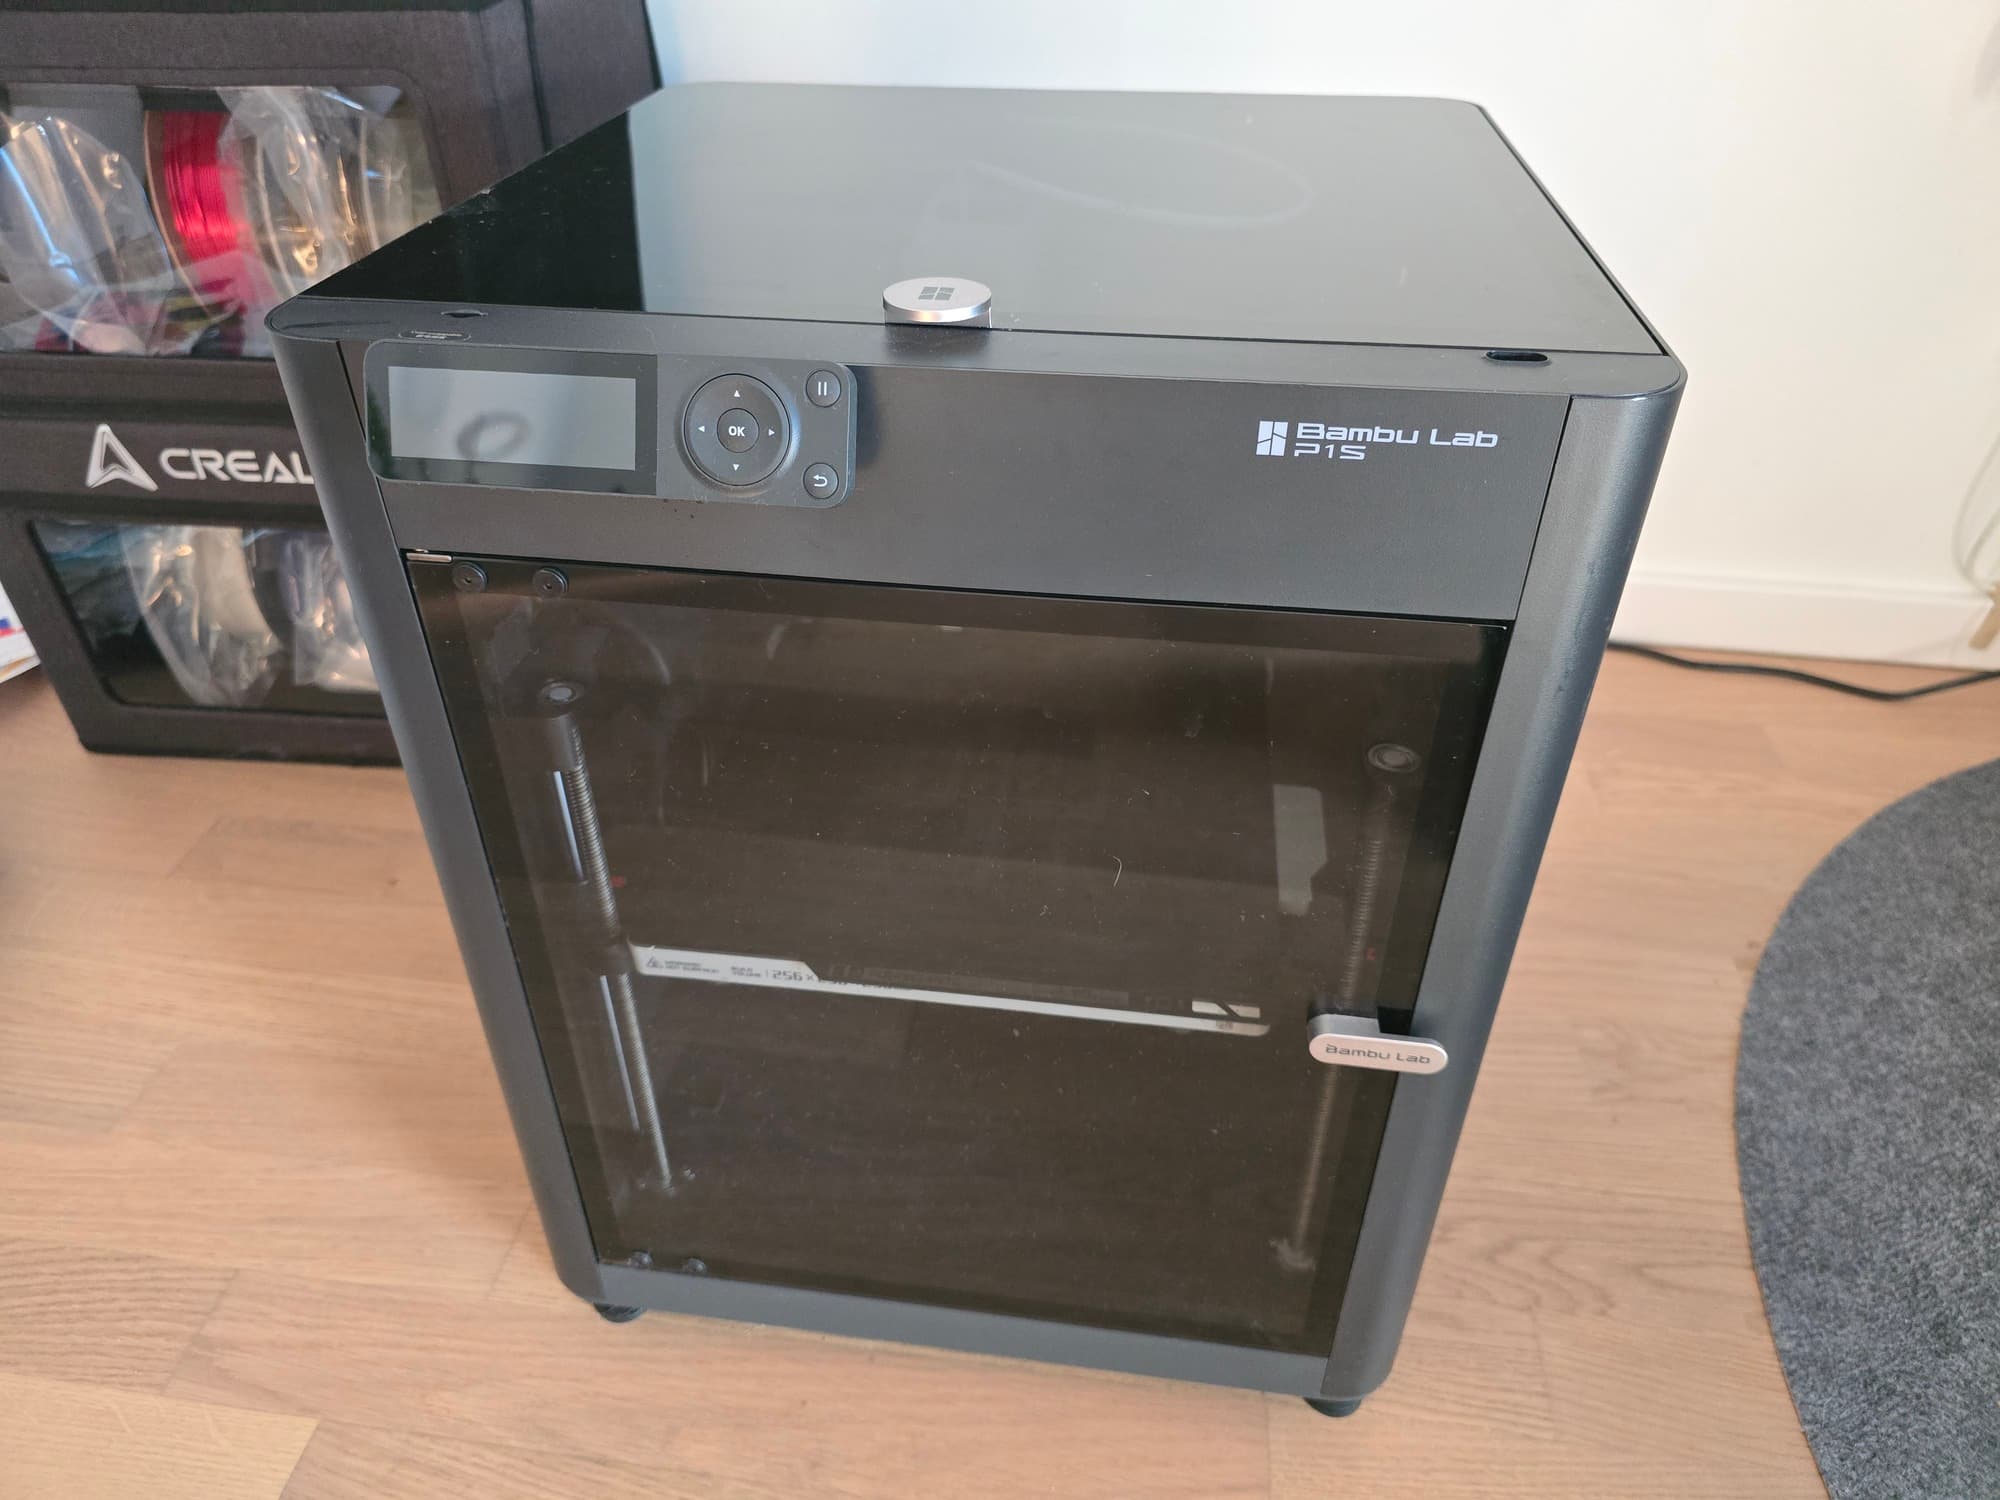
After doing some additional research, I've made a decision to go with Bambulab P1S. It was a bit cheaper by itself, plus a temporary a discount was available. I needed the case, because my wife told "There'd better not be any stinky fumes — or else!" (spoiler: it stinks anyway), and also I didn't want to fight dust. So Bambulabl A1 was out of the question, so was the flagship Bambulab X1 Carbon, (it's almost the same, but with that fancy looking LCD screen). A simple grayscale LED screen was enough for me, and the other things I could do through the official Software.
I would say my choise was highly influenced by this video (Bambulab, give the influencer a prize!):
I wasn't disappointed, as Bambulab is considered to be one of the market leaders in the budget segment. I also liked the idea to extend it with the AMS Hub one day. Among disadvantages I can name the vendor lock-in, despite the fact that there are some open source alternatives for parts.
The printer arrived several weeks after, and the packaging was quite impressive, it felt like unpacking a new MacBook, in a way. The printer comes with some filament, and it must be loaded properly.


Before making my first print I obviously needed to load the filament. I was a bit confused how to do it, and I wasn't smart enough to watch a video on Youtube. So, I almost broke the feeding system.
Later I figured the right way to swap the filament:
- Press the "Unload" button on the printer or in the app. The hotend will start warming up.
- If you have filament already installed and you wish to swap, cut the filament by pressing a physical button on the hotend, and then gently pull the string.
- Replace the bobbin with the new one, put the new string in.
- Press the "Load" button on the printer or in the app.
- Wait for the filament to start extruding.
- If it doesn't, push the string a bit harder, and then press "Extrude" button in the printer menu a few times.
The printer comes with automatic bed leveling, which is a great feature.
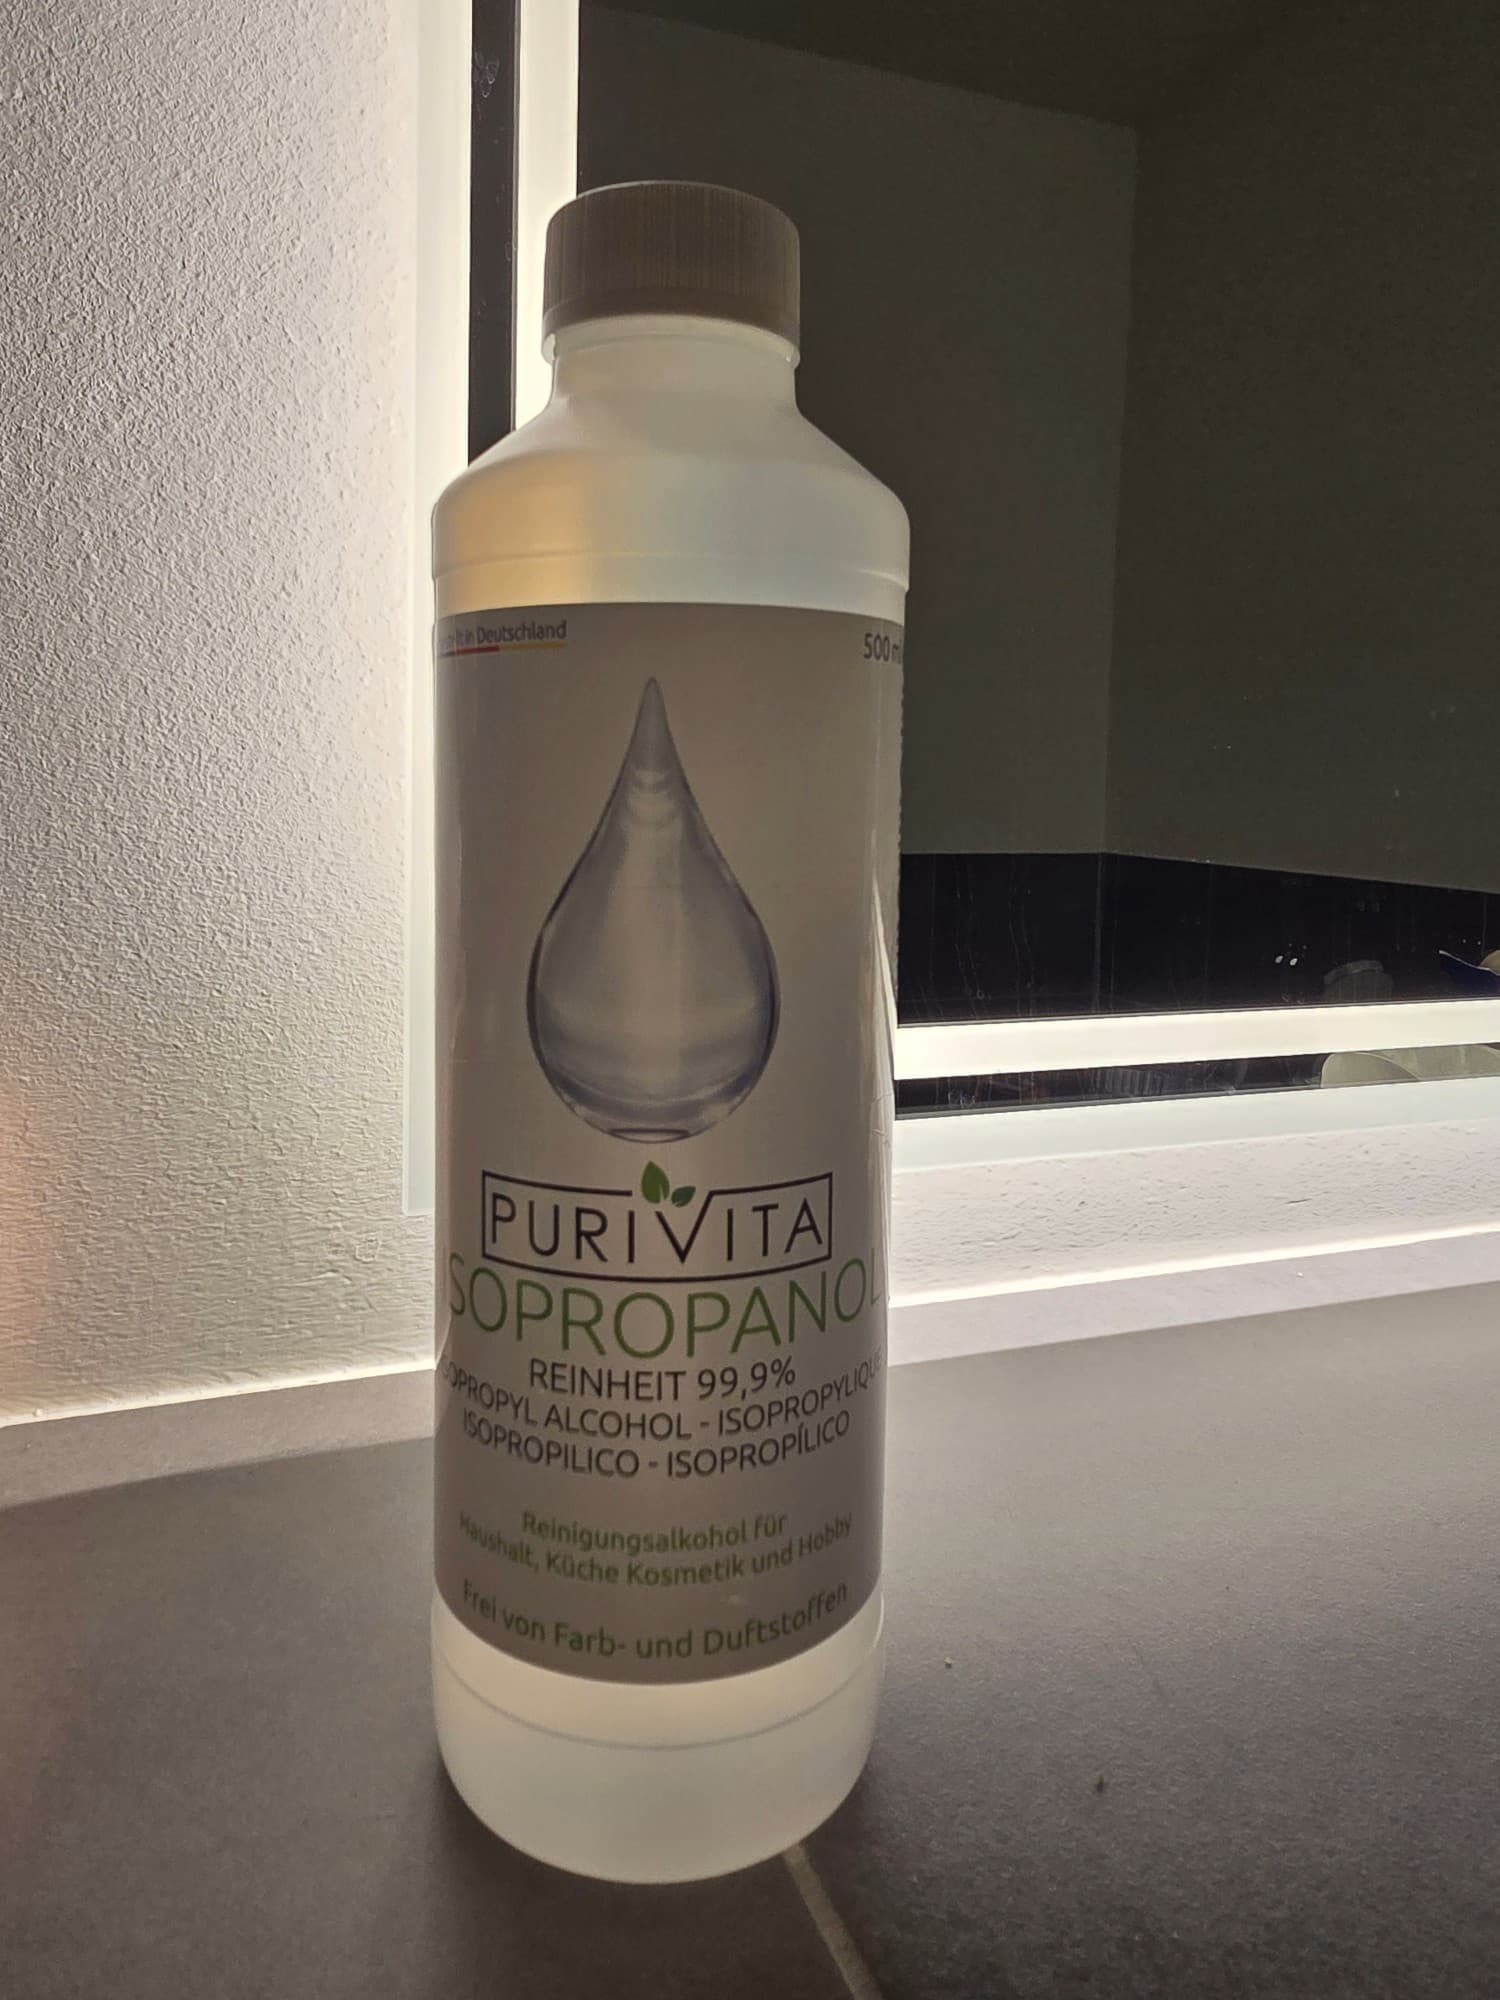
The default plate is a Textured PEI Plate, it doesn't need any adhesion glue, but the bottom side of your print will come out waivy. So, in my opinion it makese sense to order a smooth plate and the adhesion glue altogether from the start. You apply the glue reasonably thin, and when it dries, it's ready to print. After a few prints, it needs to be replaced, the old glue can be removed using Isopropanol 99.9%, and then re-applied.
So far I only had experience printing with PLA and PETG. They have different properties.
| Filament | Printing | Physical props |
| PLA Basic | Easy, very forgiving | Low durability, not suitable for heavy loads or moving parts, easily breaks, wears off and deforms. Suitable for generic indoor prints. Not suitable for outdoor, no heat resistance. |
| PLA Silk | Easy, slower speed needed | Same as PLA Basic, but can be slightly more brittle, weaker layer adhesion. Has a shiny surface, thus more applicable for decorative prints. |
| Easy, slower speed needed | Even more brittle than Silk PLA, the wire is literary crumbling in hands. Has a translucent surface, thus more applicable for decorative prints such as vases and lamps. | |
| PLA+ | Still easy, slower speed needed | Basically it's a tiny step towards PETG in terms of physical properties, but it's still PLA with all the implications. |
| PETG | Medium, I only used it two times and in both cases I wasn't happy with the result. I guess more practice is needed. | Way more durable, stronger layer adhesion. Can be used for mechanical parts, moving parts, etc. Can be used for outdoor. Good heat resistance. |
There are many subtypes, such as PLA Silk (gives the print shiny surface), PETG HF (for better printing quality), PLA Wood (wood-like texture), PLA Stone (stone-like texture), Gradient PLA (gradual color change), etc. I have some of them too, but haven't tried them yet.
☝️ For Bambulab printers you don't have to purchase Bambulab filaments, any other brand from Amazon will do.
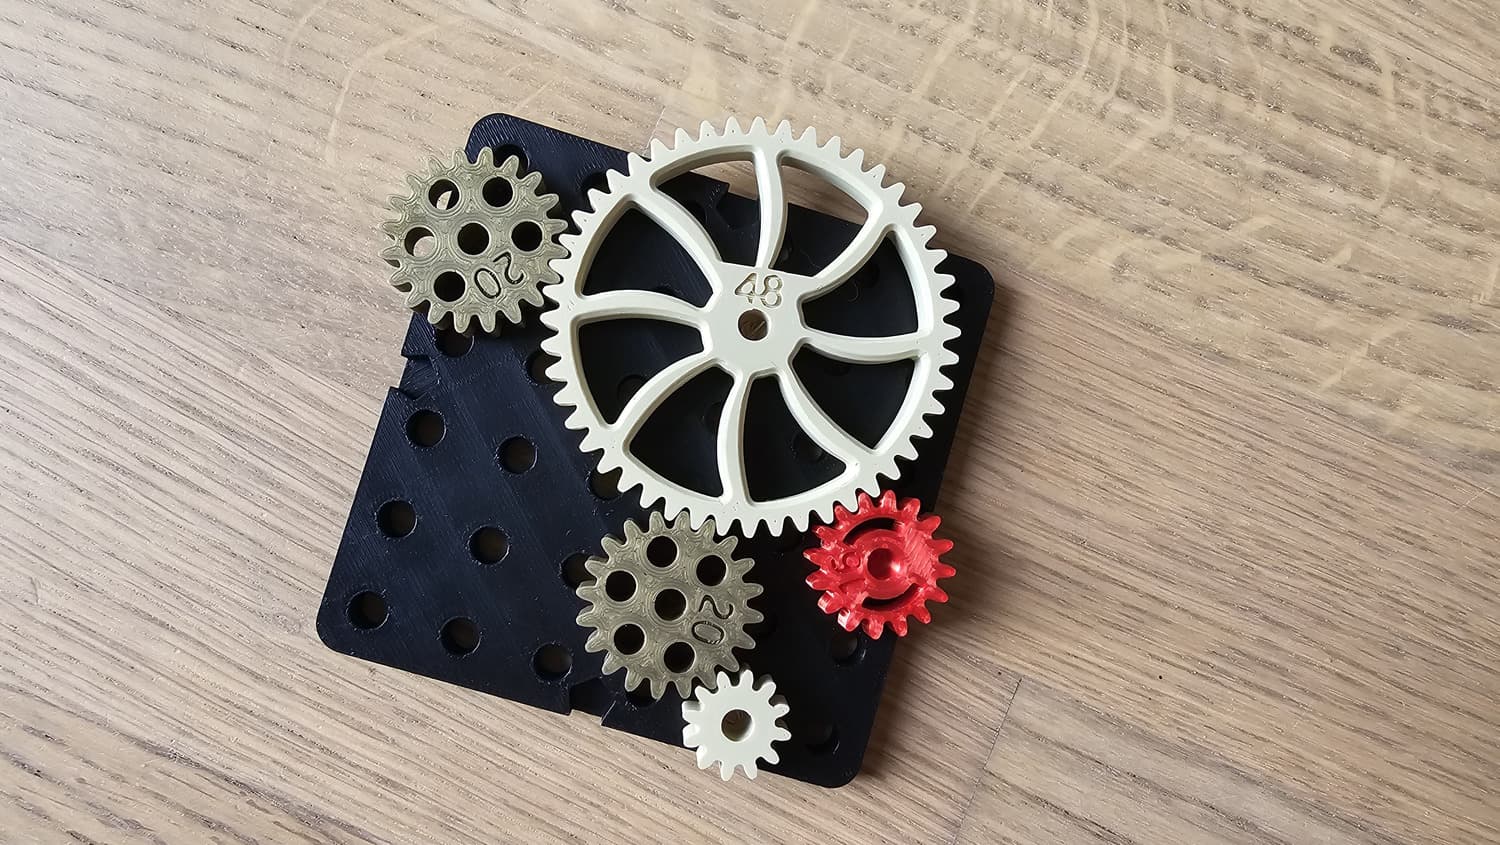
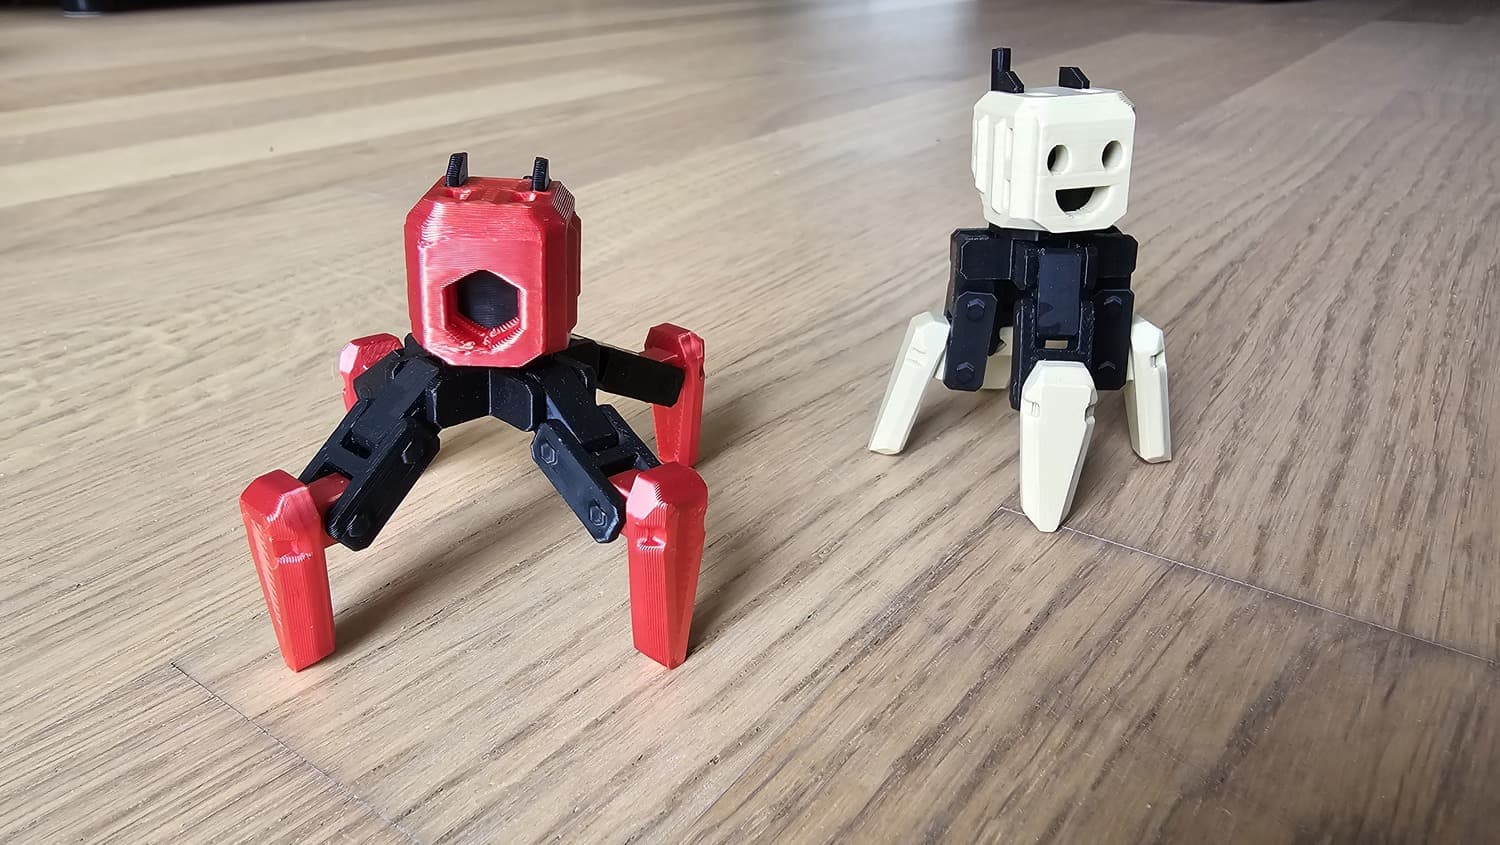
I mostly use PLA for static prints, and PETG for mechanical parts, such as gears, claws, moving robots, etc. PLA easily breaks and wears off under mechanical stress, so it's not suitable for that.
PETG is more durable, but it's also more difficult to print with. The bed needs to be heated to a higher temperature, the printing speed needs to be slower, otherwise the print wont's stick and starts warping.
One nasty thing you should expect from the filaments you purchase: sometimes the filament is tangled on the spool, and there isn't any way to anticipate that unless you rewind it yourself, but it will definitely screw up your print. I am not sure how the hell this happens when they produce the filament, but that happened to me twice.
Pro tip: never ever buy filament without a spool, unless you have a rewinder (which is difficult to own in a small apartment). No matter how careful you are, unfixed filament coil unravels little by little, making mounting on a bobbin impossible.
Filaments come in the vacuum sealed bags for a reason. The material tends to absorb moisture from the air, and if that happens, the adhesive properties of the filament are likely to be compromised. For that reason, storing the filaments in a special dry storage box is a good idea.
I got for myself the Creality Filament Storage for 10kg, so far I have enough space, but as the filament assortment grows, I'll probably need to get a bigger one.
There are hotends of different diameters and materials (can be stailness steel or hardened steel). Here is a list of them for the Bambulab P1S. The most commonly used one is the 0.4mm, it's an every day heavy duty working horse. It can print PLA, PETG, ABS, etc. There are also 0.2mm hotends, they are meant for high detail prints, and can't print PETG or anything abrasive. And there are 0.6mm and 0.8mm hotends as well, thiough I don't have them, since I don't print prints for higher durability. Yet.
Honestly, I tried my 0.2mm just once, and while the print it produced was so smooth and filigree, there was one problem with it: half way through the print the hotend clogged and screwed the whole thing up. I stopped the process, dismantled the hotend, and to date, it remains in my drawer with a string of filament sticking out of it.
I've managed to get by with the 0.4mm hotend so far, and I'm happy with the results.
Clogging is a common problem with 3d printing. It happens when the filament gets stuck in the hotend. If your hotend is clogged, you may try unistalling the hotend and clean it with a pre-heated needle.
I know there are lots of slicers out there these days, but the default proprietrary slicer - Bambulab Studio - turned out to be quite good for this type of printers.
There are lots of settings, but I consider the most important ones to be:
- Layer height - the smaller the layer height, the smoother the print, but the slower the printing speed.
- Wall loops - the thickness of the walls, basically. Make it higher for stronger prints.
- Support - when your print has dangling parts, you need to enable printing of supporting structures to avoid screwing the print up.
- Sparse infill density/pattern - the way the printer fills the internals of the model, change the pattern and increase the density for stronger prints, but it will make it heavier and increase the printing time and filament consumption.
- Top/bottom shell thickness/layers/pattern - how the printer fills the outer shell. There are two parameters that influence the durability: thickness and the amount of layers. Even though they are coupled, you can use either one, and I think the printer will pick the largest value. It's a bit confusing with the Bambulab slicer, as you change one parameter, the other remains unchanged.
- Wall generator classic/arachne - the arachne generator produces layers of different lengths on almost flat surfaces, so it gives a much better look.
- Surface Ironing - the printer fills gaps between layers to make the surface smoother.
As I develop my skills further, I'll uncover more settings and learn more about what they can do.
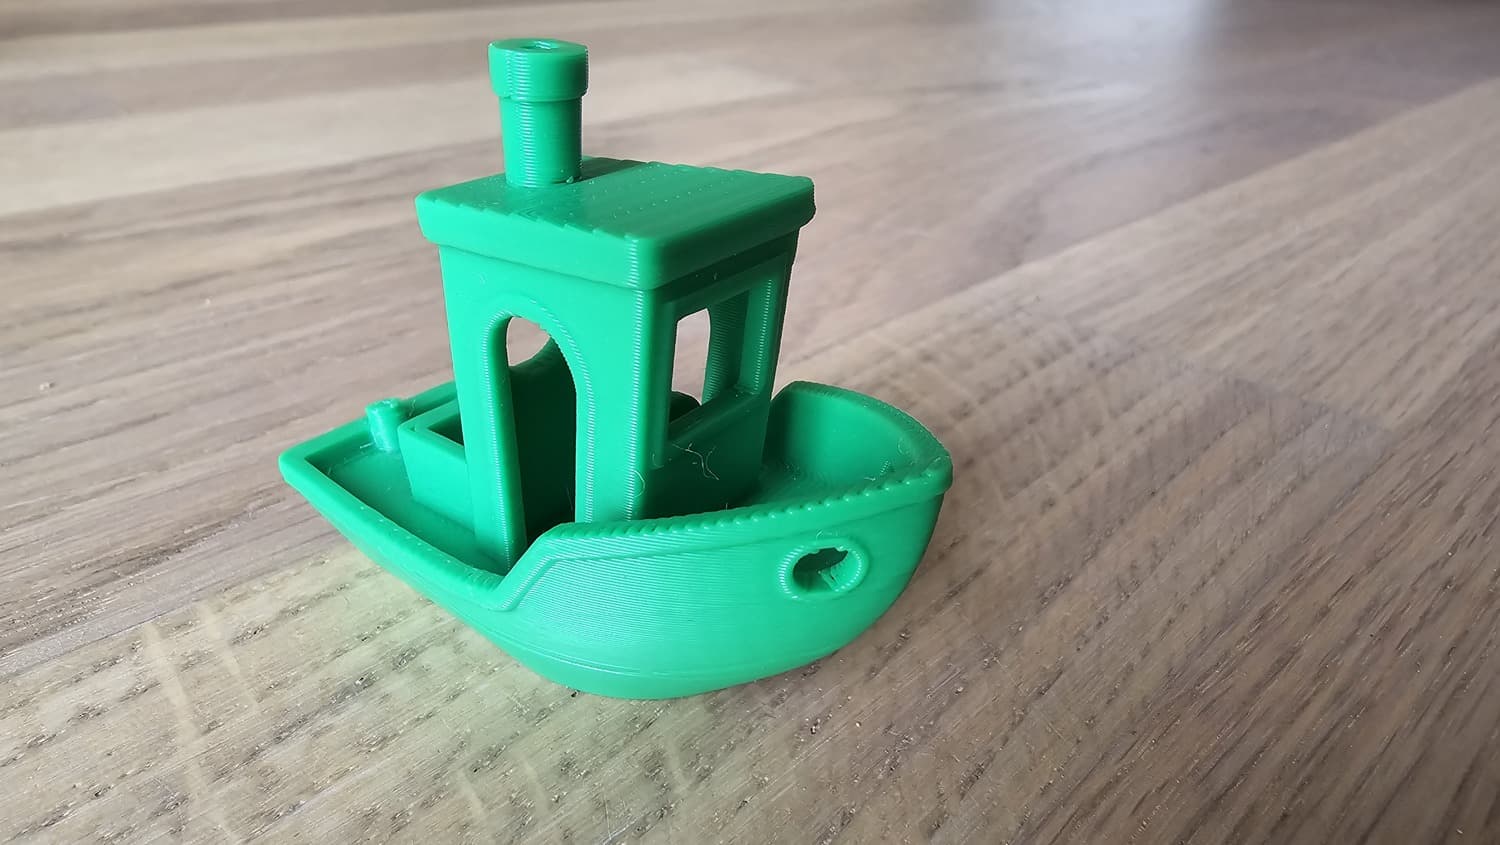
The first print I made was of course Benchy, the classic 3d printing model usually used for the first ride. It's almost like smashing a bottle of champagne against the ship's hull when it's ready to touch water for the first time. The print came out perfectly.
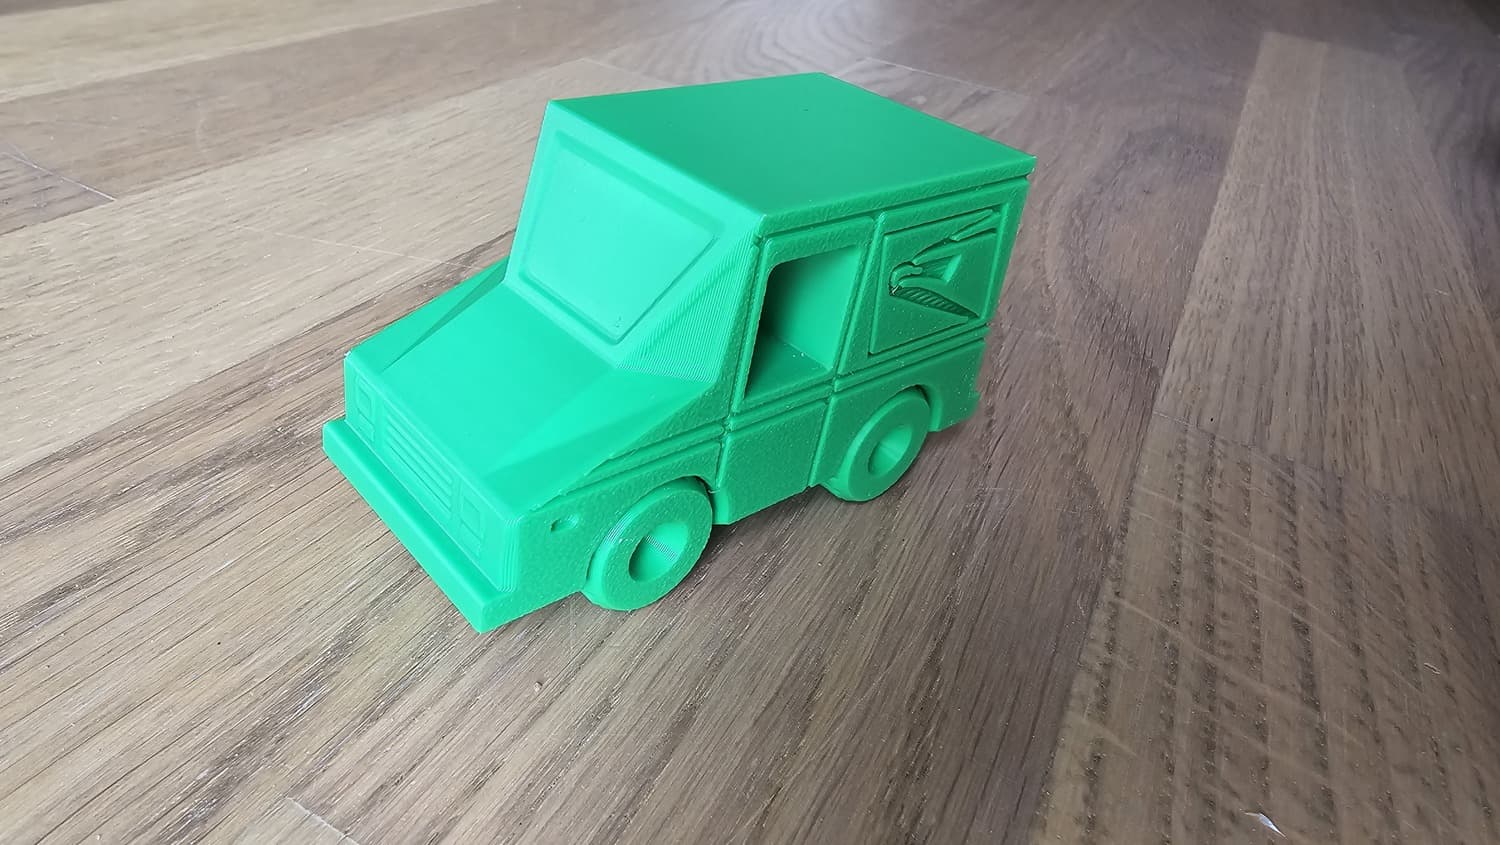
After bringing Benchy to this world, I wondered what else I can print. Obviously, there are websites dedicated to 3d printing models. So far I've only used the following marketplaces:
MakerWorld allows loading models directly to the Bambulab Studio, because it's Bambulab's own marketplace. The others are a bit more diverse, but I can always download an STL version of the model and print it no problem.
Since I knew 3d modeling, I soon wished to explore the possibilities of creating my own prints.
If a print a man makes isn't a robot or another sophisticated thing, one doesn't need AutoCAD or SolidWorks, as Blender will do just fine. We basically need to create a scene with millimeters as the unit, model it and export to STL. Yes, it's that simple.
There is a starter scene for Blender I've created for myself. It contains a 10x10x10mm cube (as a demo model) and a boundary box matching the printing volume of the Bambulab P1S. The units are set to millimeters, the edge length display is enabled by defult. The scene is scaled accordingly, so the viewport panning works as expected, and no visual cutout happens. The boundary box must be removed before exporting, of course.
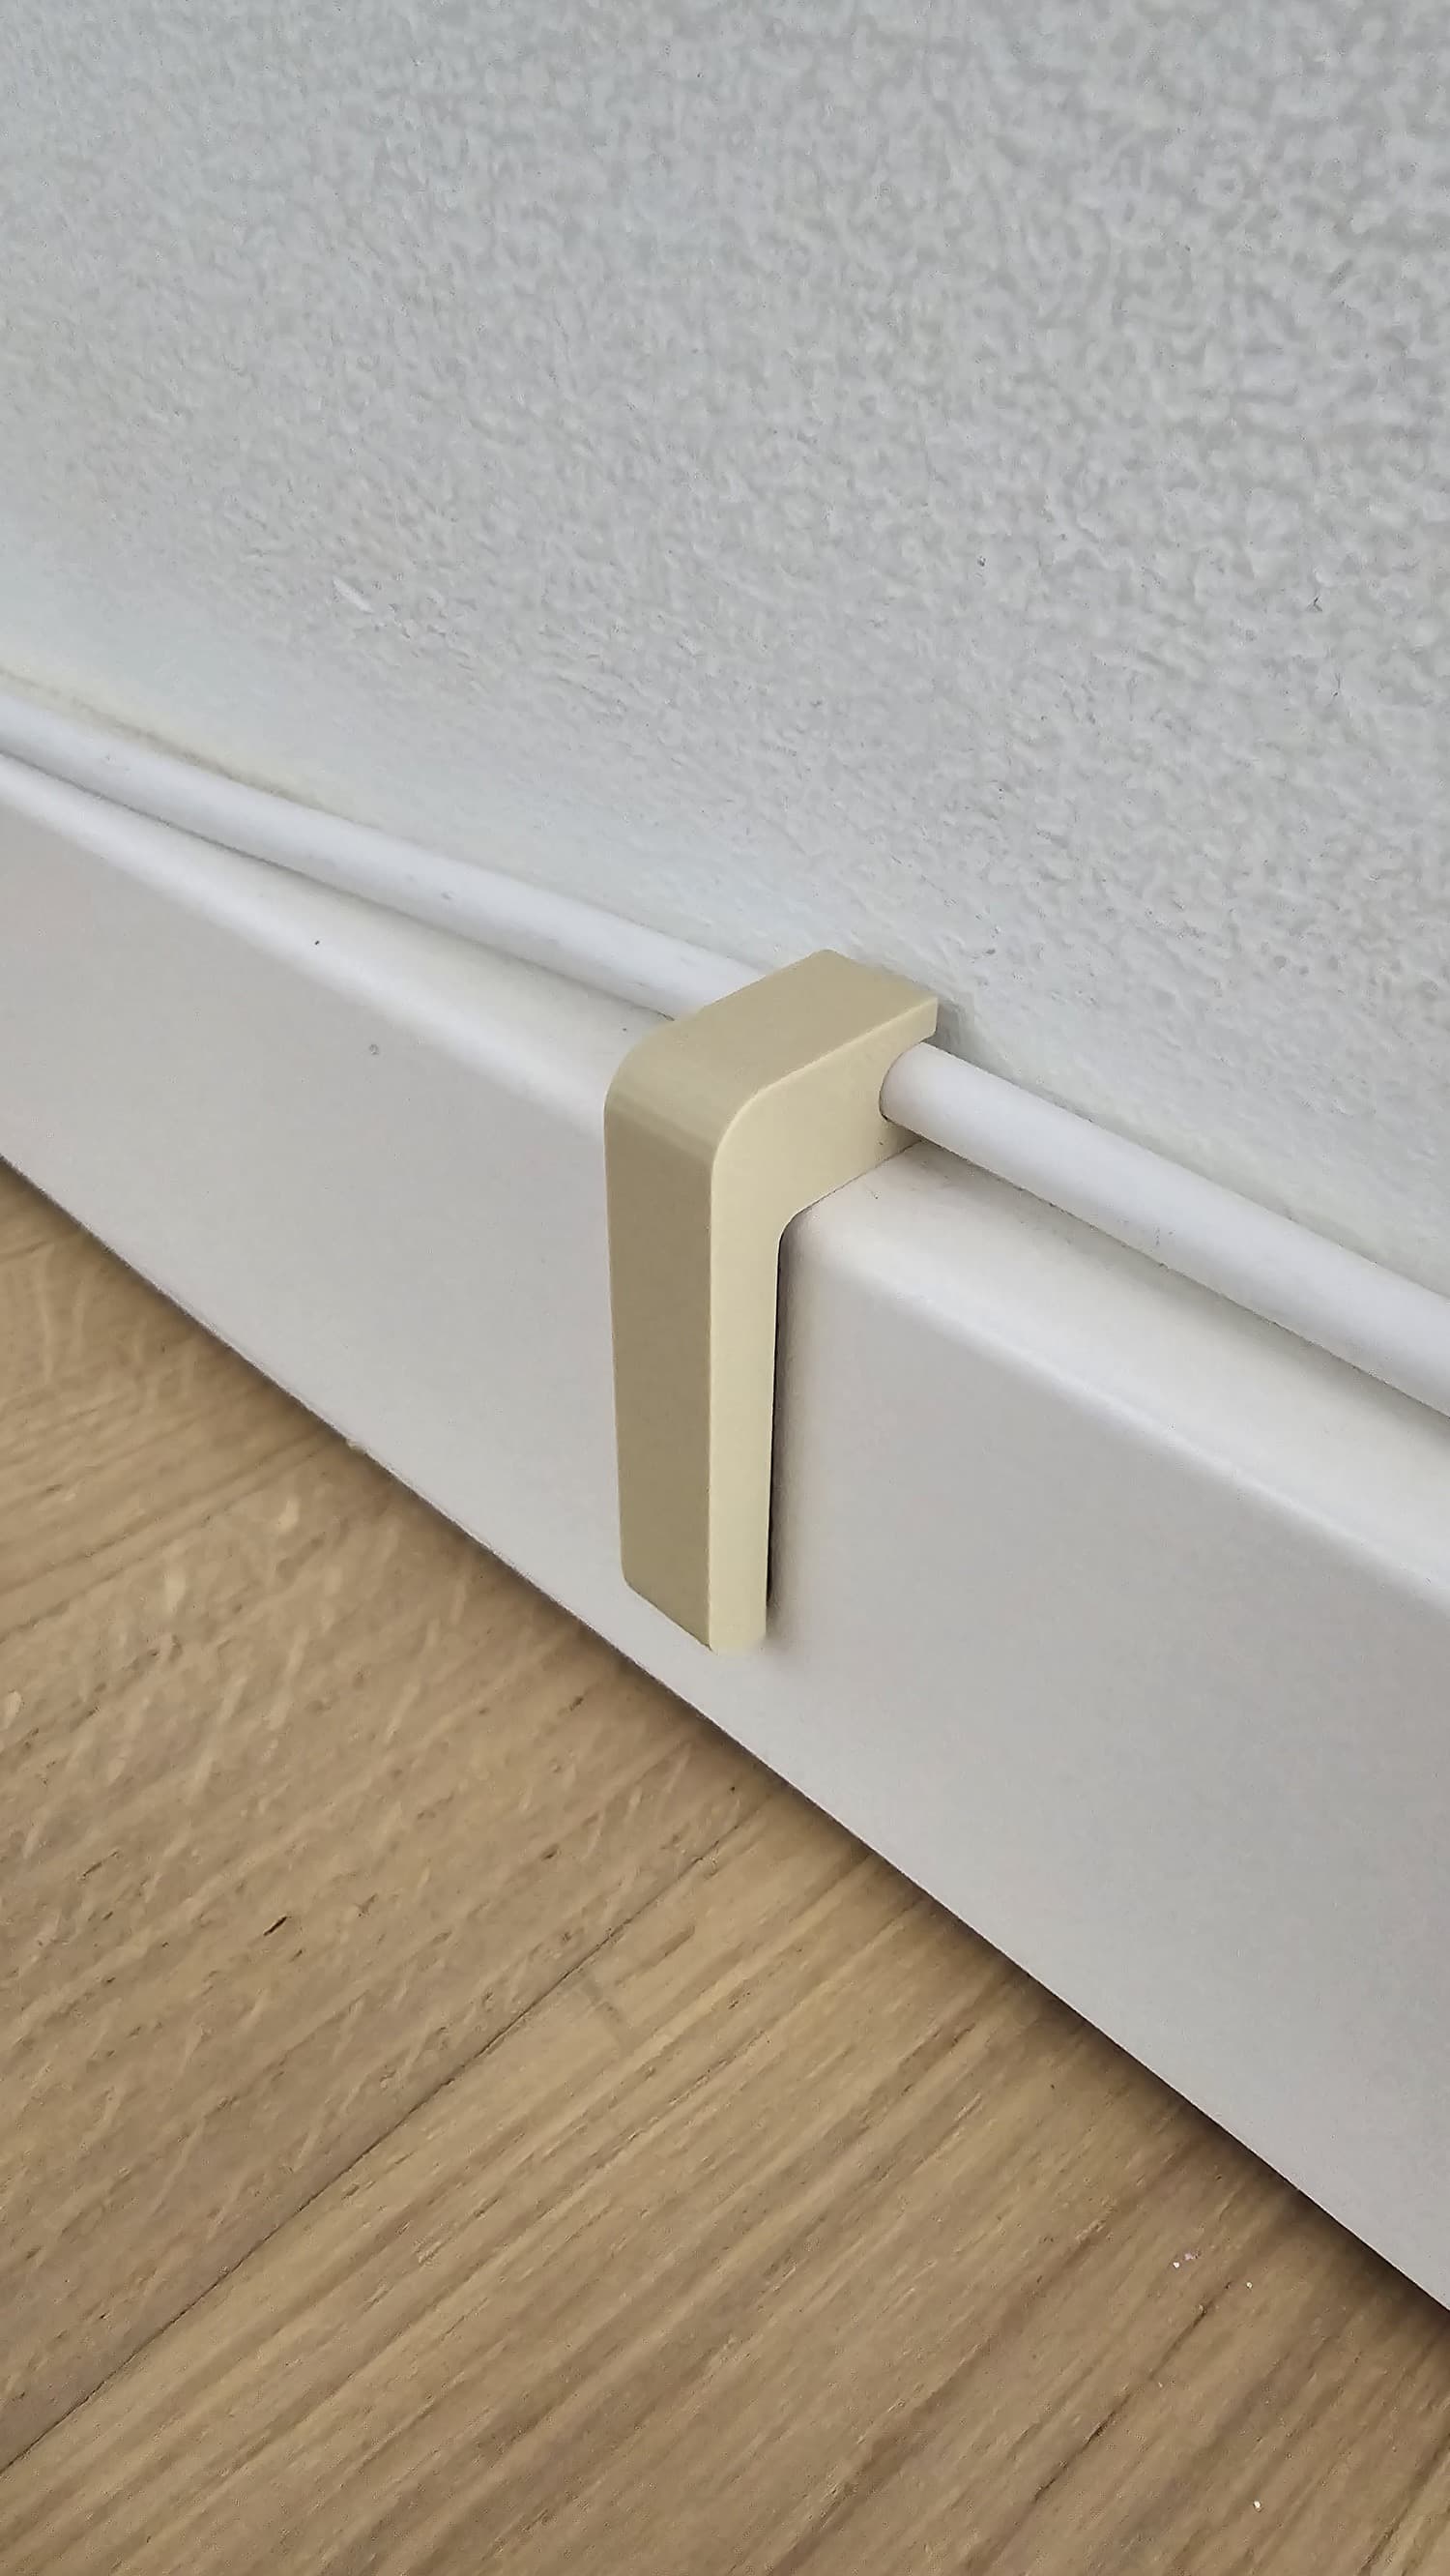
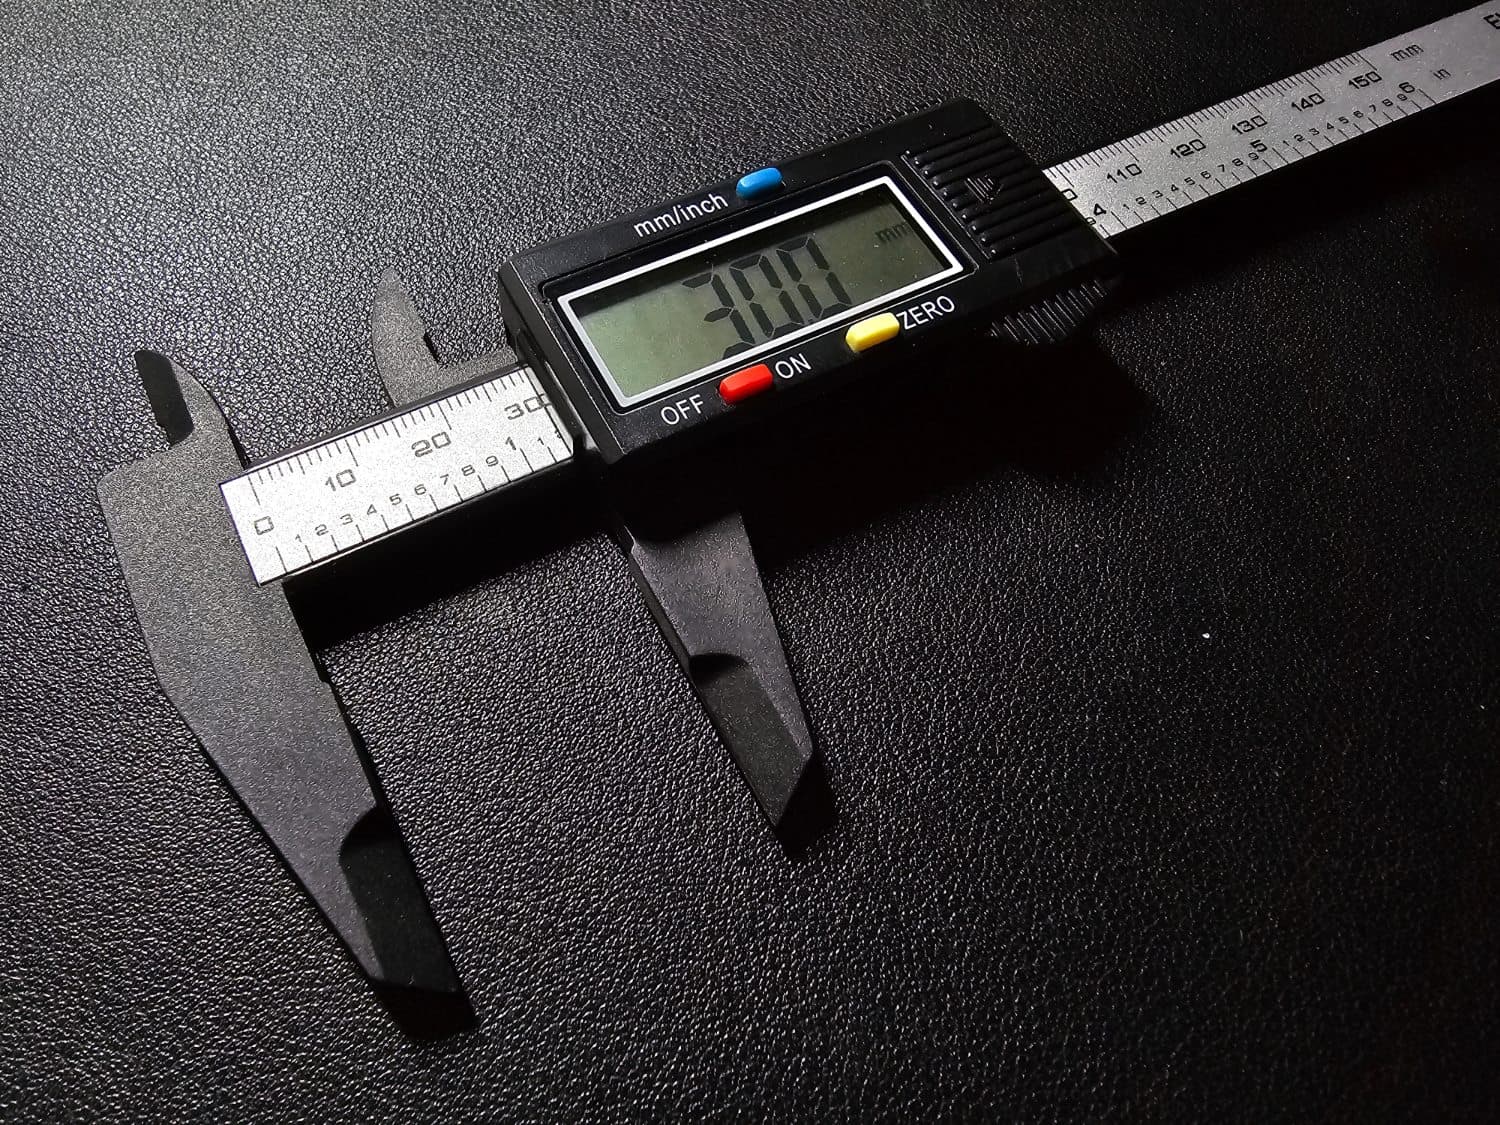
If I print something that is supposed to be attached to or hold something that already exists IRL, using a Digital Calliper to measure the size of the object is a good idea.
It's much more handy and precise than a ruler.
To test the printing precision, I've printed a 10x10x10mm cube, and then measured it with the calliper. The result was acceptable, and left me very pleased.
There are some important lessons I've learned about creating my own prints so far:
- Always keep in mind how the load on the print will be distributed, and align the layers accordingly. Prints usually break where layers touch each other, so when printing a protruding element you don't want to have the layers going across the print, because then the transverse section will be the weakest point. Try aligning the layers always laterally for better strength. If that's not possible, you may want to break the print into several parts, realign them accordingly and attach to each other after they are ready.
- It's a good idea to add a 0.5-1mm bevel to the model, otherwise the print will come out sharp and not aesthetically pleasing.
The 3d printer creates the prints layer by layer, which means that even with supports it's not always possible to create a print as one solid piece. Sometimes it makes sense to print several parts together, or make separate prints and then connect them. This is especially true for printing mechanisms with lots of moving parts.
This technique is still to explore. It's recommended to use the epoxy glue for this purpose. There are many types of the epoxy glue, and I'm planning to opt for the two component one. There are again two types of such glues:
- With a flexible seam, which may be used to join parts that would have to tolerate some reasonable amount of mechanical stress. For that, the UHU Plus Schnellfest would be a good option.
- With a rigid seam, which is better suited for static prints. Here, UHU Plus Endfest will do the job.
Before gluing the parts together, one should remove fat and dust from the touching surfaces with Isopropanol 99.9%.
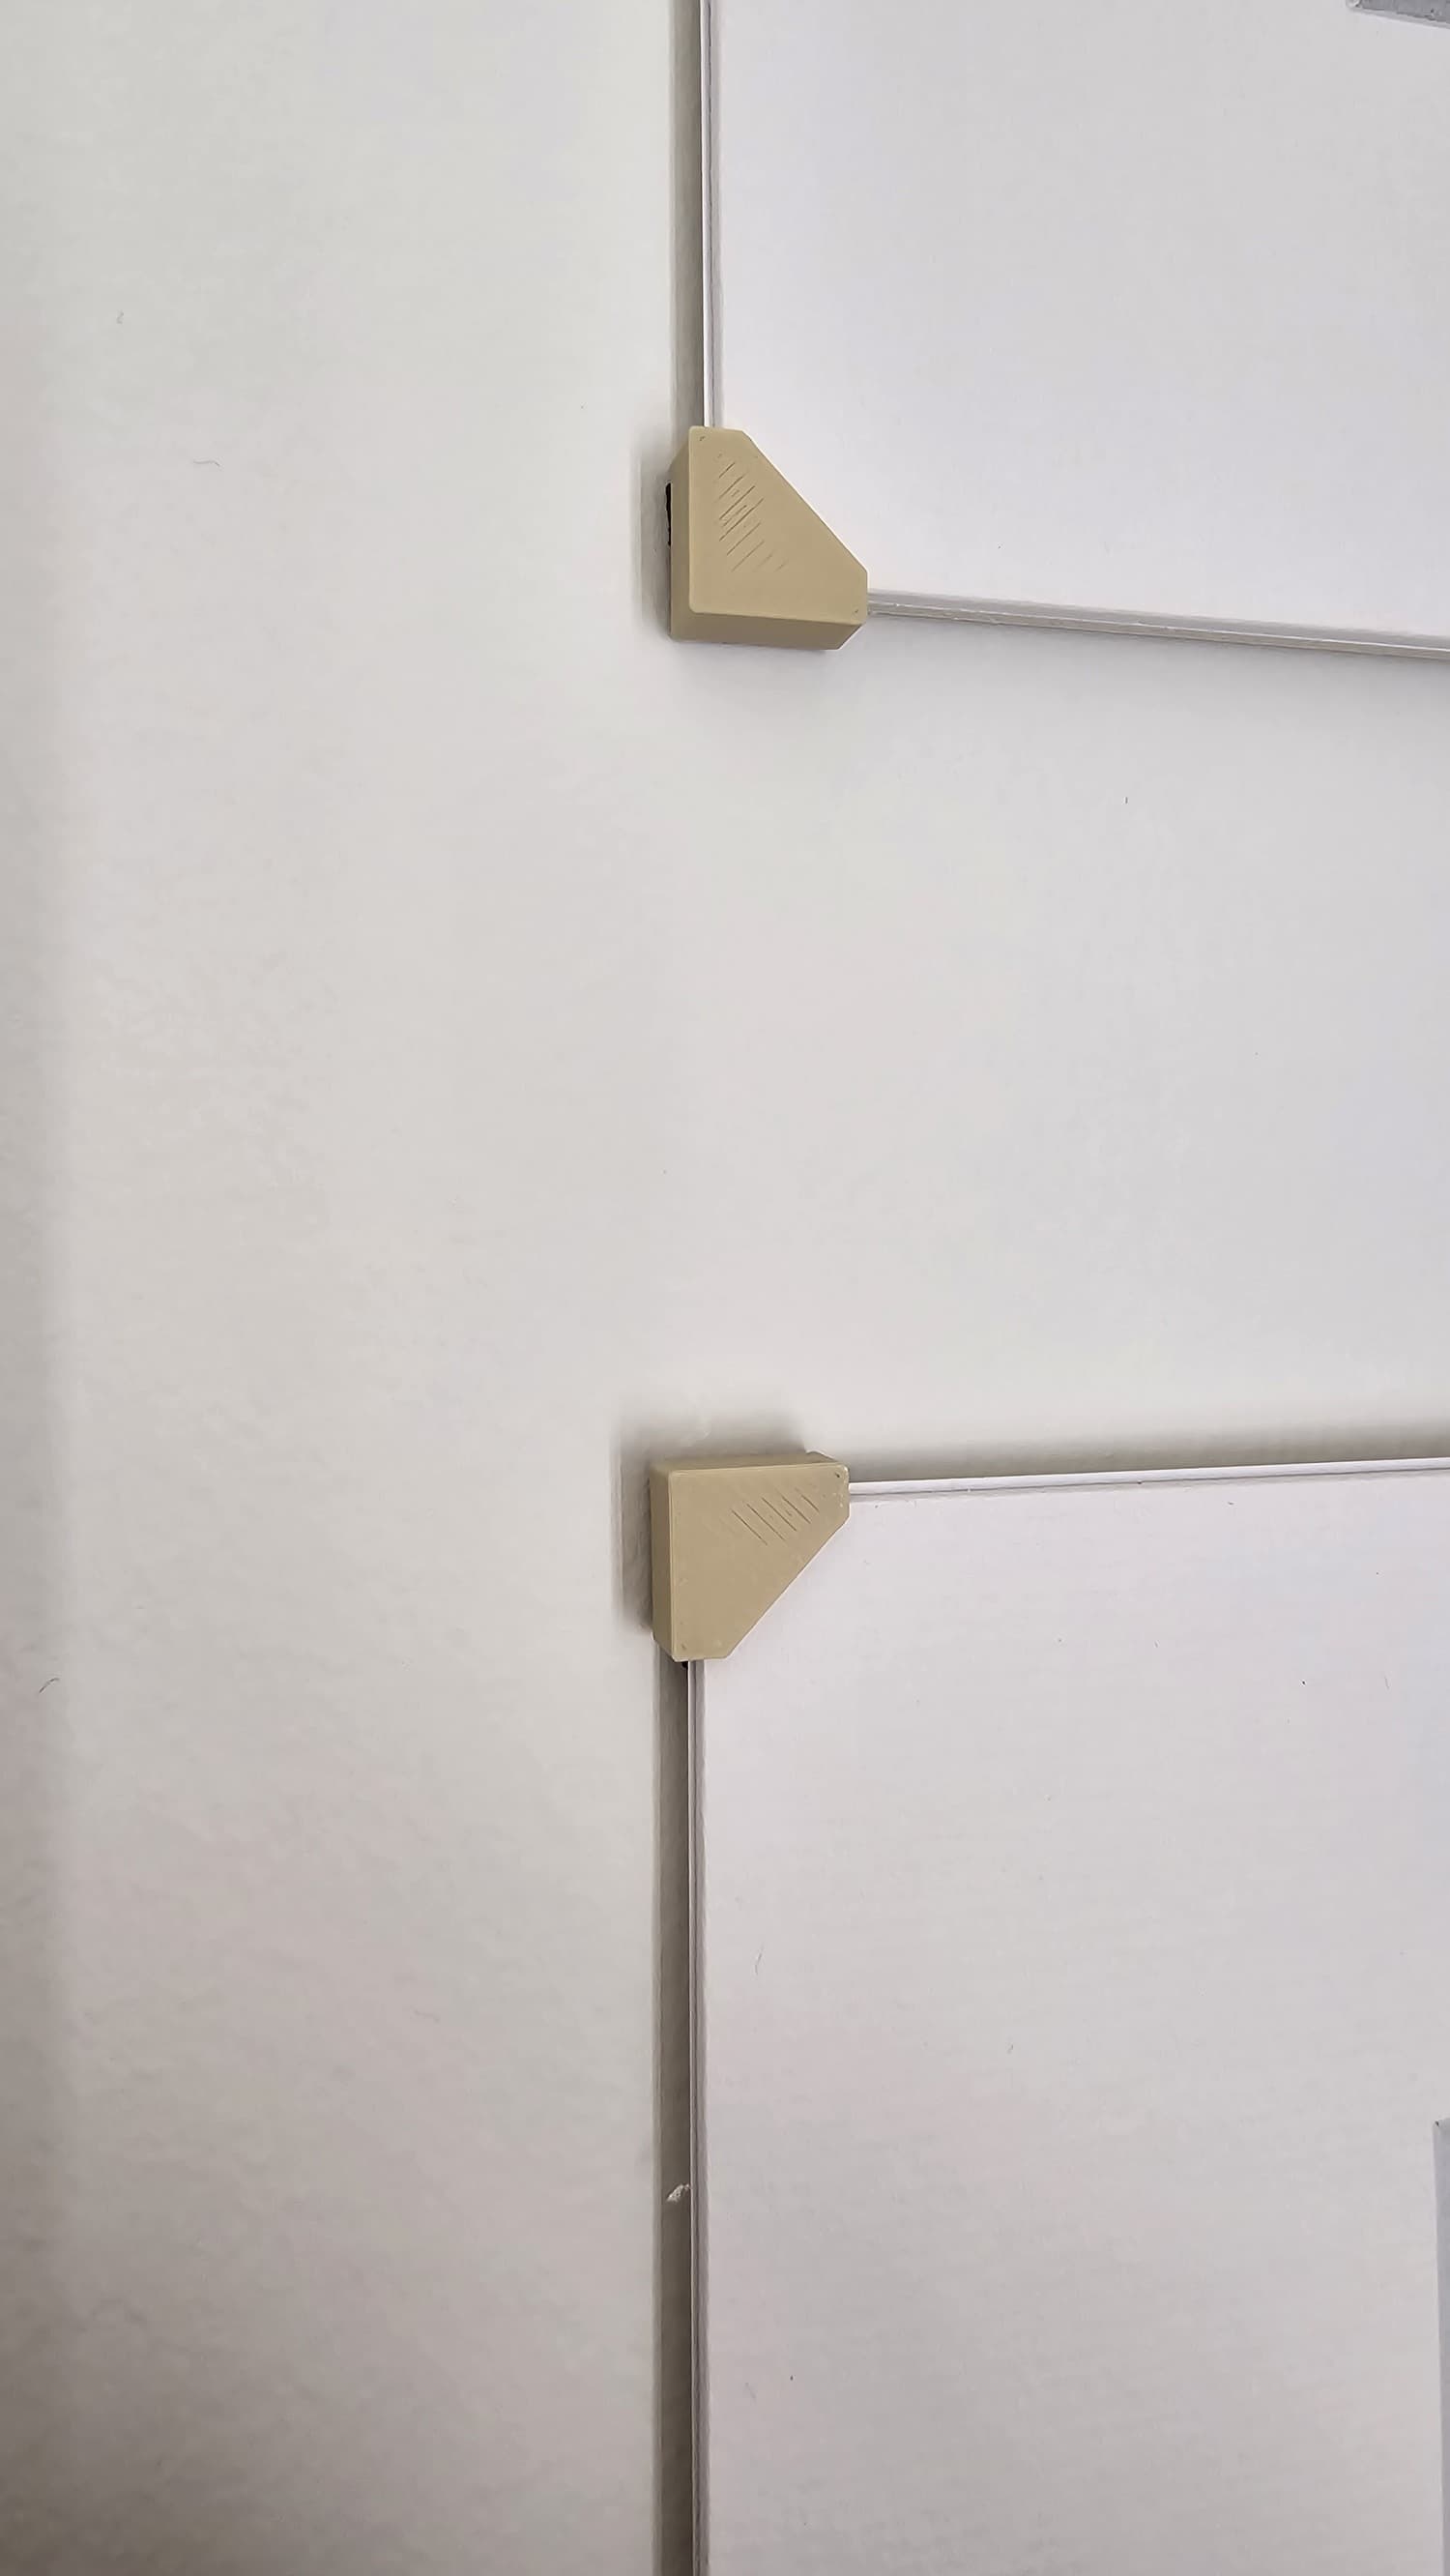
Strong two sided adhesive tape is a decent option when a print needs to be attached to a flat surface, such as a wall or furniture. I've used this tape, and it turned to be quite good.
Once again, highly recommend using the Isopropanol 99.9% to clear the surface before applying the tape.
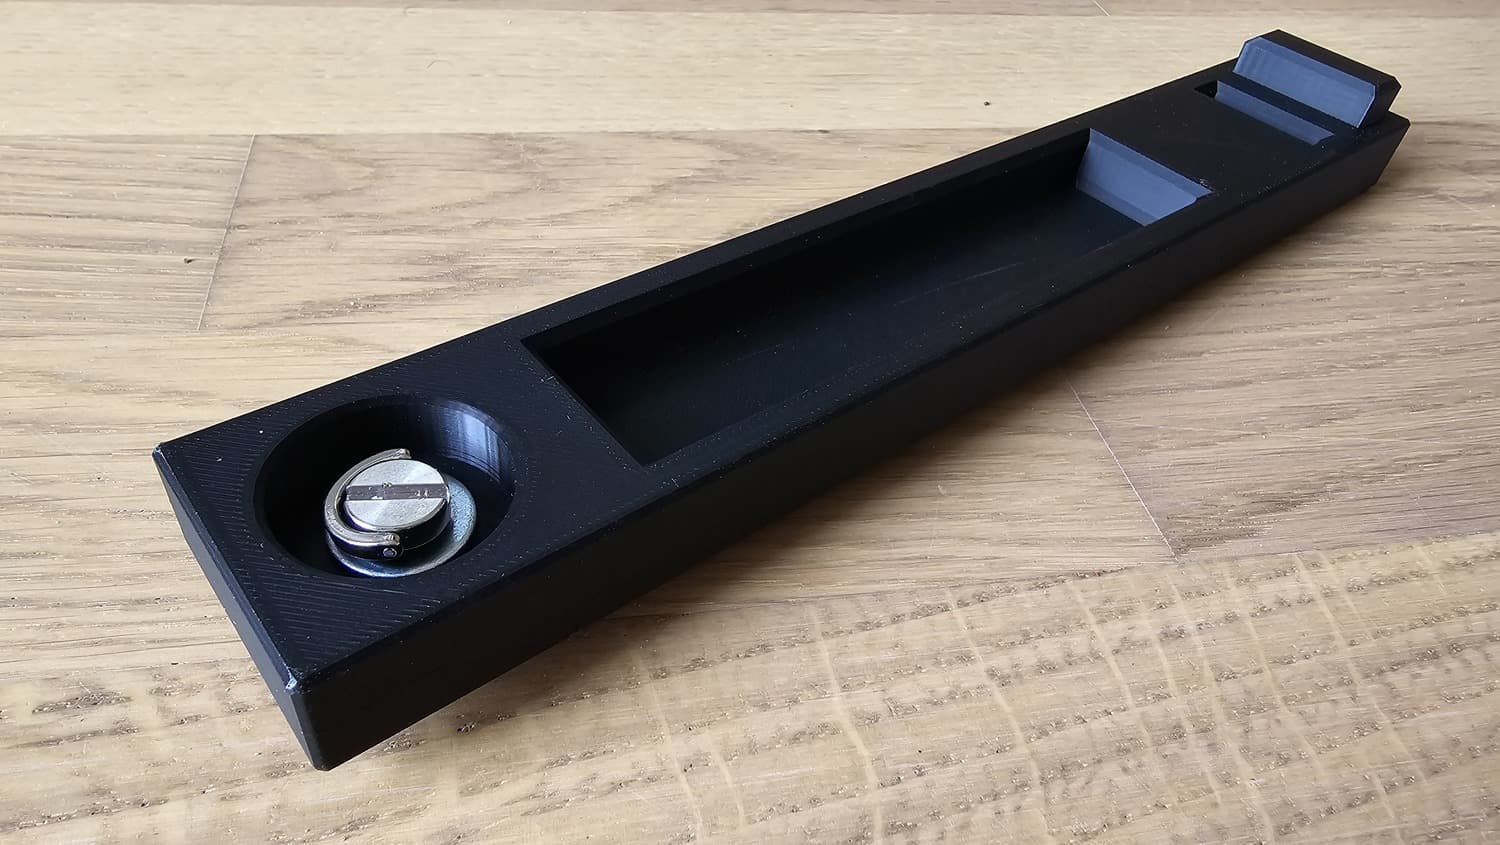
With threaded inserts you can connect two parts together using a screw. I had some difficulties with them at the beginning.
In the first place I wanted to build an extension for a camera tripod I've purchased lately. I quickly realized that the bolt threads not only differentiate by size and pitch, but also by the system.
There are two types:
- The Metric system, millimeters. All our familiar M3, M4, M5, etc belong to it. The system is typically used for screws, nuts, bolts, etc.
- The Imperial system, inches. It has a different sizes, such as 1/4", 5/16", 3/8", 1/2" and so on. This system is used for water pipes ... and suprisingly enough, camera equipment.
You can read more here: Metric System vs. Imperial System: Differences and Use.
So after purchasing a set of metric threaded inserts and getting frustrated with the fact they don't fit, I've decided to dig a bit further, and finally found imperial 1/4" inserts that were compatible with the tripod.
I've also found a pair of badass shiny 1/4" screws to use on the other side of the extension.
When using the inserts, keep in mind:
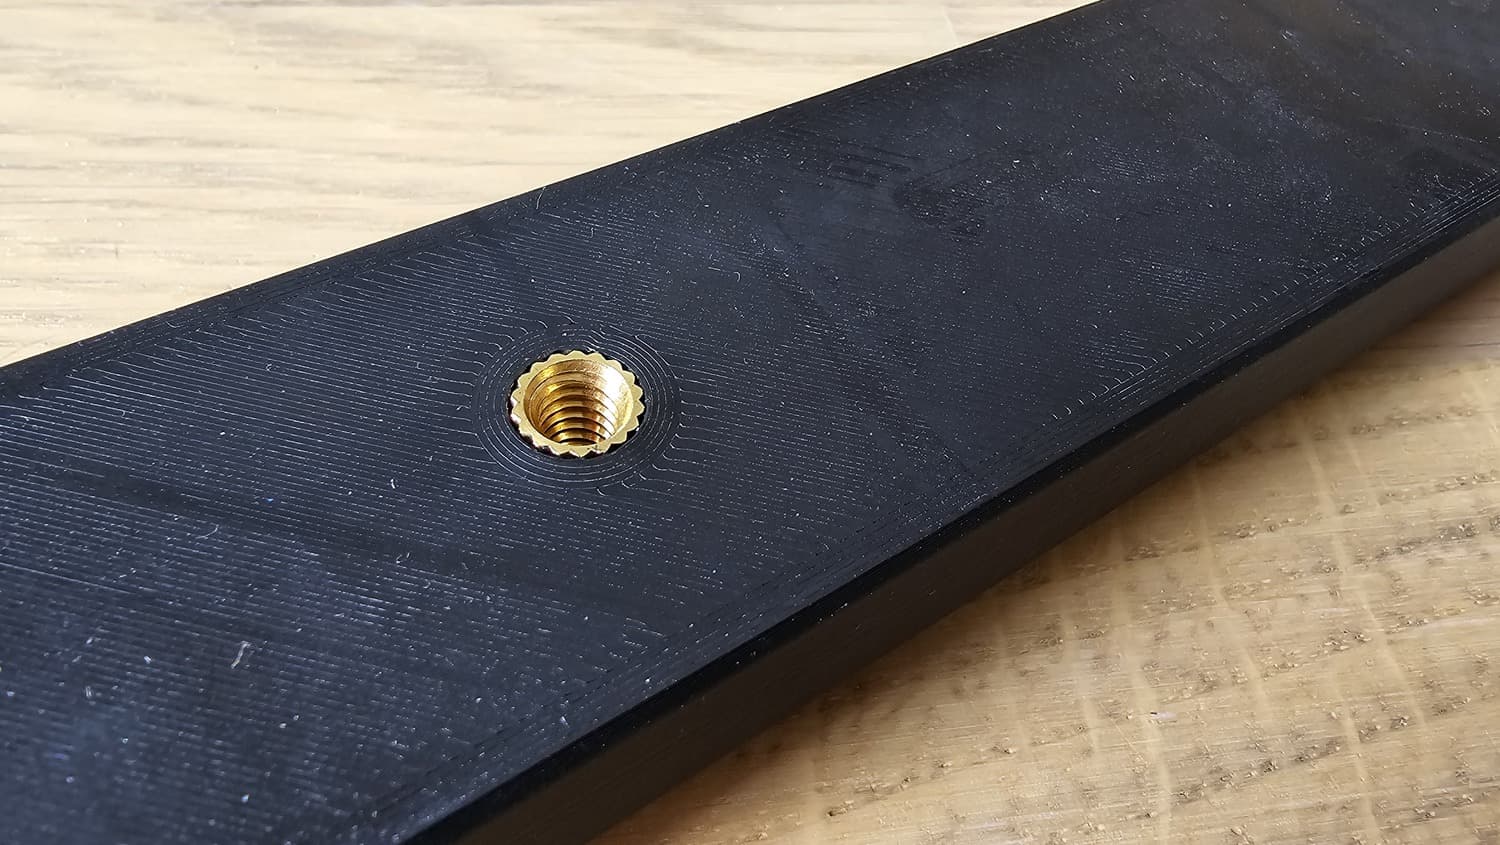
- When modelling your own print, make holes of exactly the same size as the inserts (you can use Blender's Boolean modifier for that). The insert is installed by heating and pressing it into the hole, so it will push the walls of the hole to the side and plunge its threads into plastic, solidifying the position. Apply the Boolean modifier after the Bevel modifier.
- Upon the installation an insert must be heated up evenly, that's why it's recommended to use special soldering tips, like these ones.
Pegs and holes (sockets) can be printed to hold parts of an object together. After they are inserted and clicked, they can be disconnected by pulling them out. Be careful with doing that too often, especially when printing with PLA, as the material wears off very quickly.
I haven't modelled any pegs and holes yet, but I've printed models that rely on them heavily.
Bearings are essential for creating parts that need to rotate. The technique of using bearings in my models, such as 608ZZ Bearings, is still to explore.
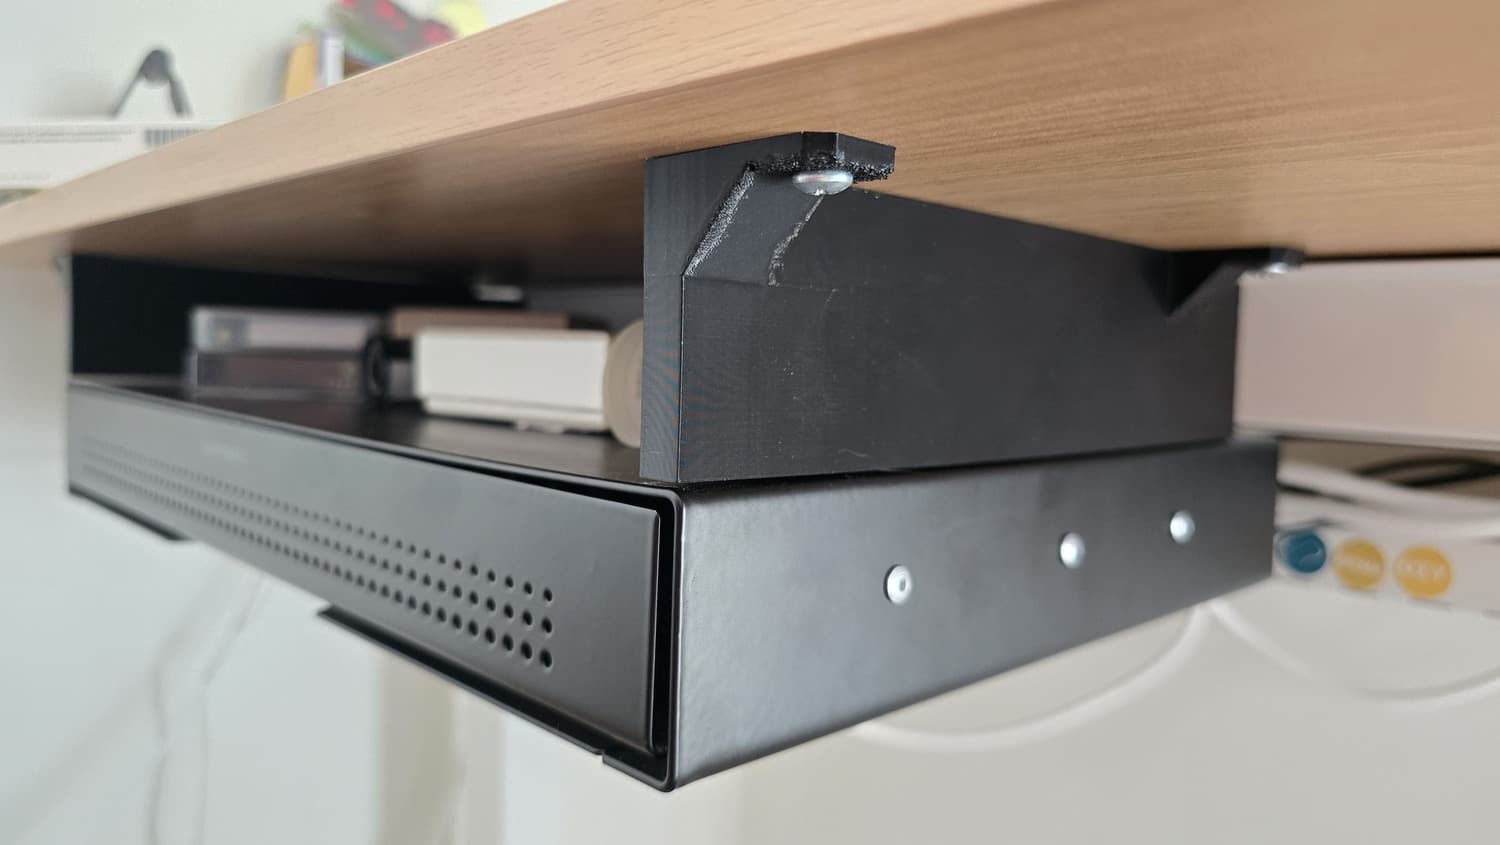
There is an interesting technique of connecting parts together with a string of filament. You print holes slightly smaller than 1.75mm, and then you can thread the filament through them and melt the ends to create sort of a rivet. This is an example of such a print. The connection is not very reliable though, but can be used for some light duty applications.
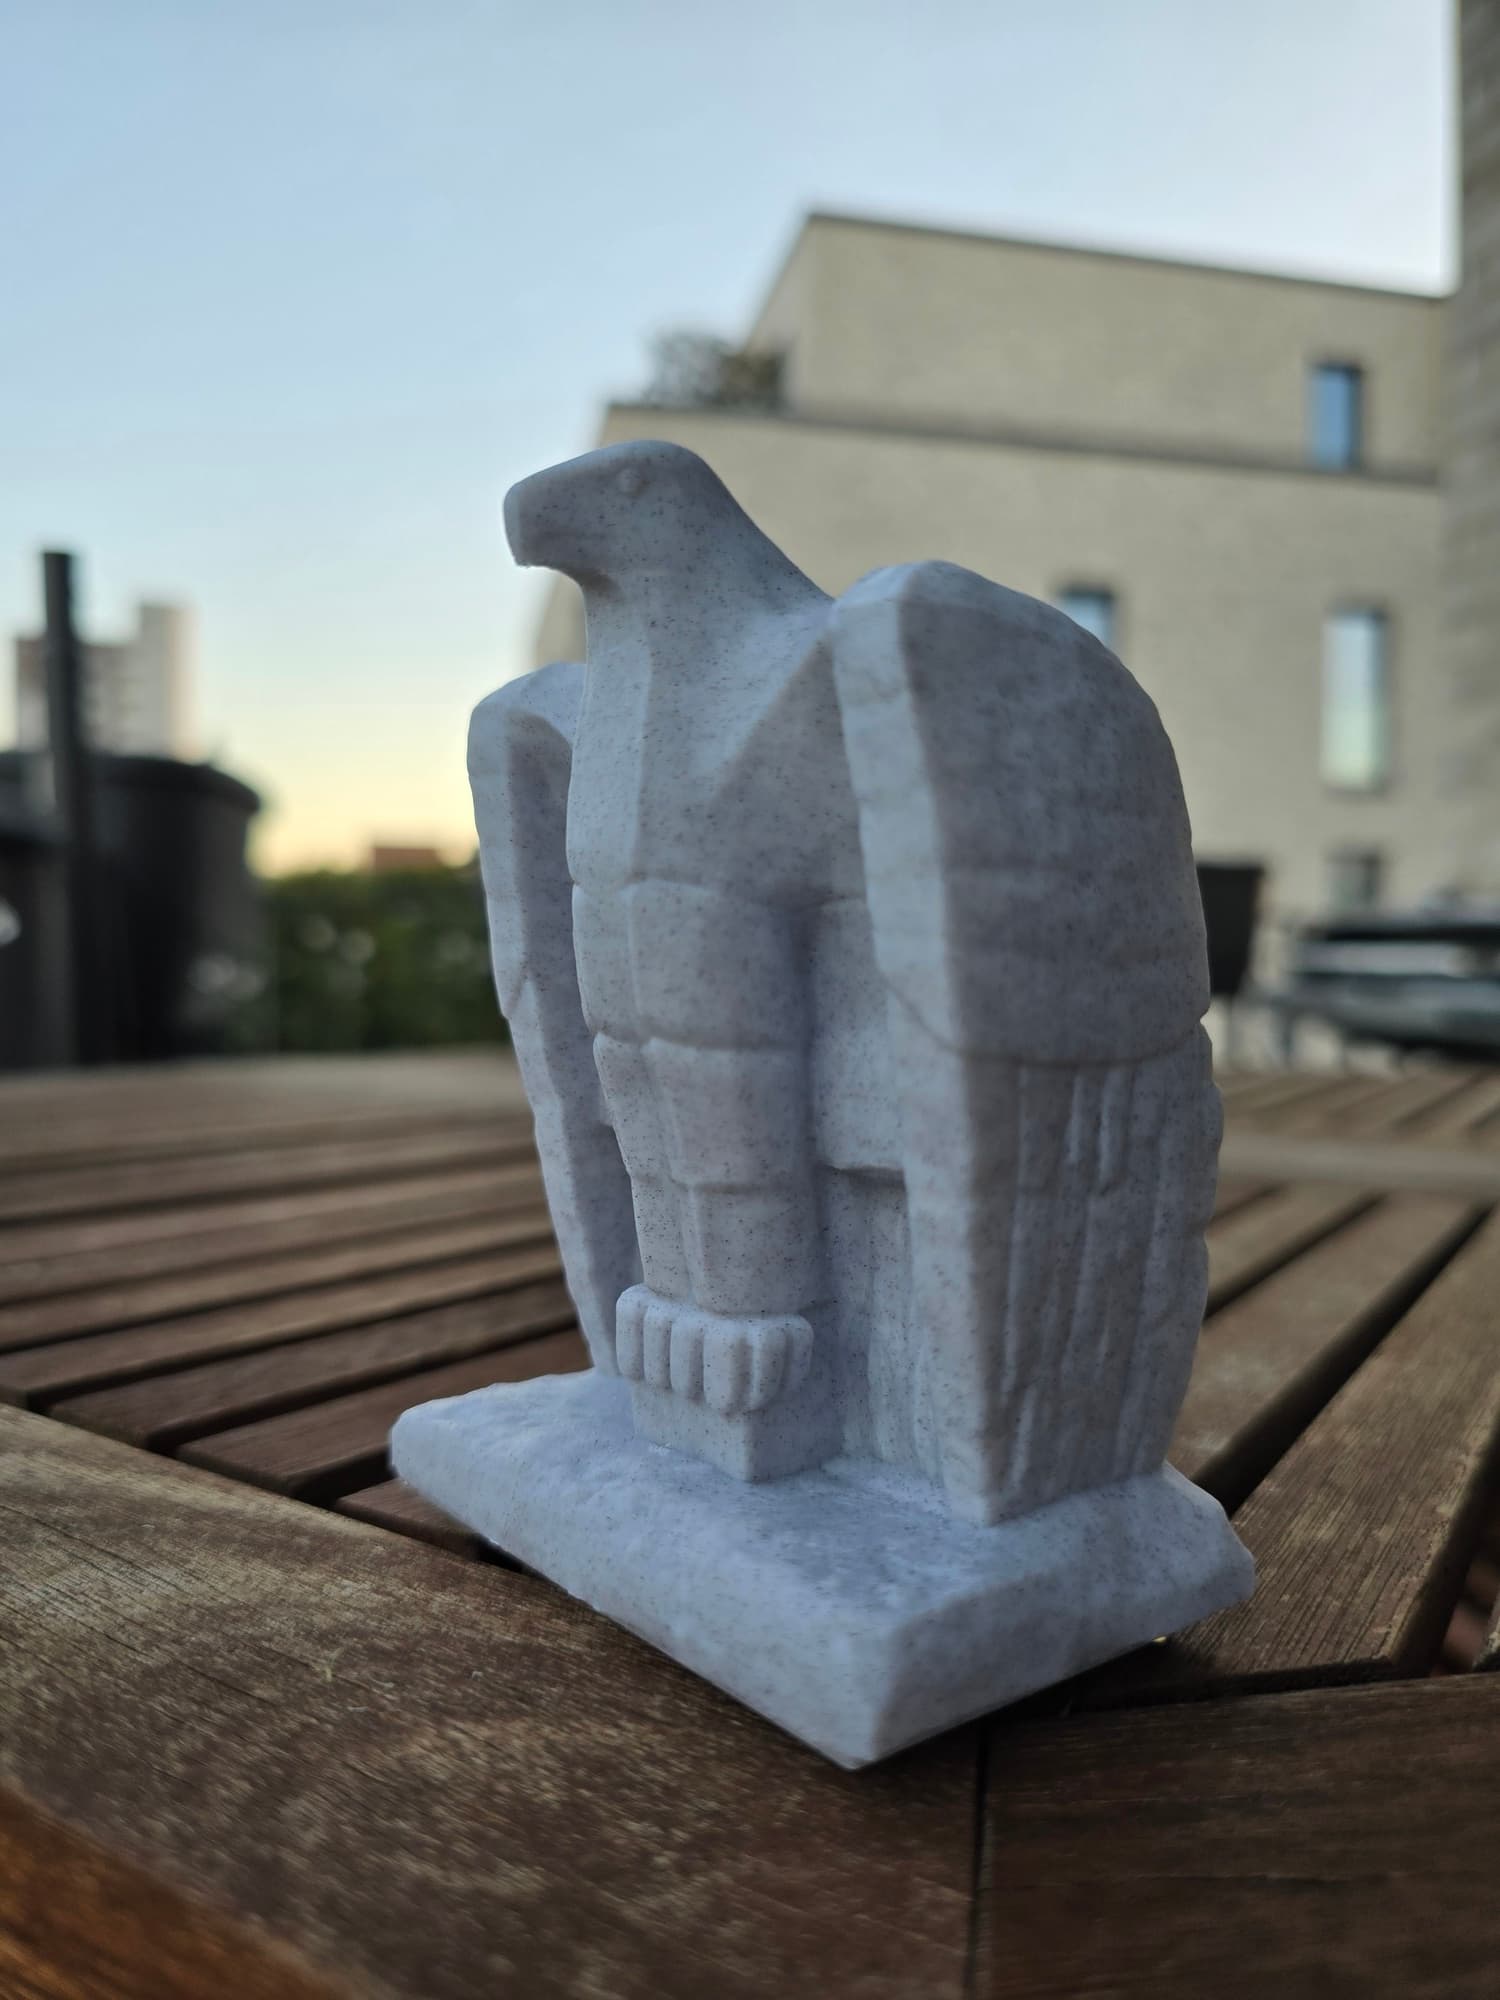
Quite recently I've started discovering ways to print decorative elements. The first step towards that was purchasing a 0.2mm nozzle, but it didn't go well as I've already mentioned. So I continued experimenting with the standard 0.4mm nozzle and a few slicer settings: Arachne wall mode and Surface Ironing.
I've managed to print a figure of an eagle, which I sculpted myself in Blender, where the layers turned out to be barely visible. I think it was a success, but there is still a lot to learn. For instance, in this case the Marble PLA was used, so I need to print something else with a different kind of PLA to make sure this effect wasn't specific to Marble.
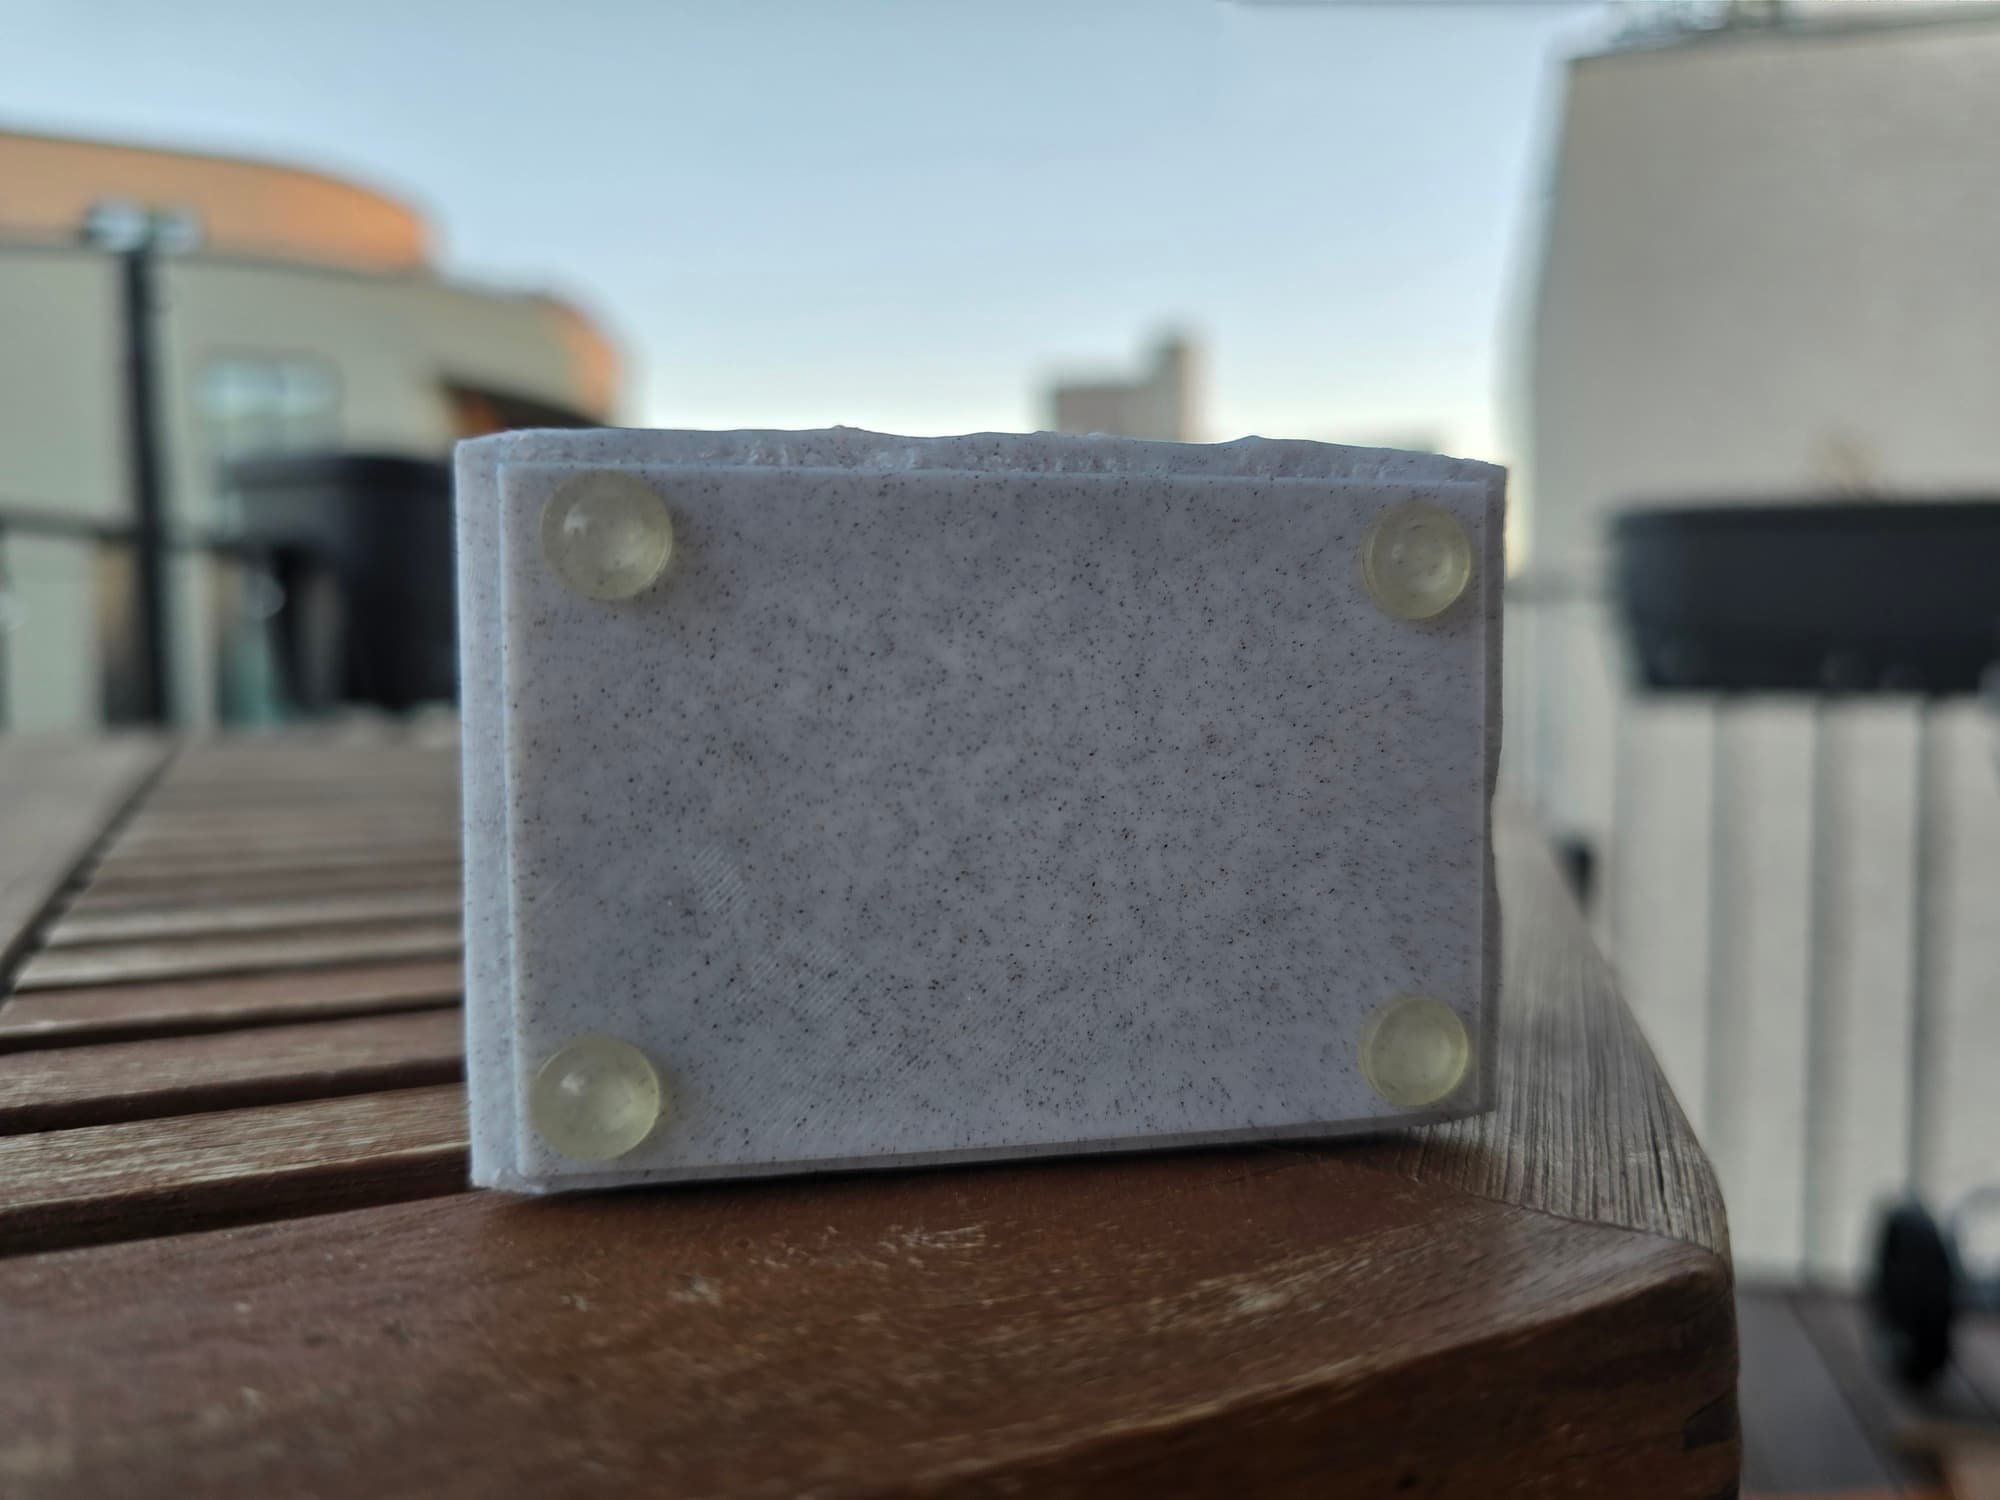
Sculpted prints require a flat surface to stand on, so I've included that into the model. To make it even better by increasing the stability, I used Self-adhesive rubber feet.
I have a lot of plans, from building wheel and track chassis with suspension, to a walking robot and an underwater drone. I need to explore print colorizing, higher variety of filaments, surface smoothing and so on.
Another interesting direction to explore would be coloring the prints with paint and making molds from them.
If only I had enough time for all of my projects! :)
Well that's pretty much it! I'll keep the article updated as I go.
Cheers!
